It’s a stressful world right now.
I am always glad that there are certain activities that
keep me busy when stress is in the air…


Painting is one such enjoyable and therapeutic activity.
What is Yours?
Chester NJ Retailer of furniture, home accessories, interior design – Maison Berger and Paint Couture!™
It’s a stressful world right now.
I am always glad that there are certain activities that
keep me busy when stress is in the air…
Painting is one such enjoyable and therapeutic activity.
What is Yours?

You will also find thoughtful gifts! In addition to Lampe Berger Paris there is Bedford Cottage Throws, exquisite French Jewelry, Sloane Fine Teas and much more! And don’t forget we sell Paint Couture…a fantastic choice for creating amazing furniture and cabinet finishes.
I have just returned from shopping for 2018…
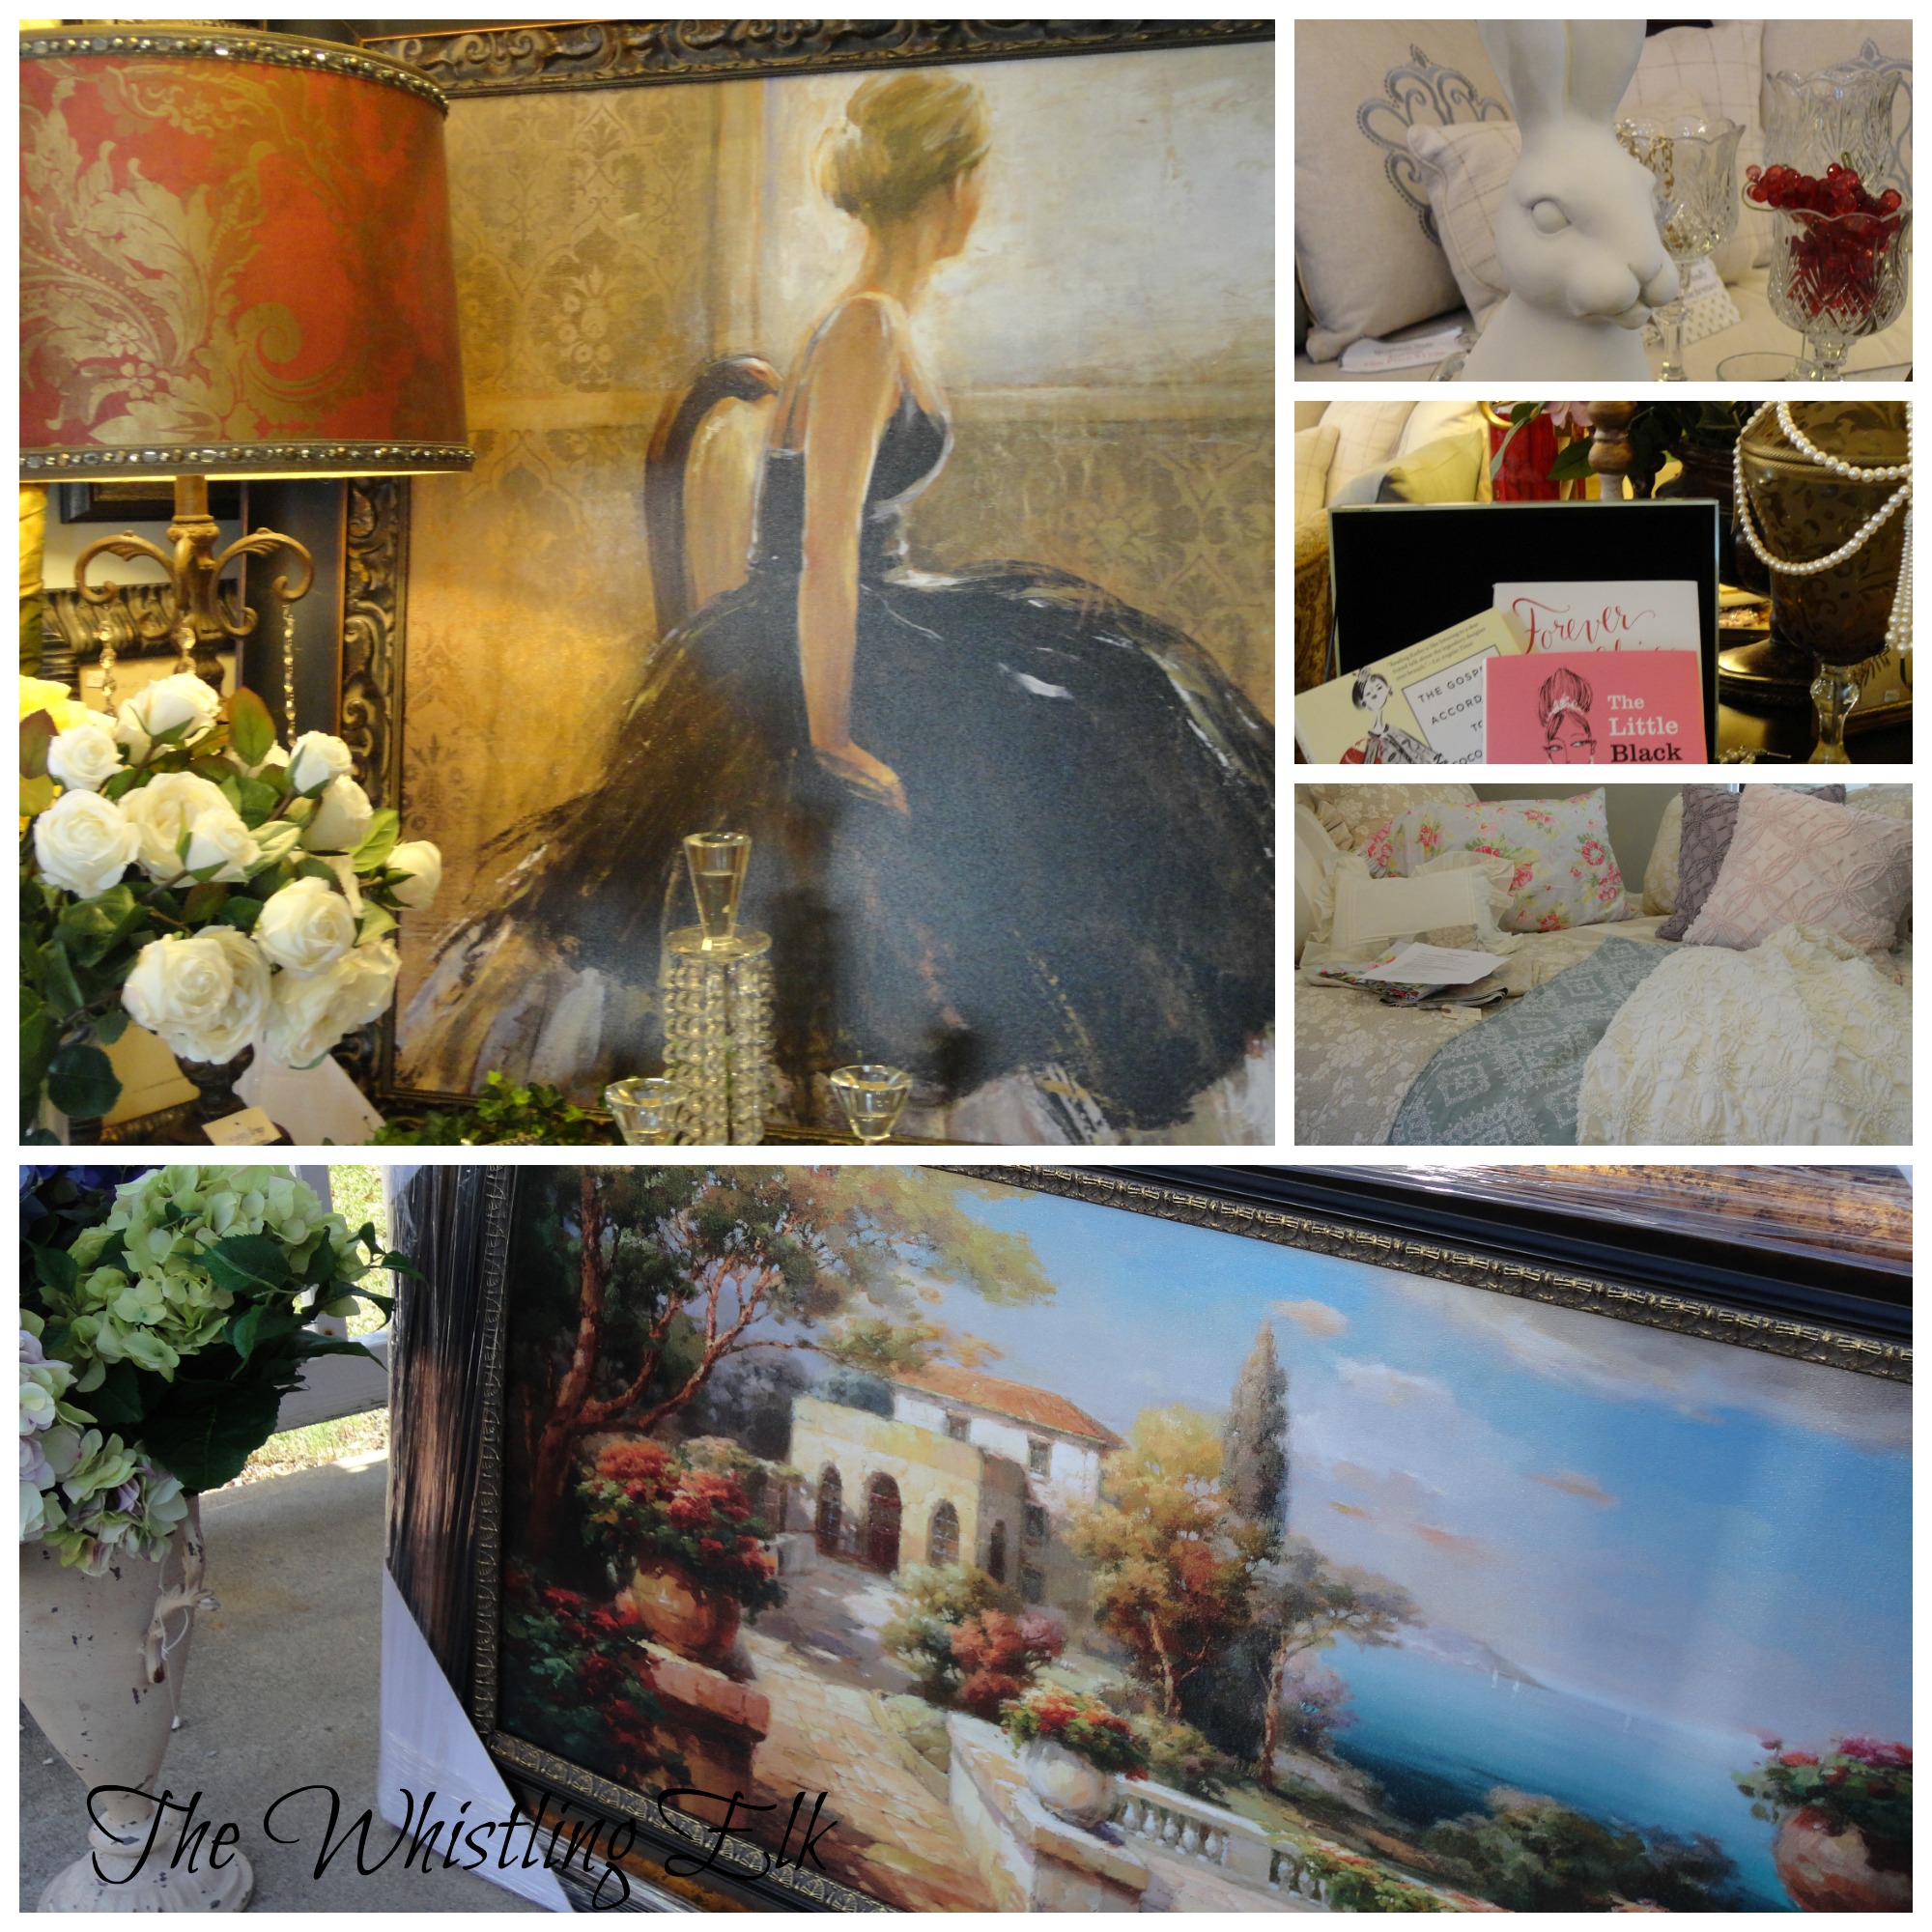
There are lots of great new gift items, accent furniture, artwork, rugs and more! It was so much fun finding great pieces for you!
We are in our 28th Year in Chester of bringing your style, beauty and affordability!
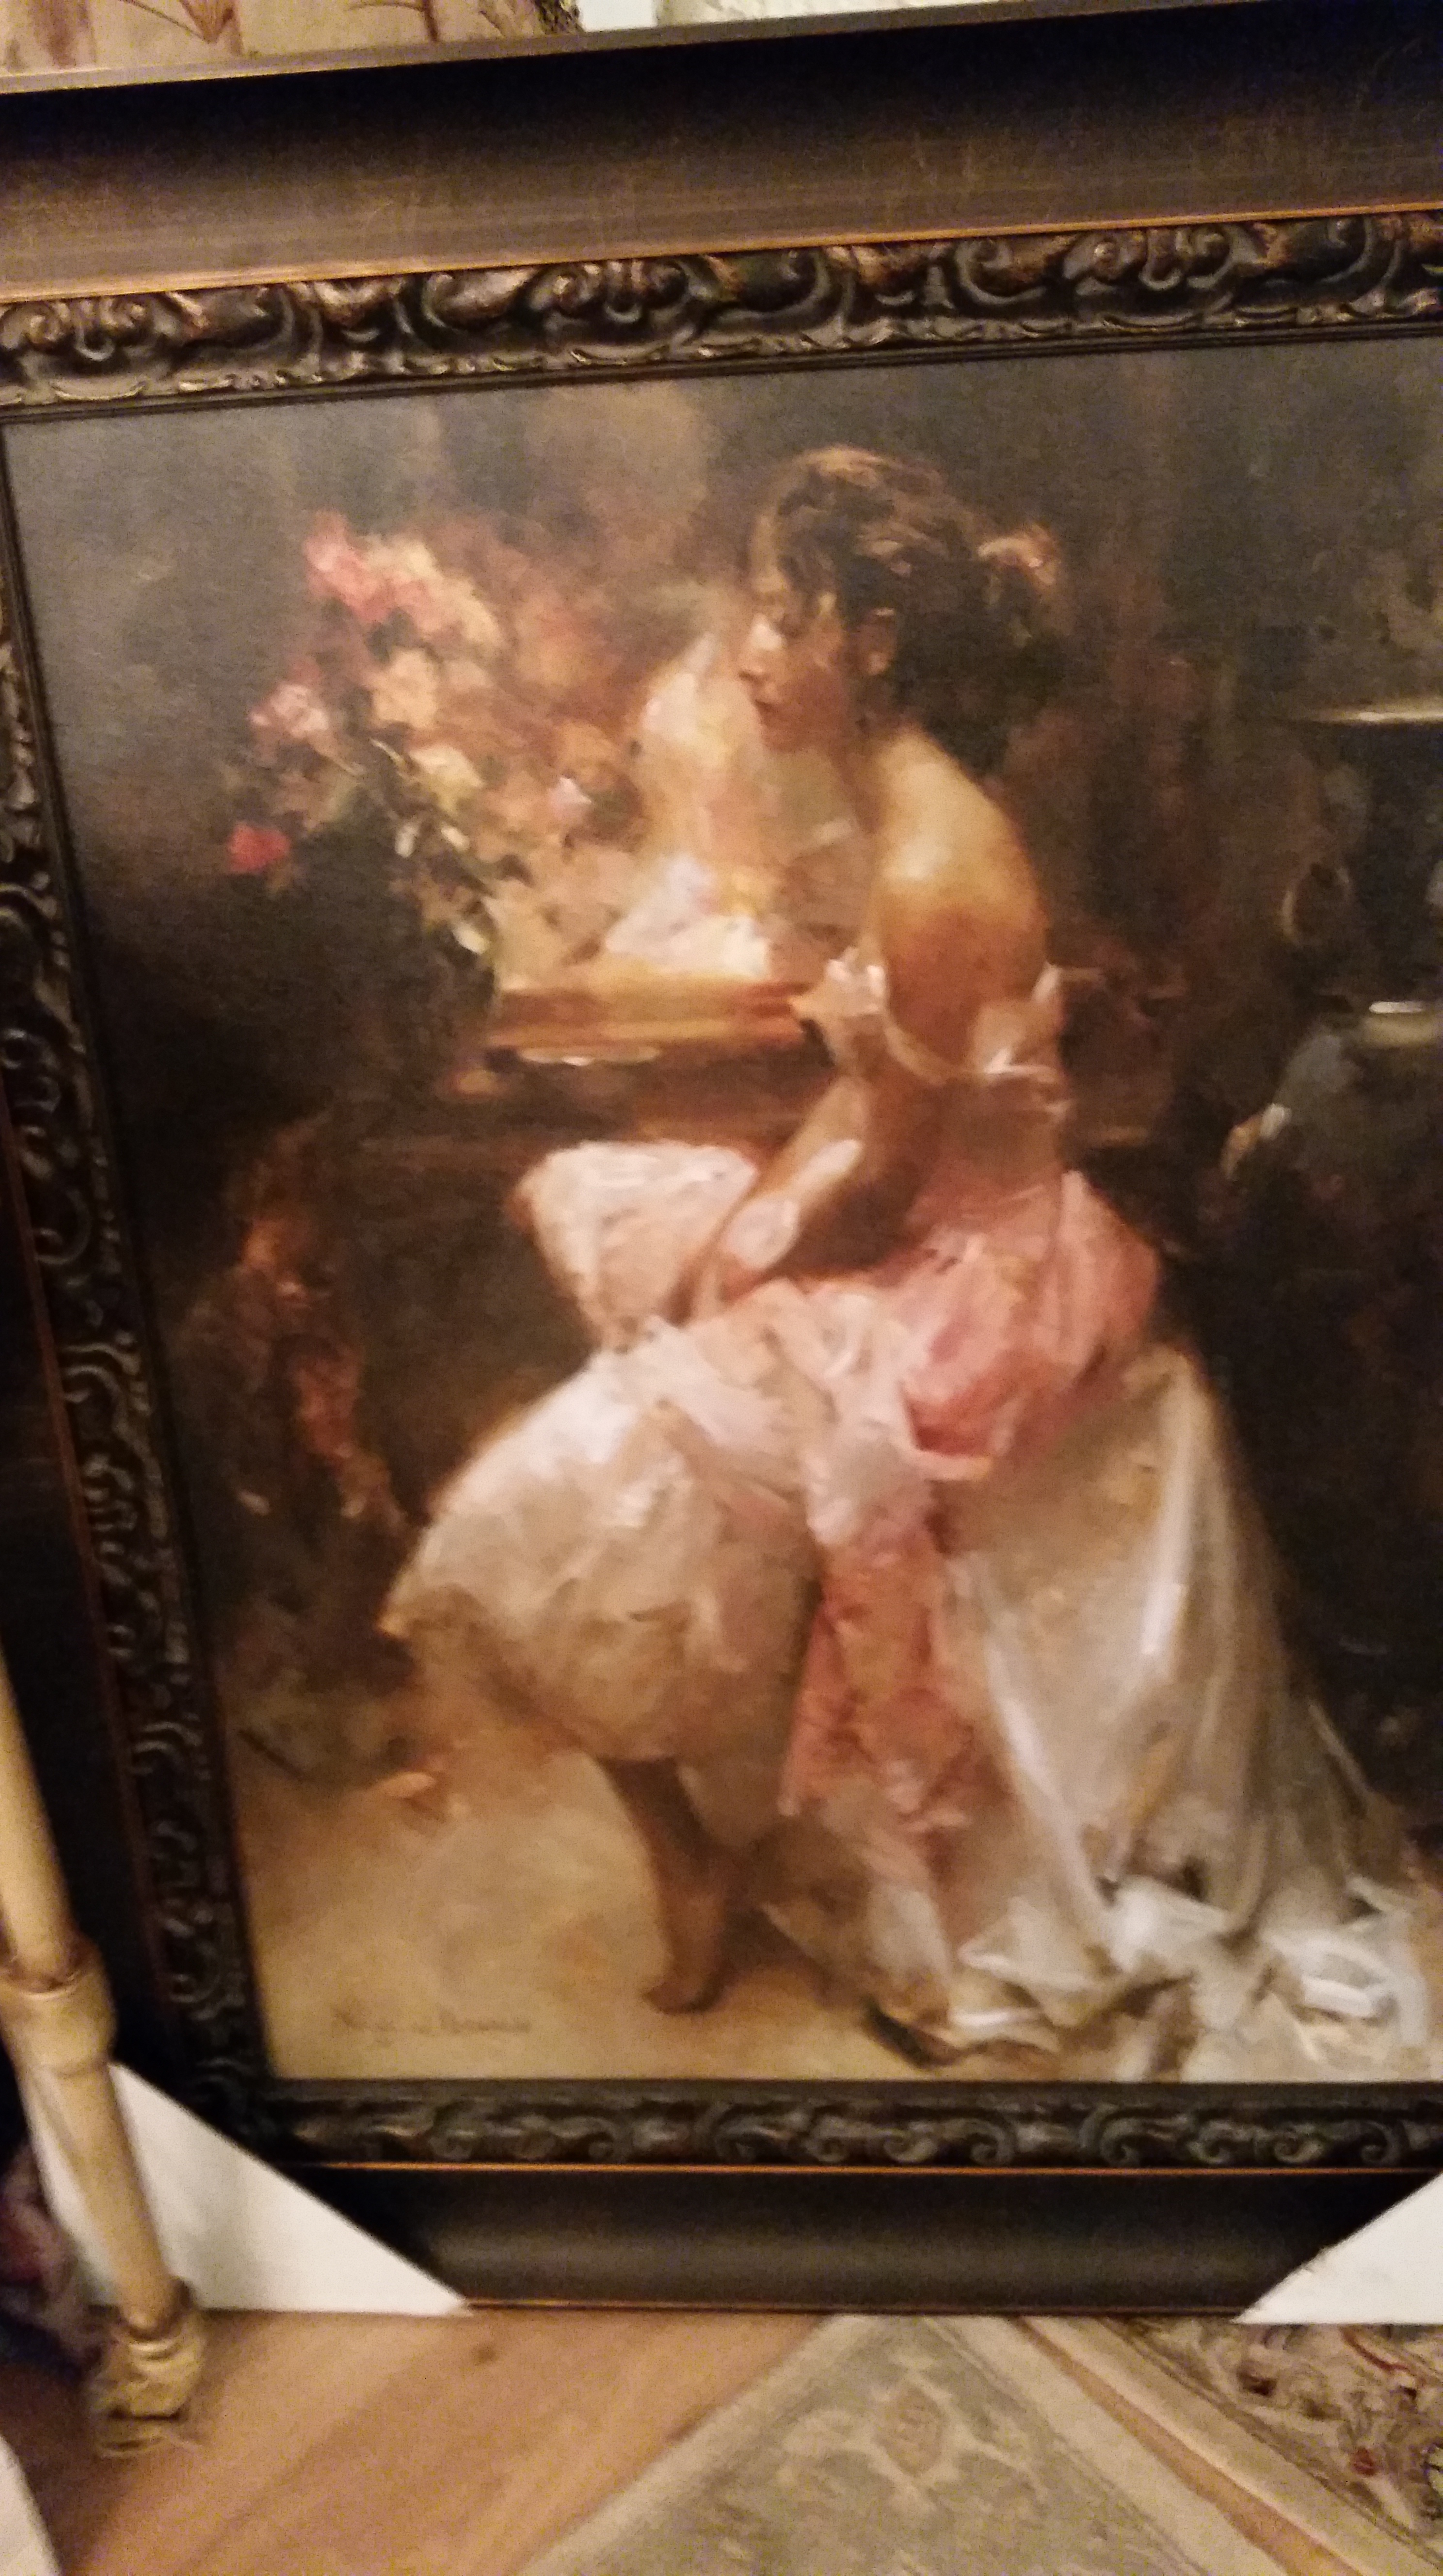
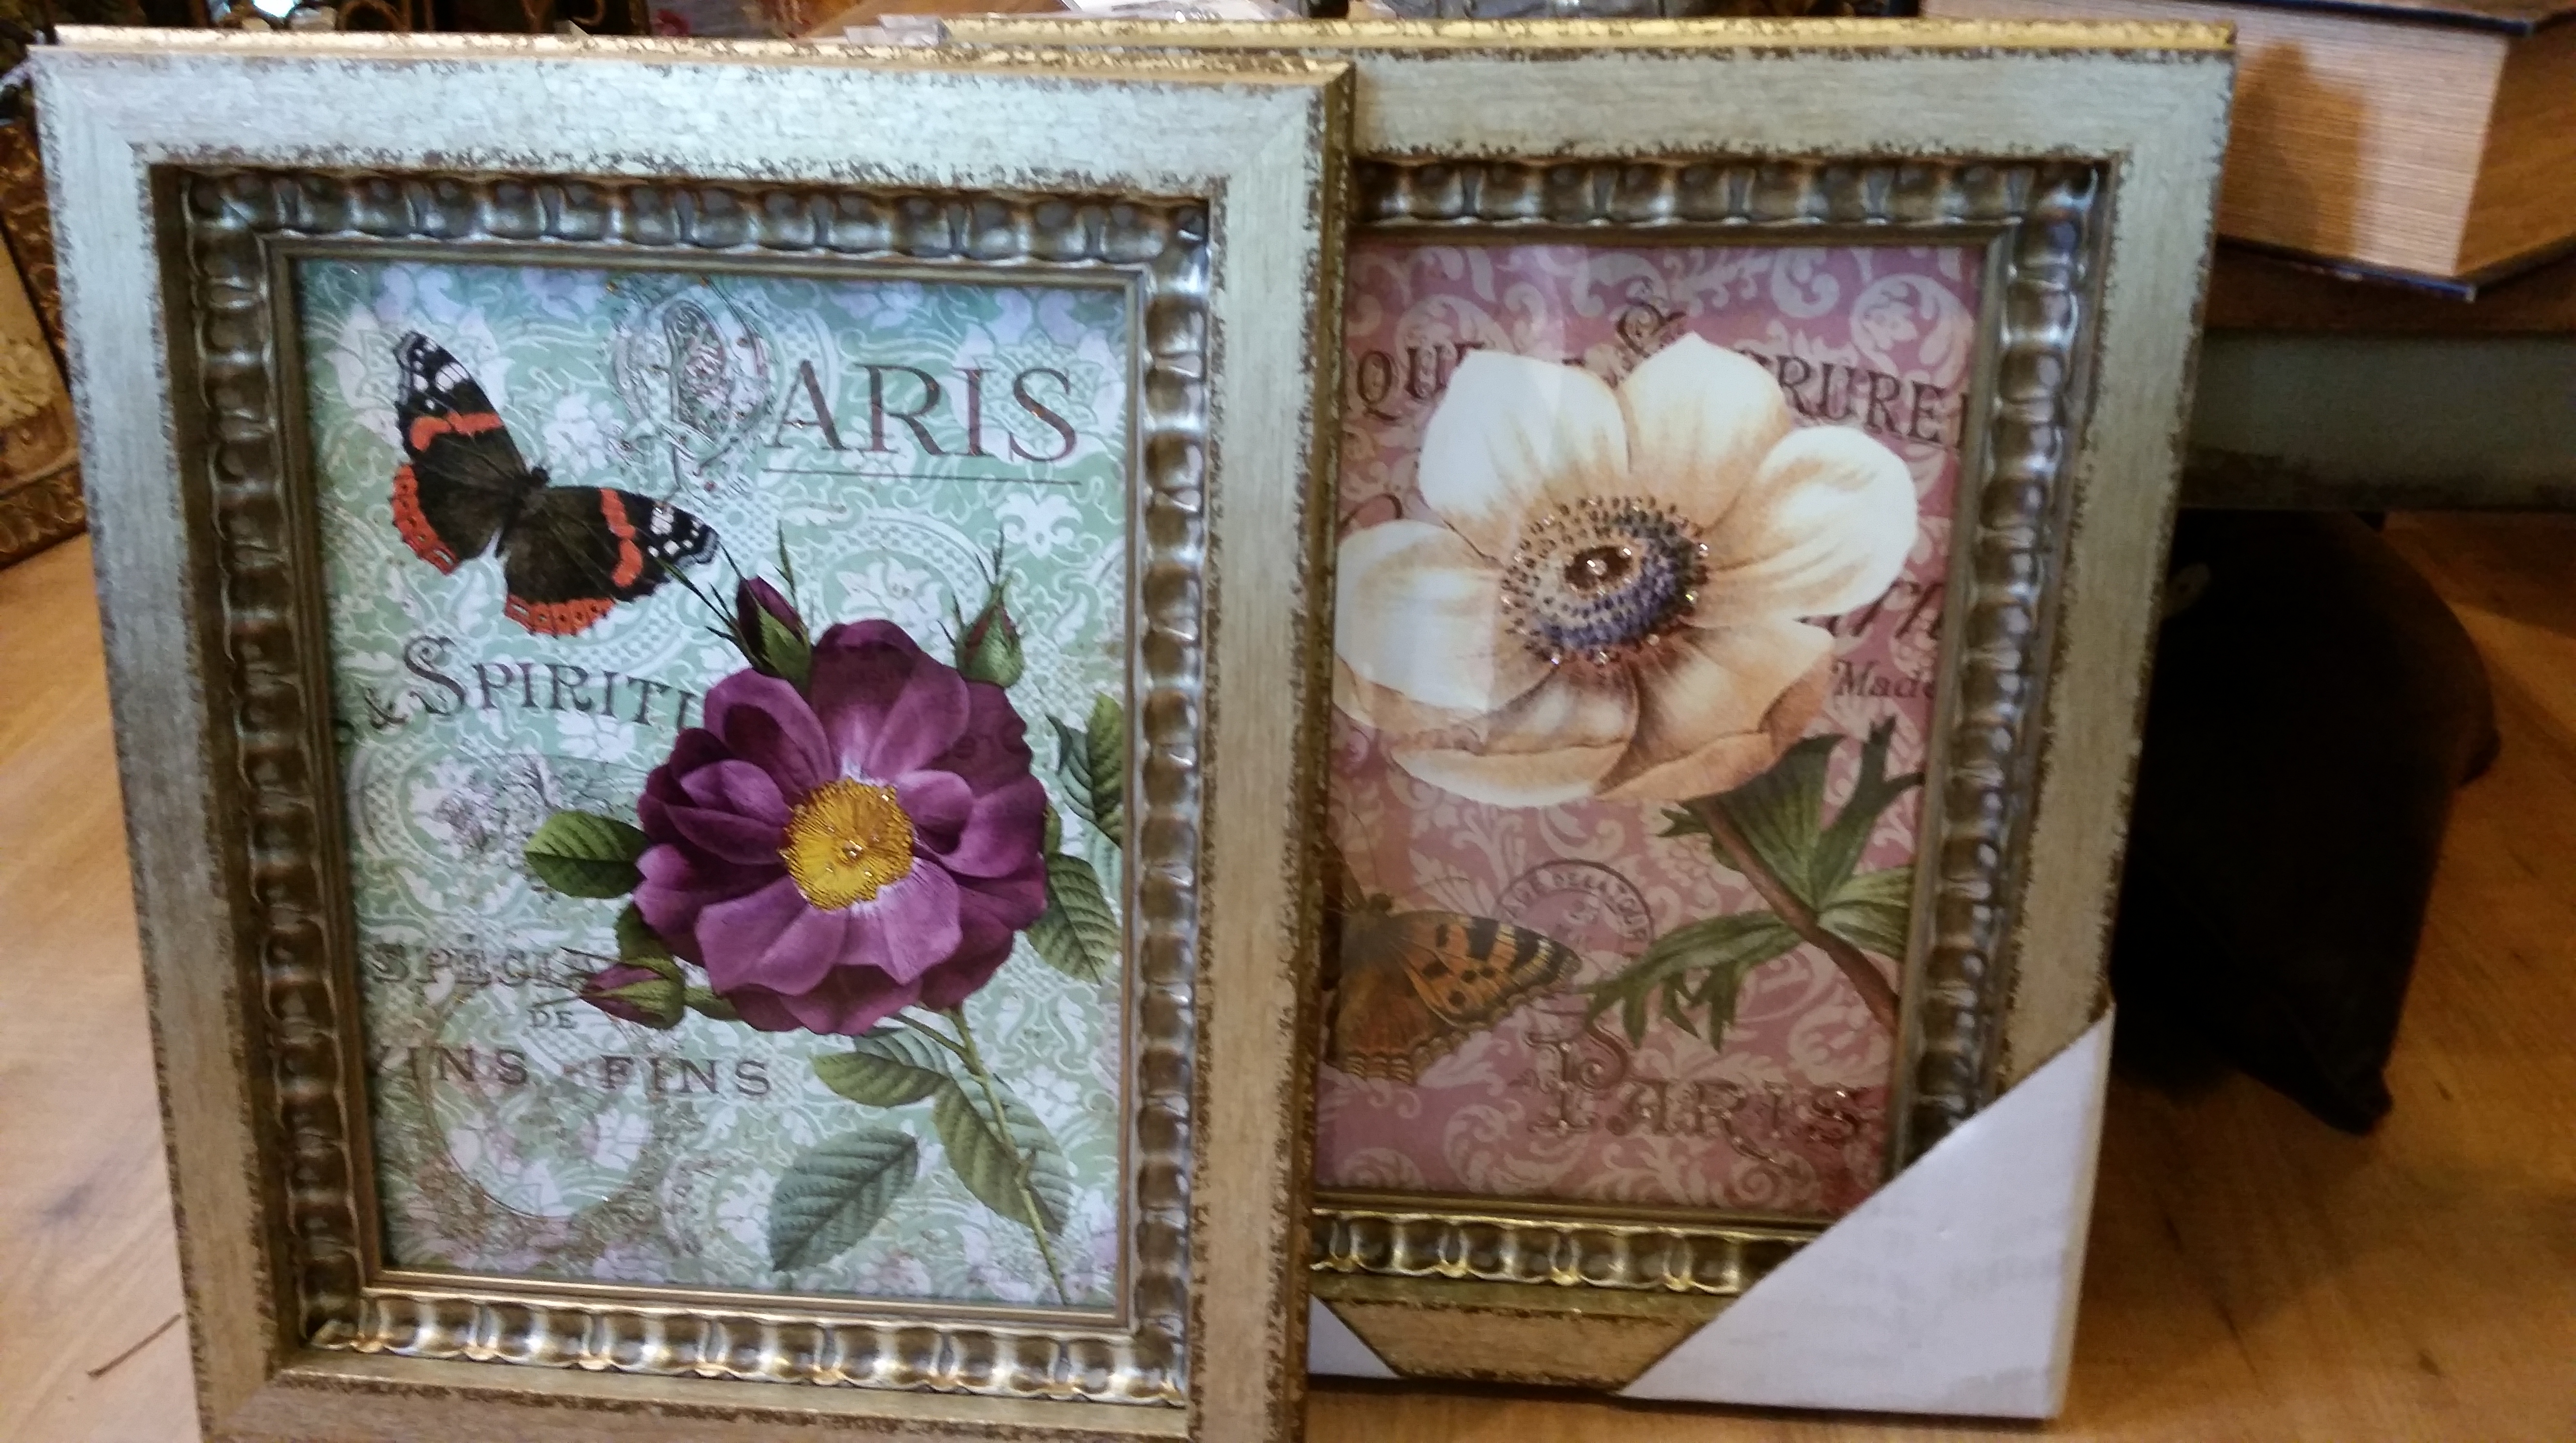
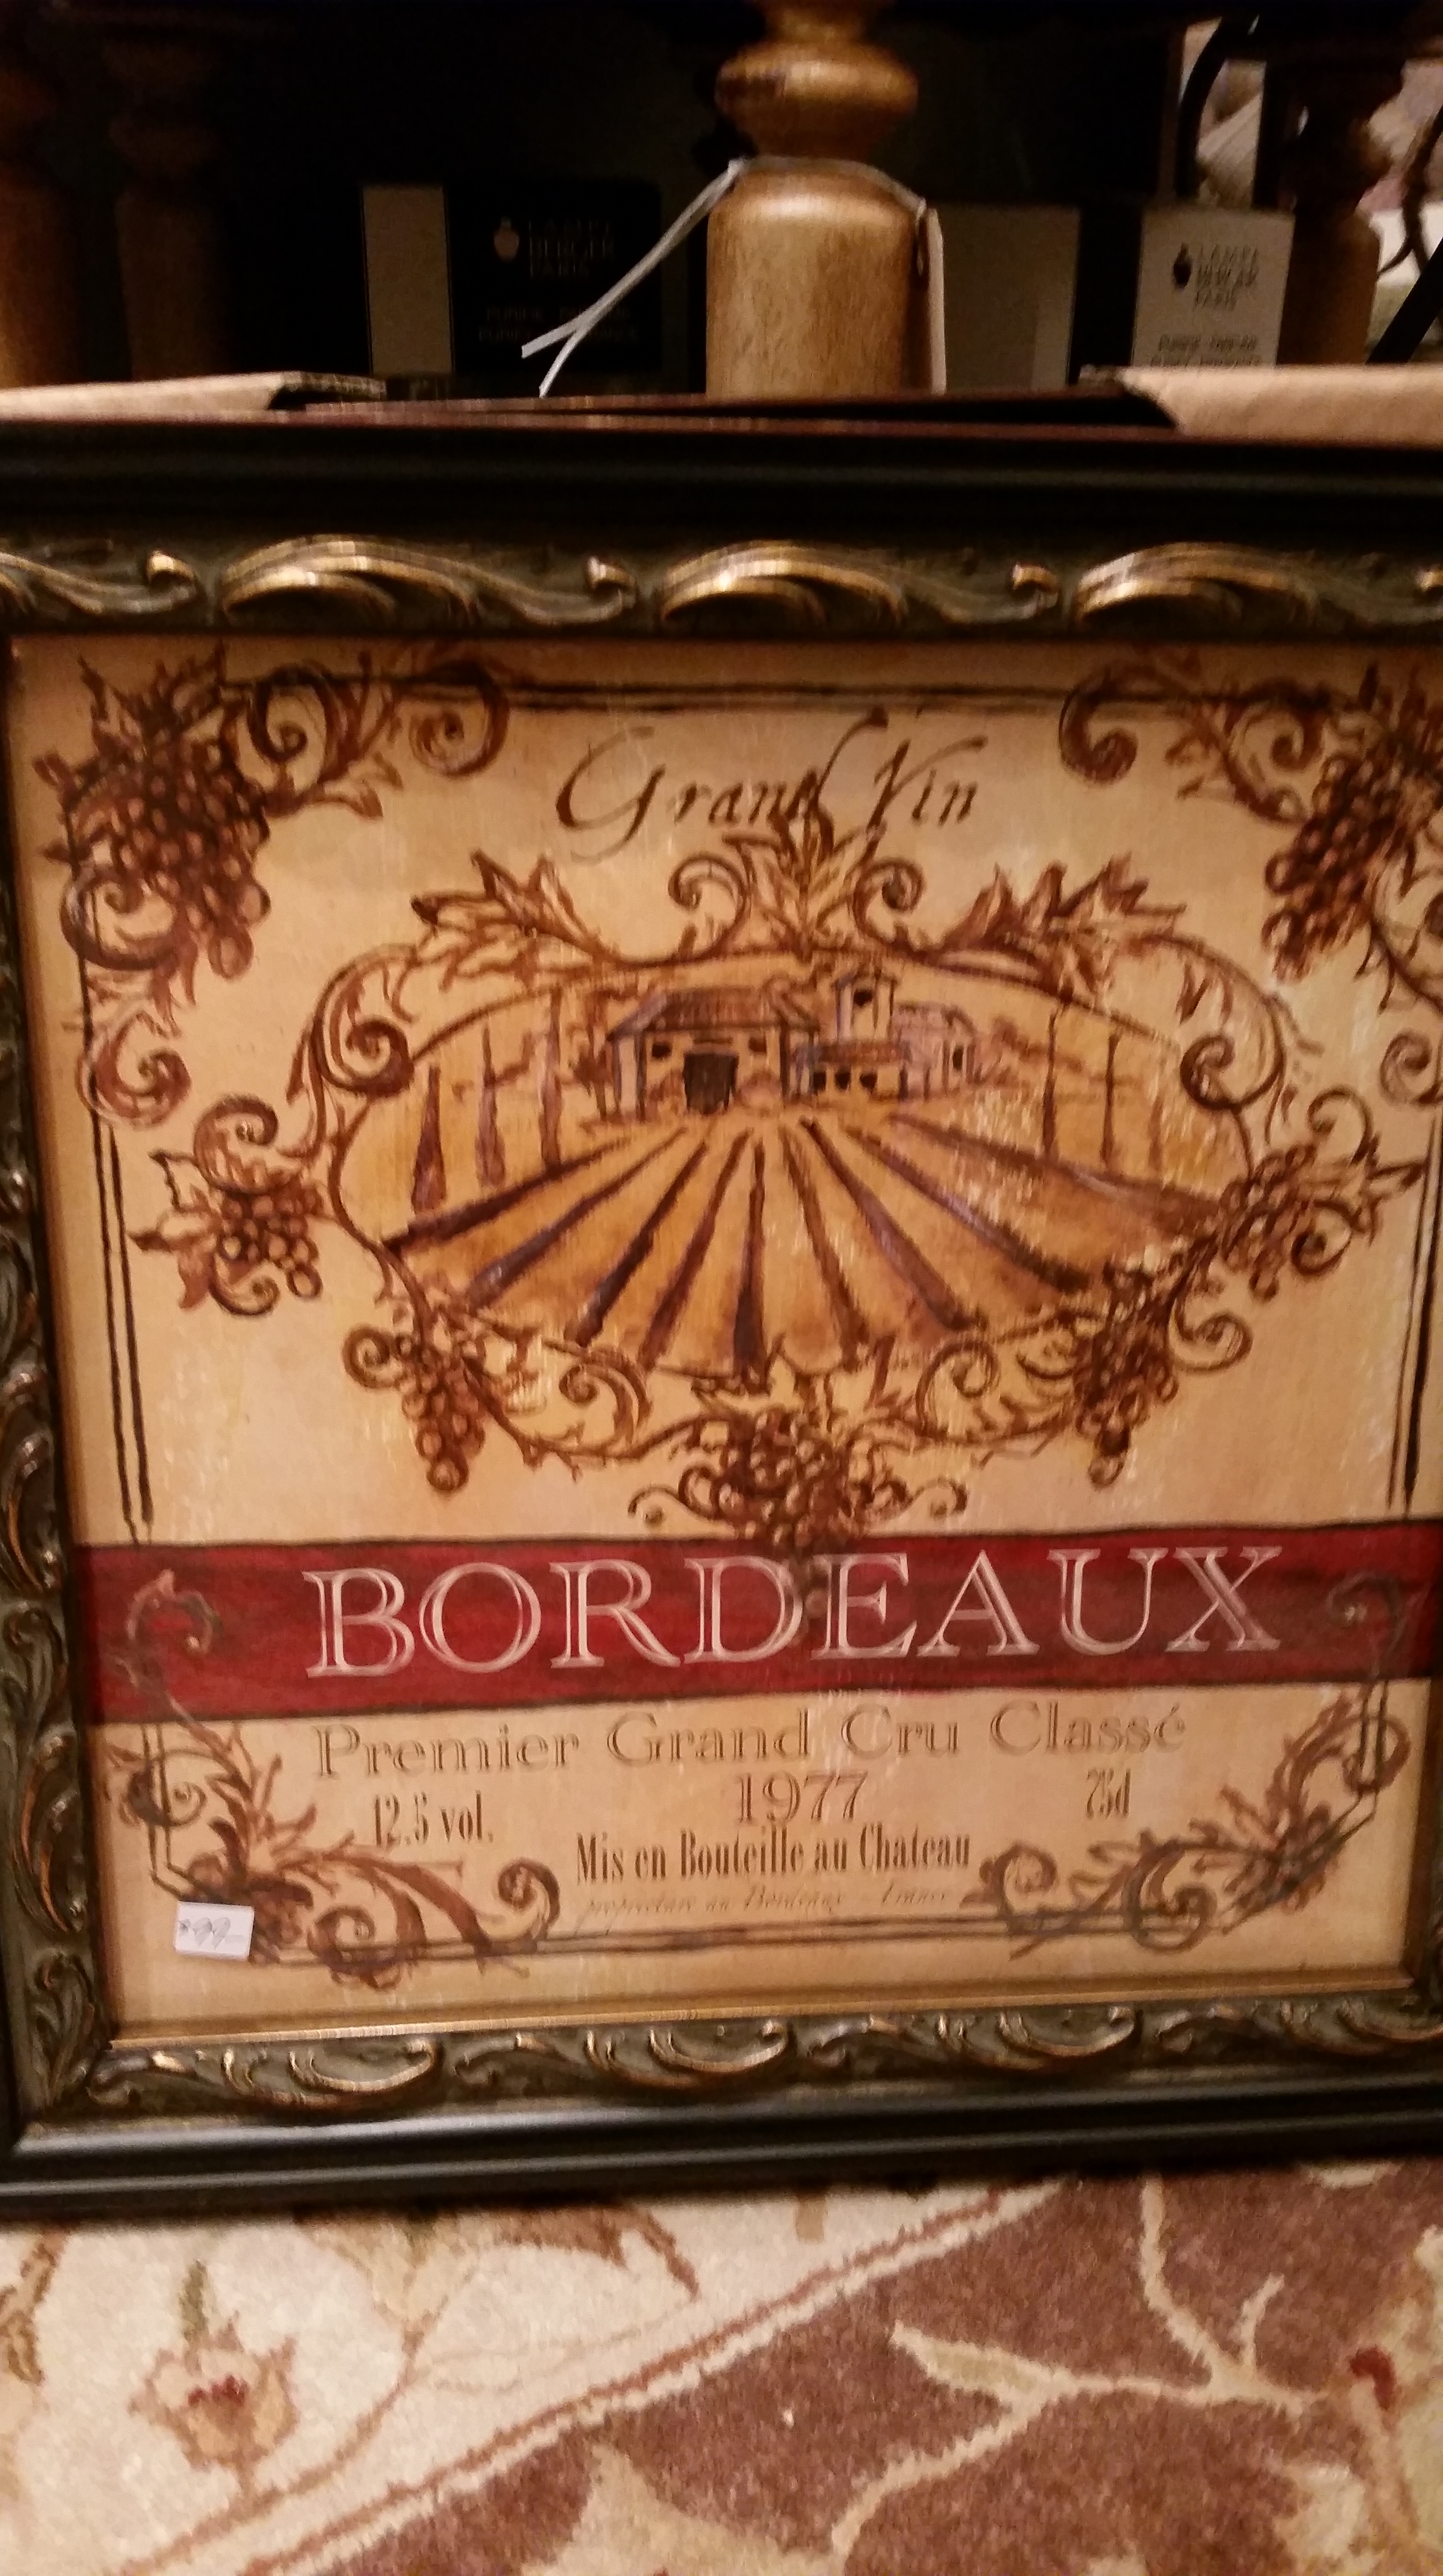
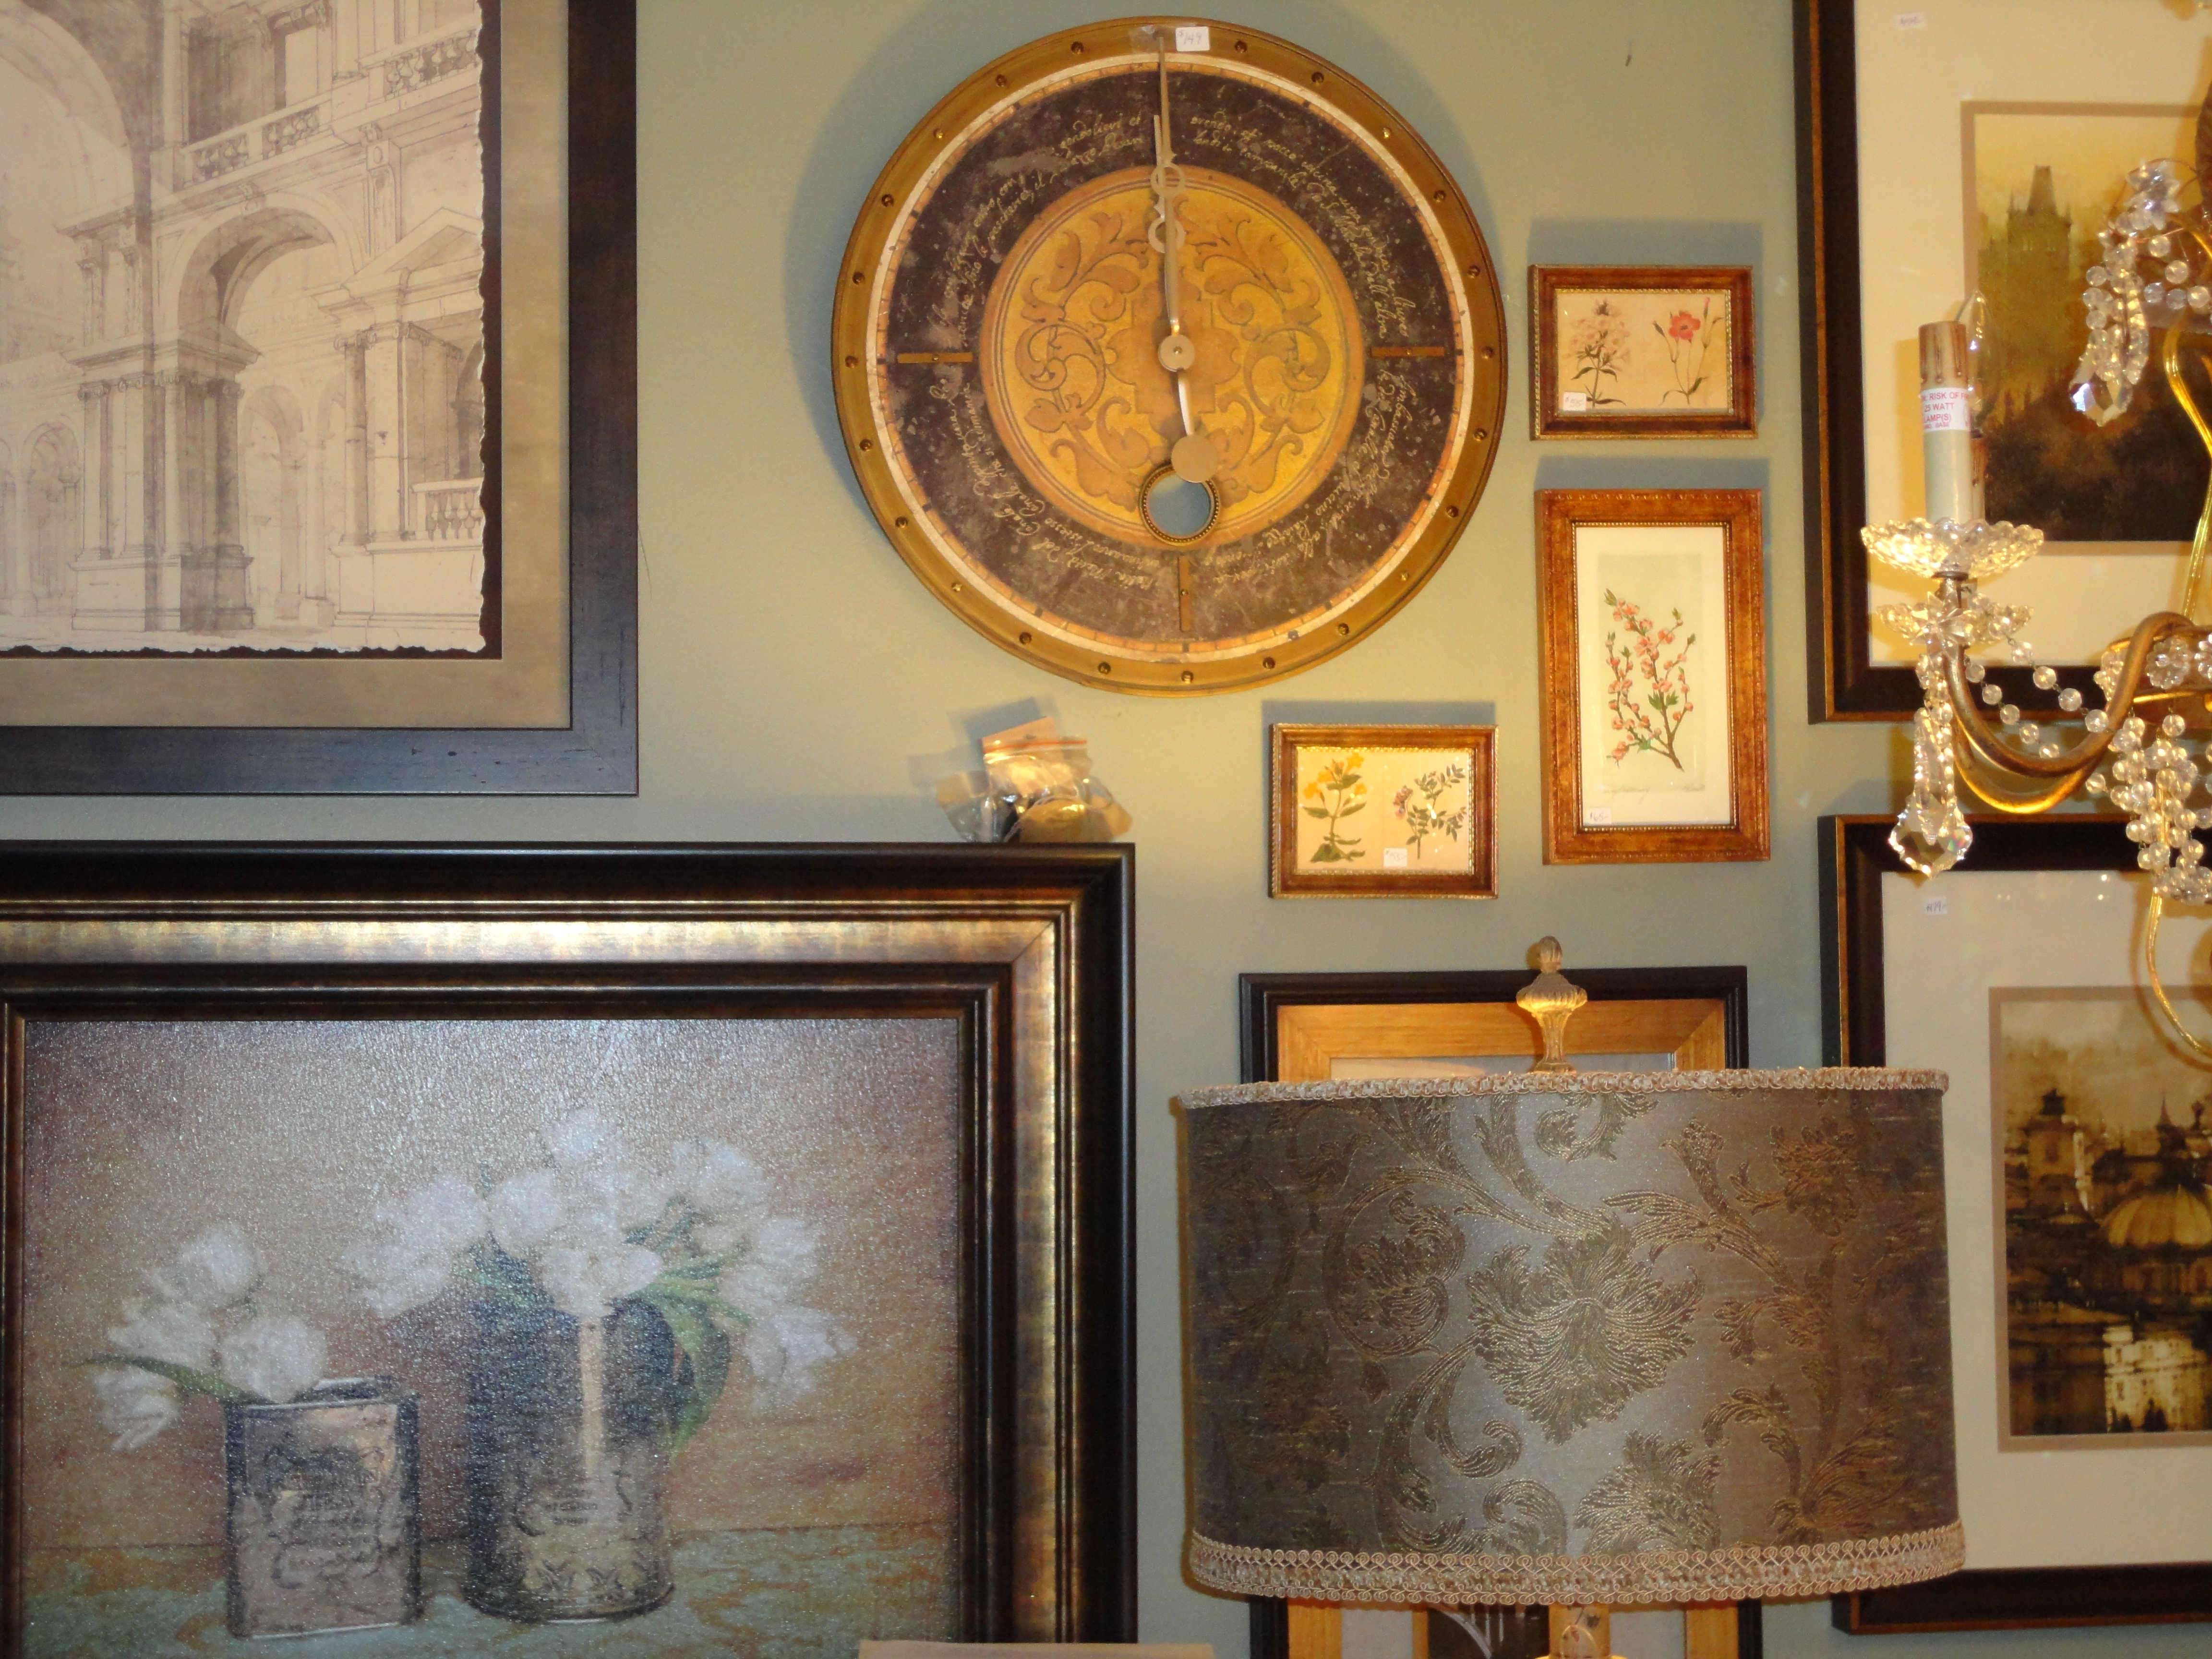
The latest shipment of artwork came yesterday. There were two boxes (one of them over 6′ high) on a big skid….it was a hot day to contemplate opening that much freight.
But as always when I started to take out all the different pieces of artwork I got excited because it was all beautiful and nothing was broken…that in itself was a miracle since this particular shipment was actually on the road for 20 days. So now there is lots of beautiful artwork again at The Whistling Elk!
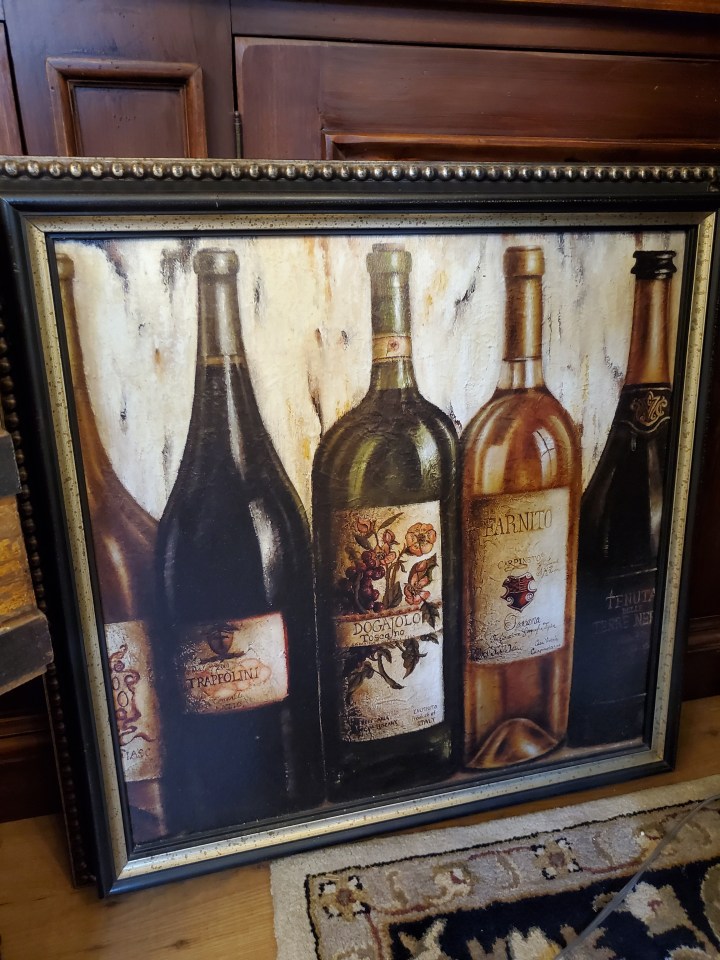
Here’s a sampling of some of the pieces that arrived…come check them out…there’s more!
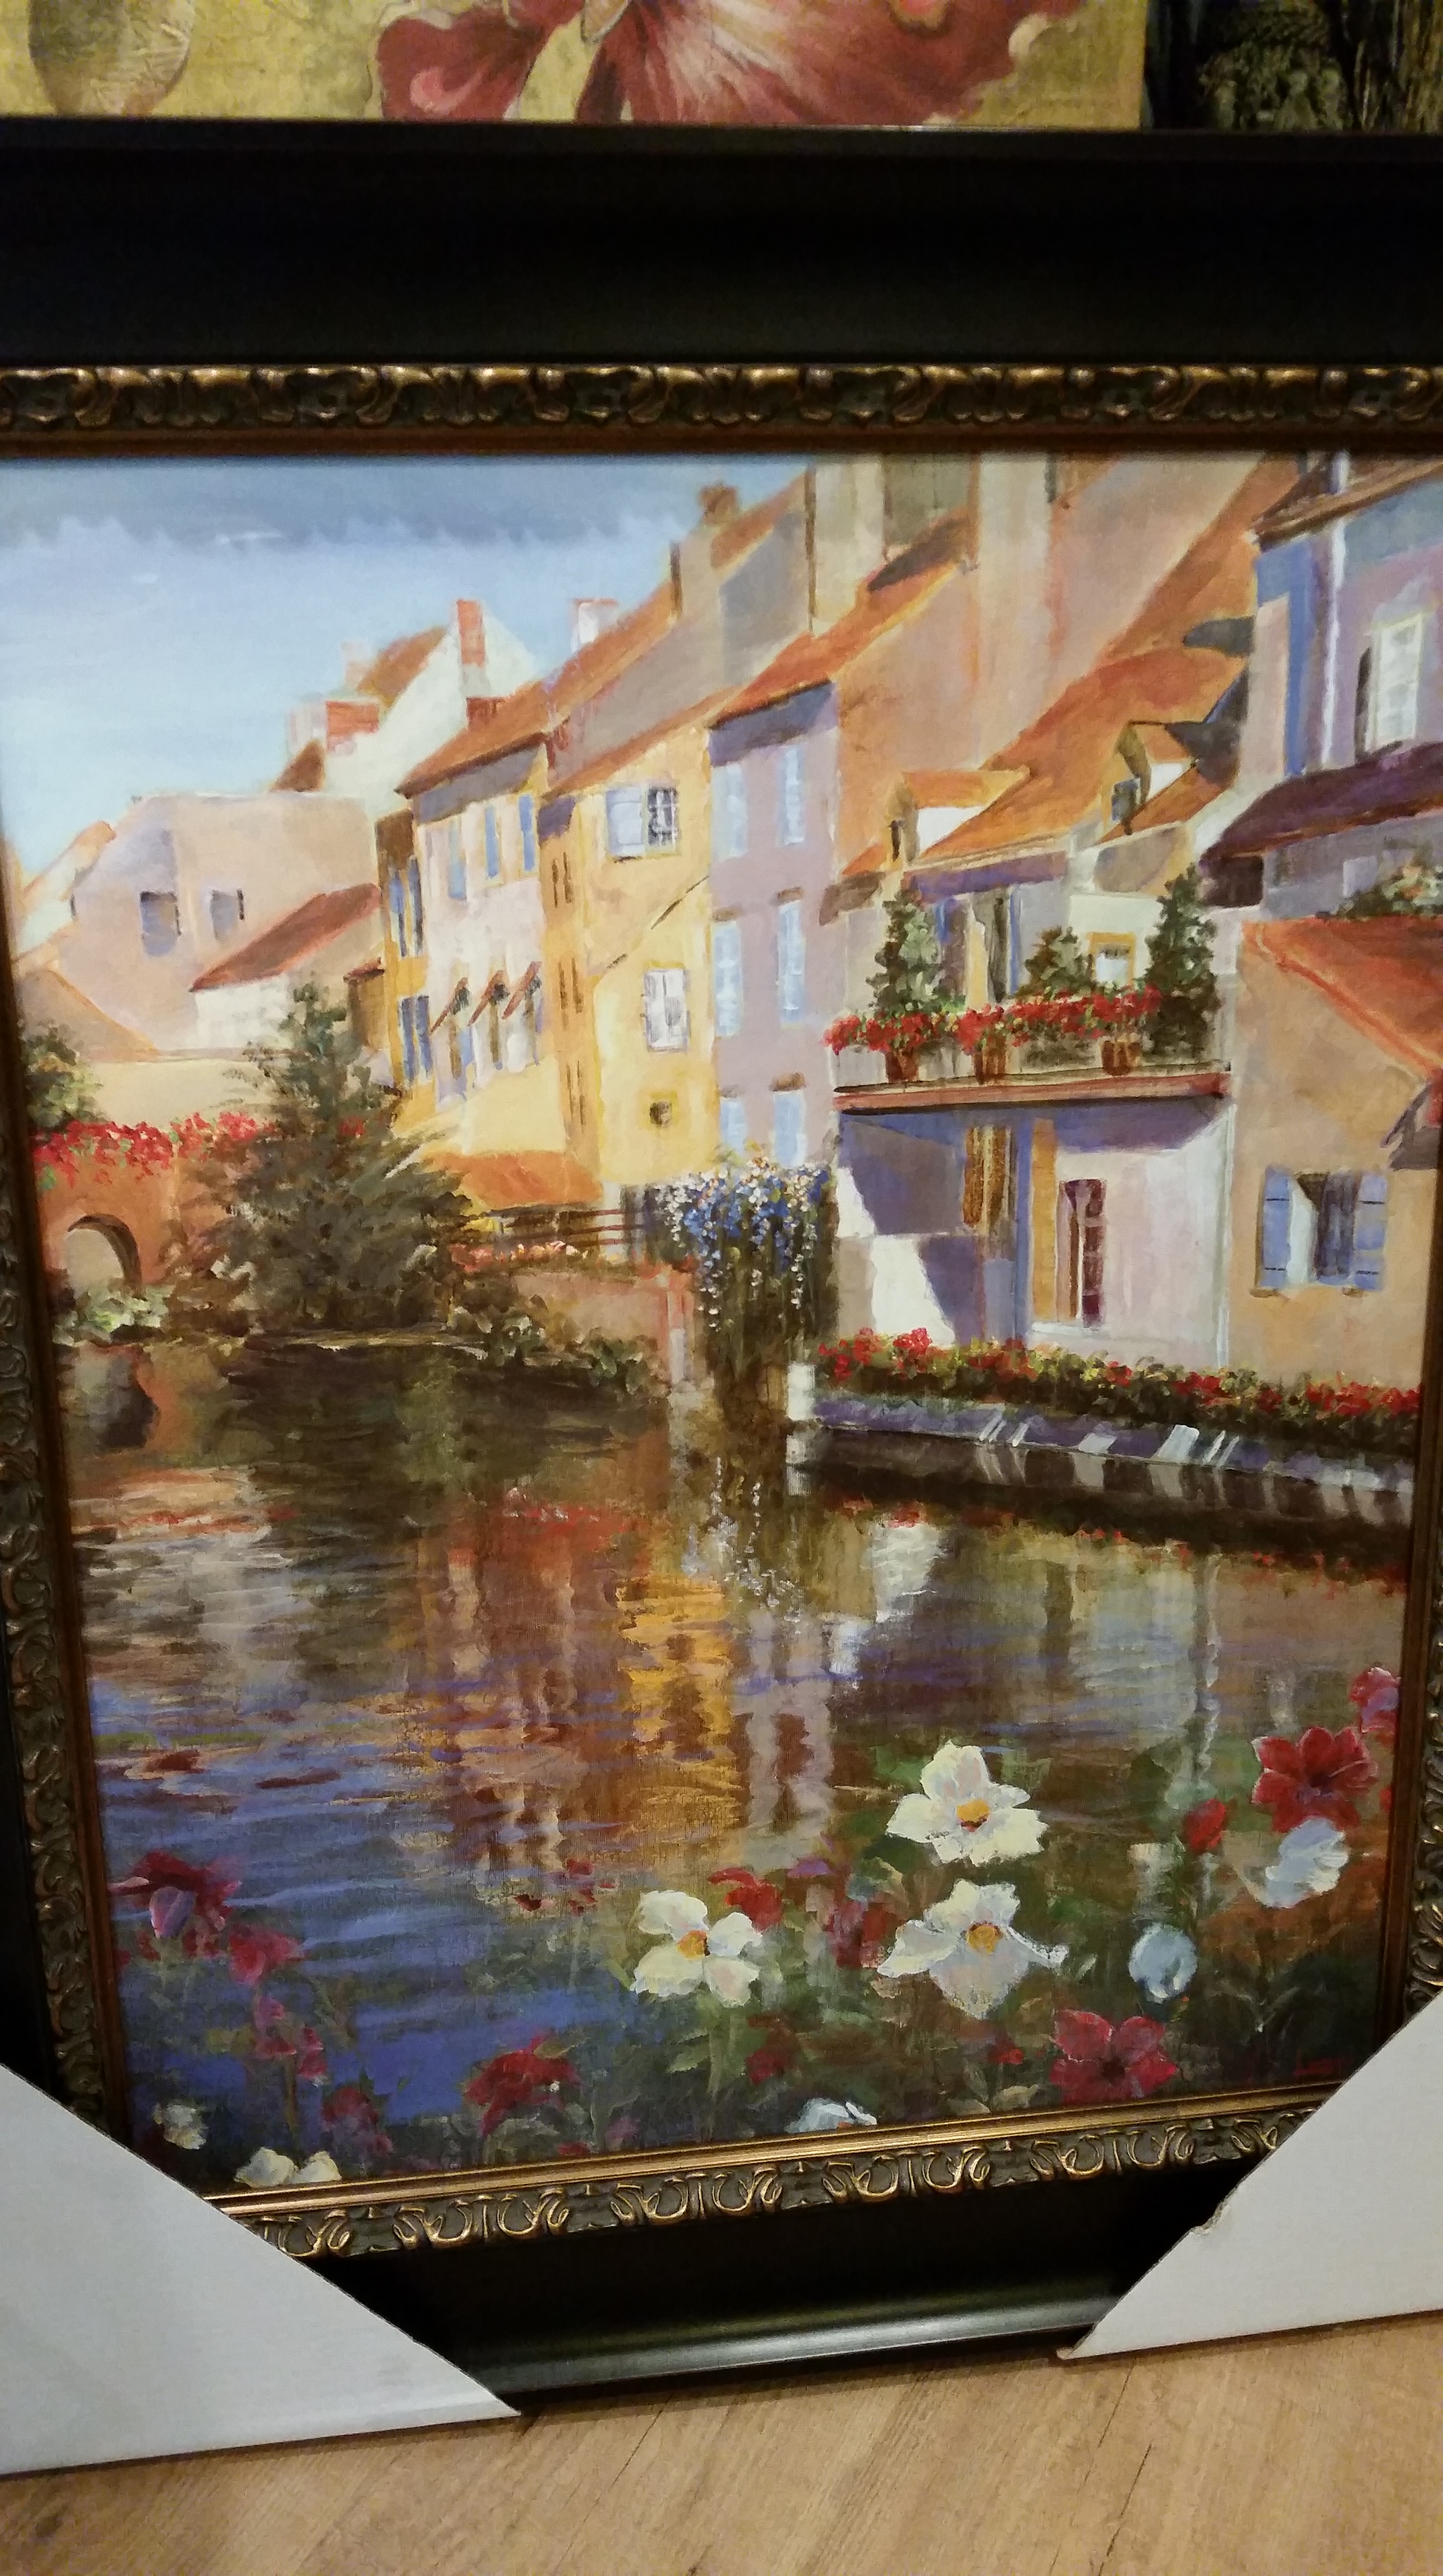


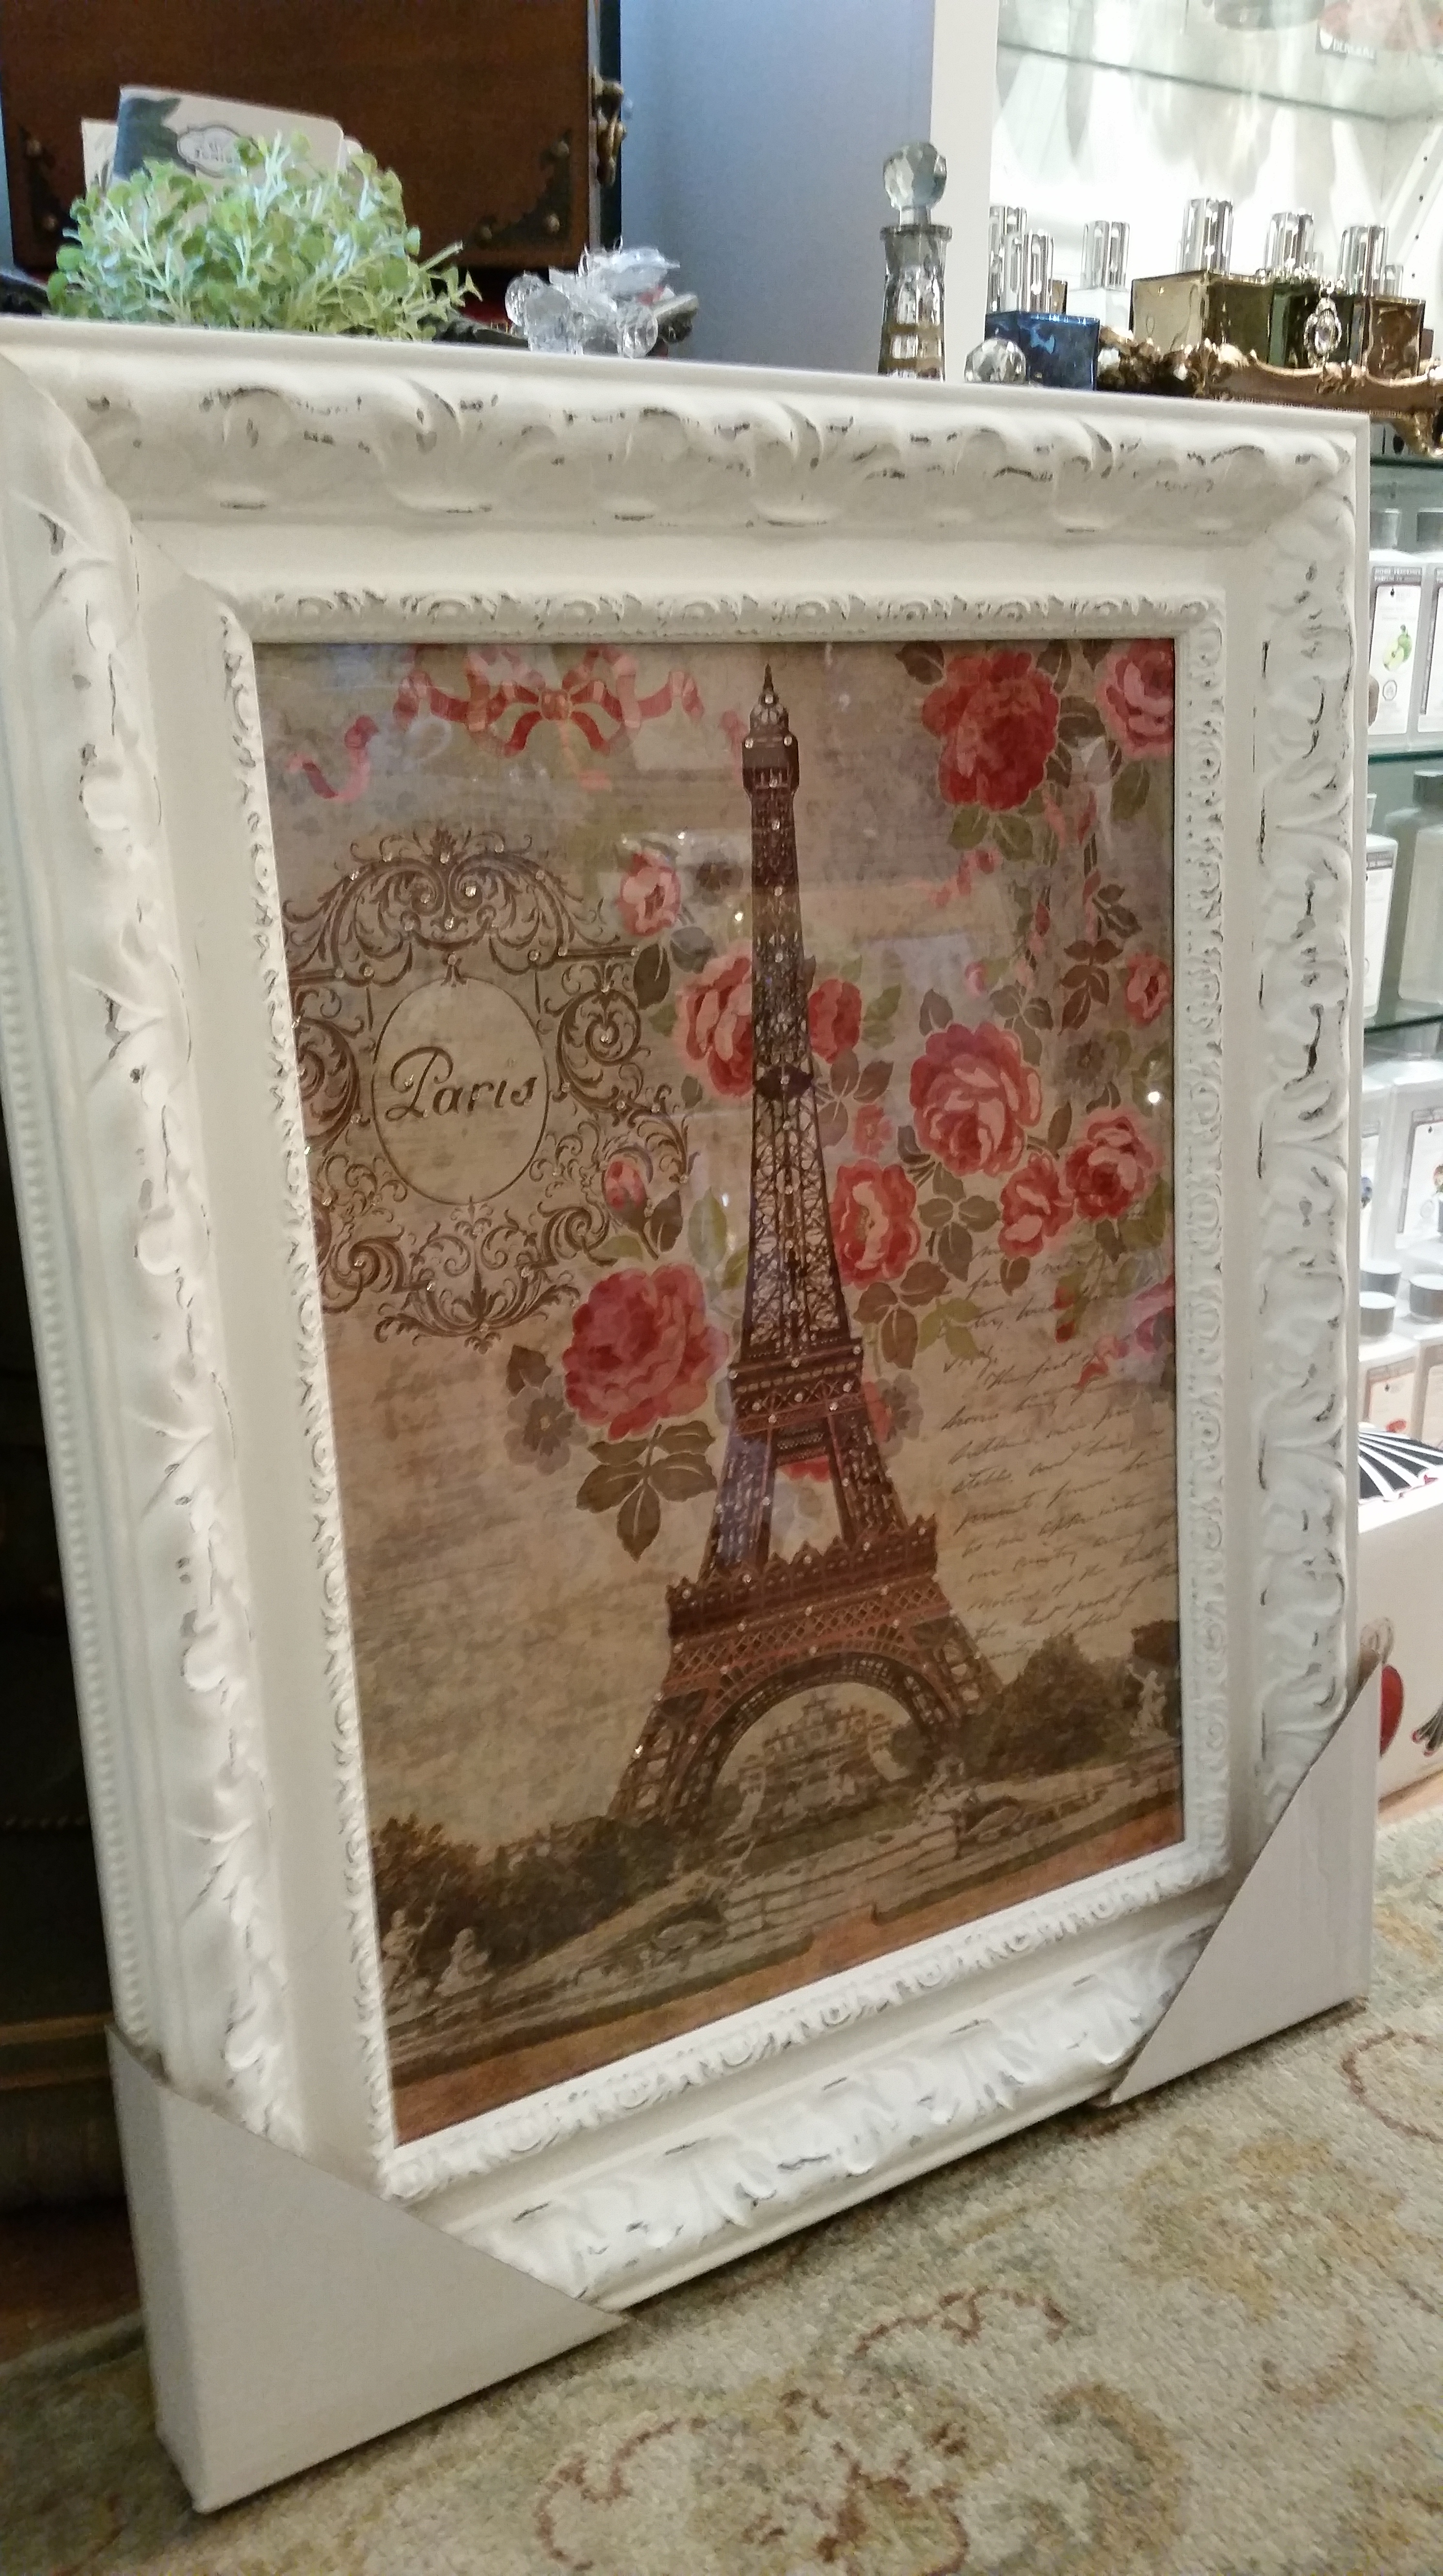
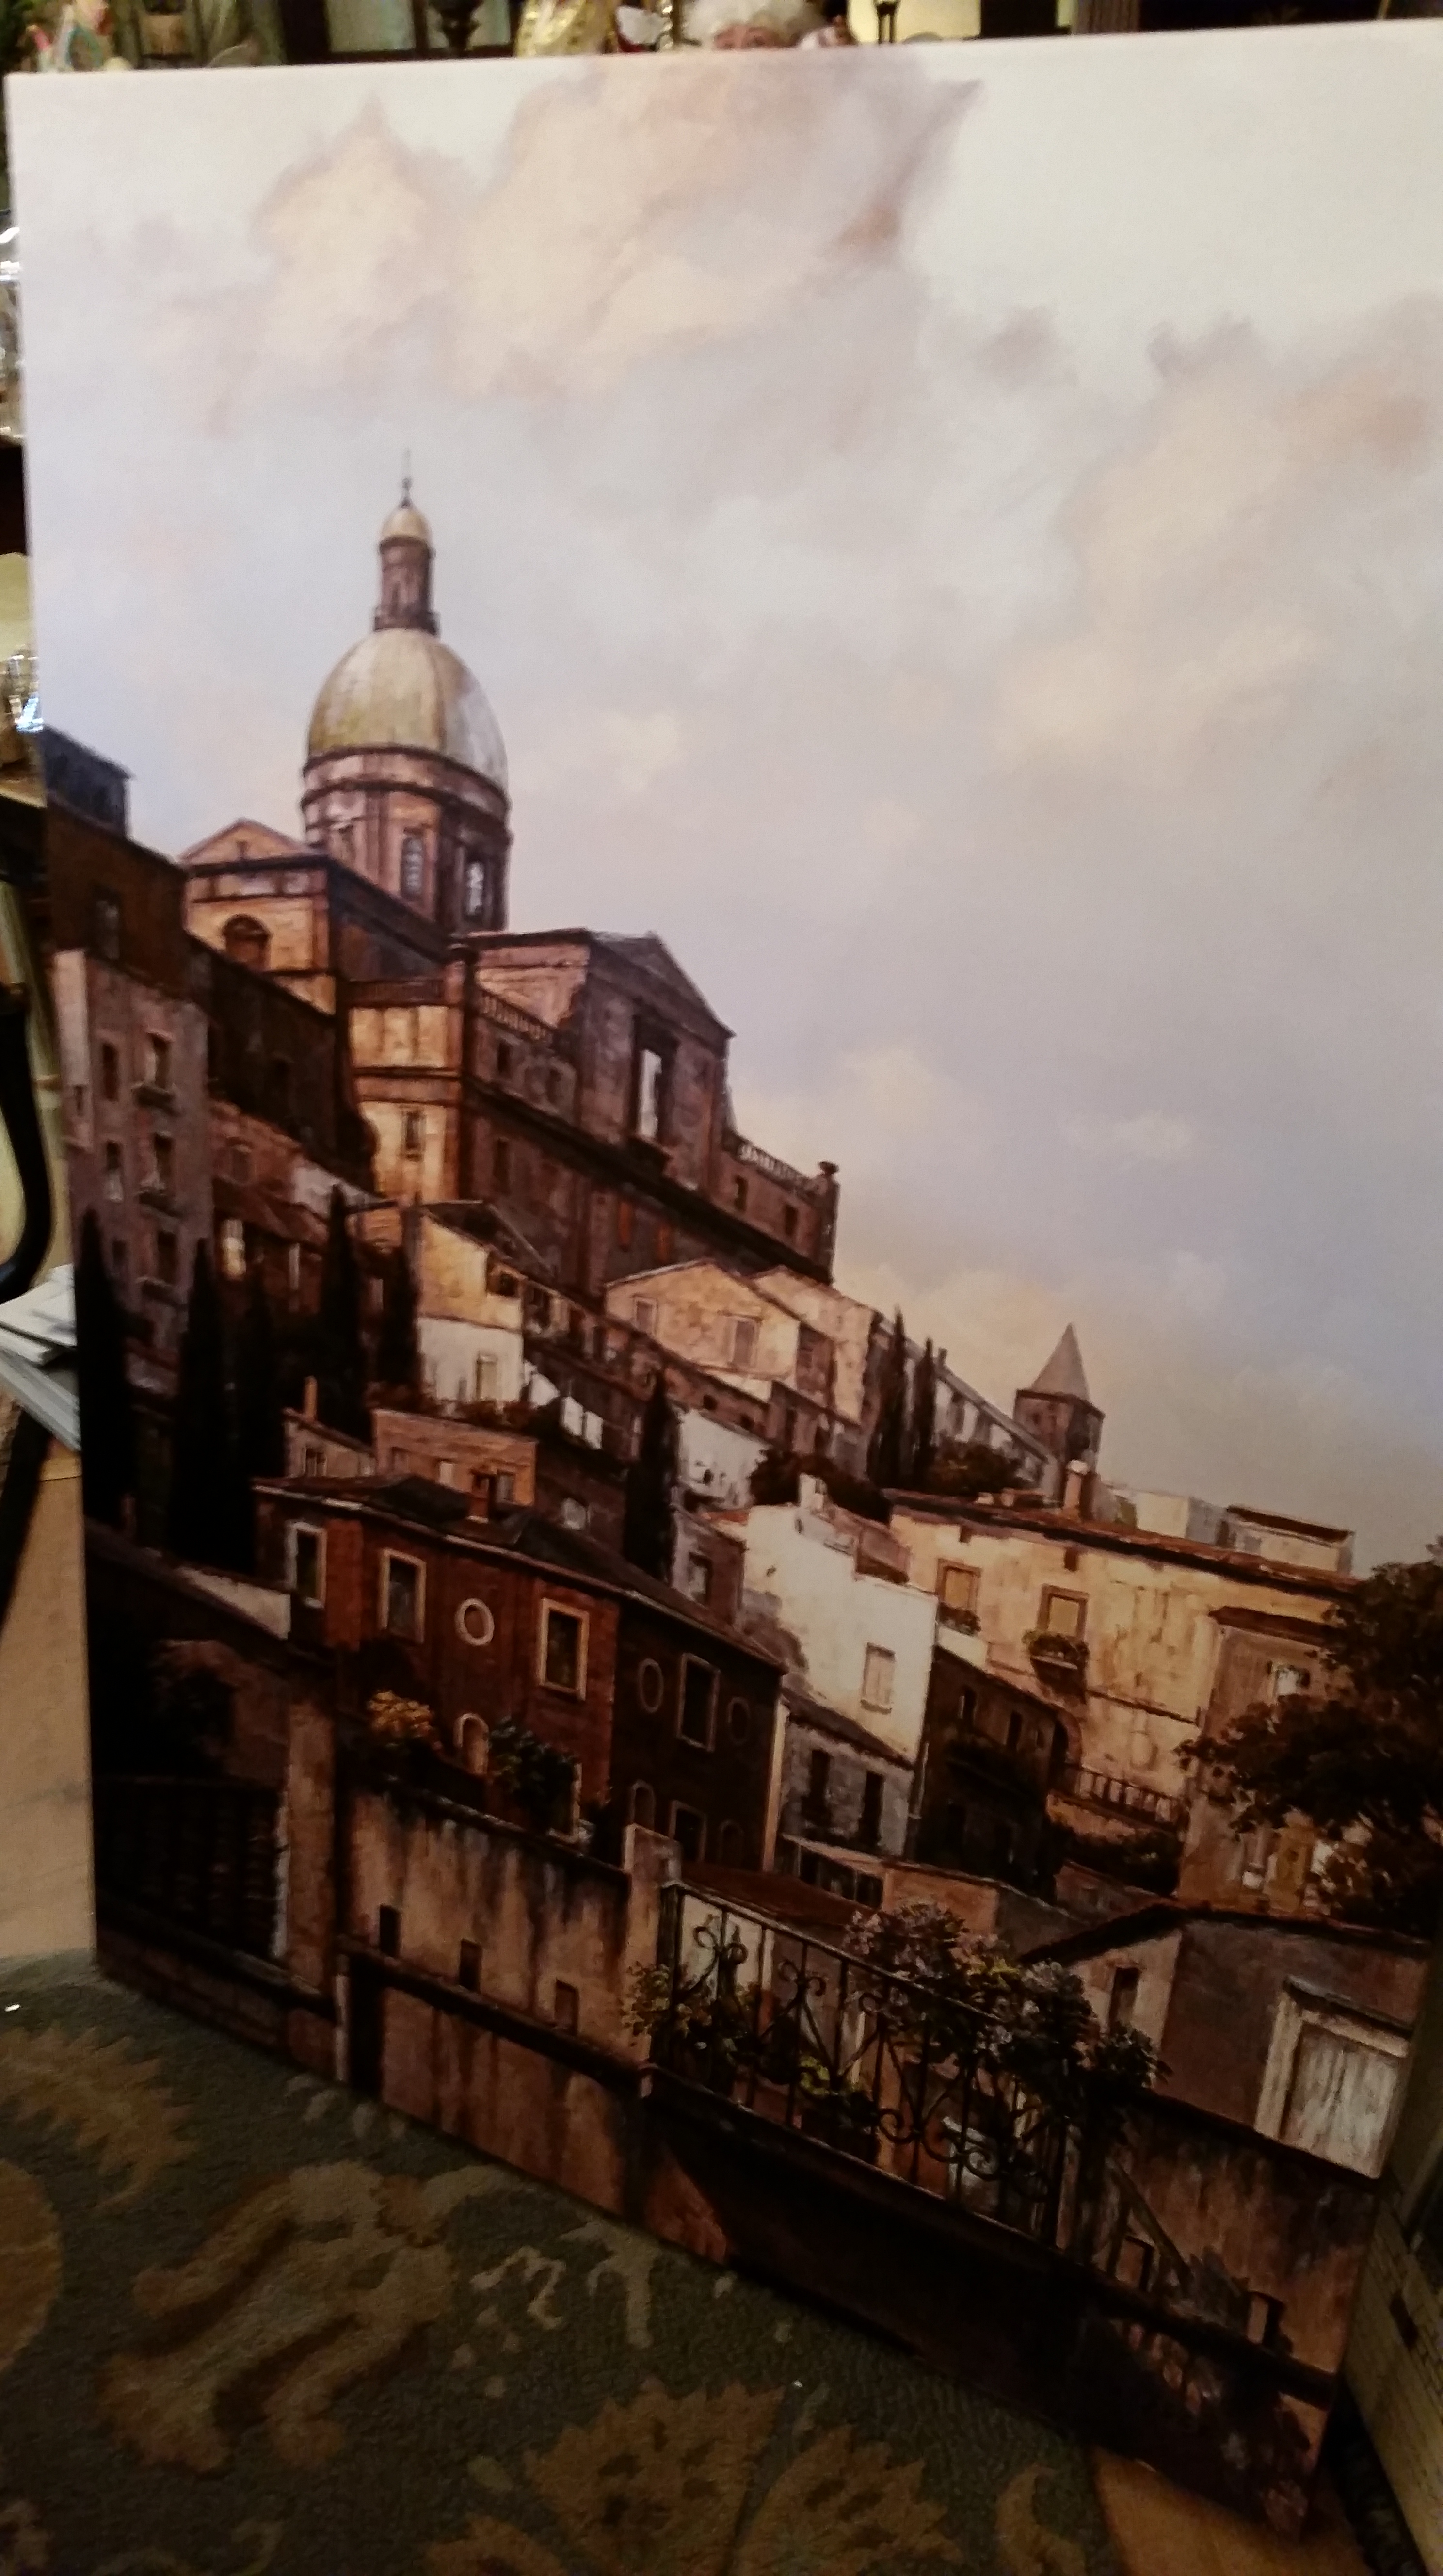
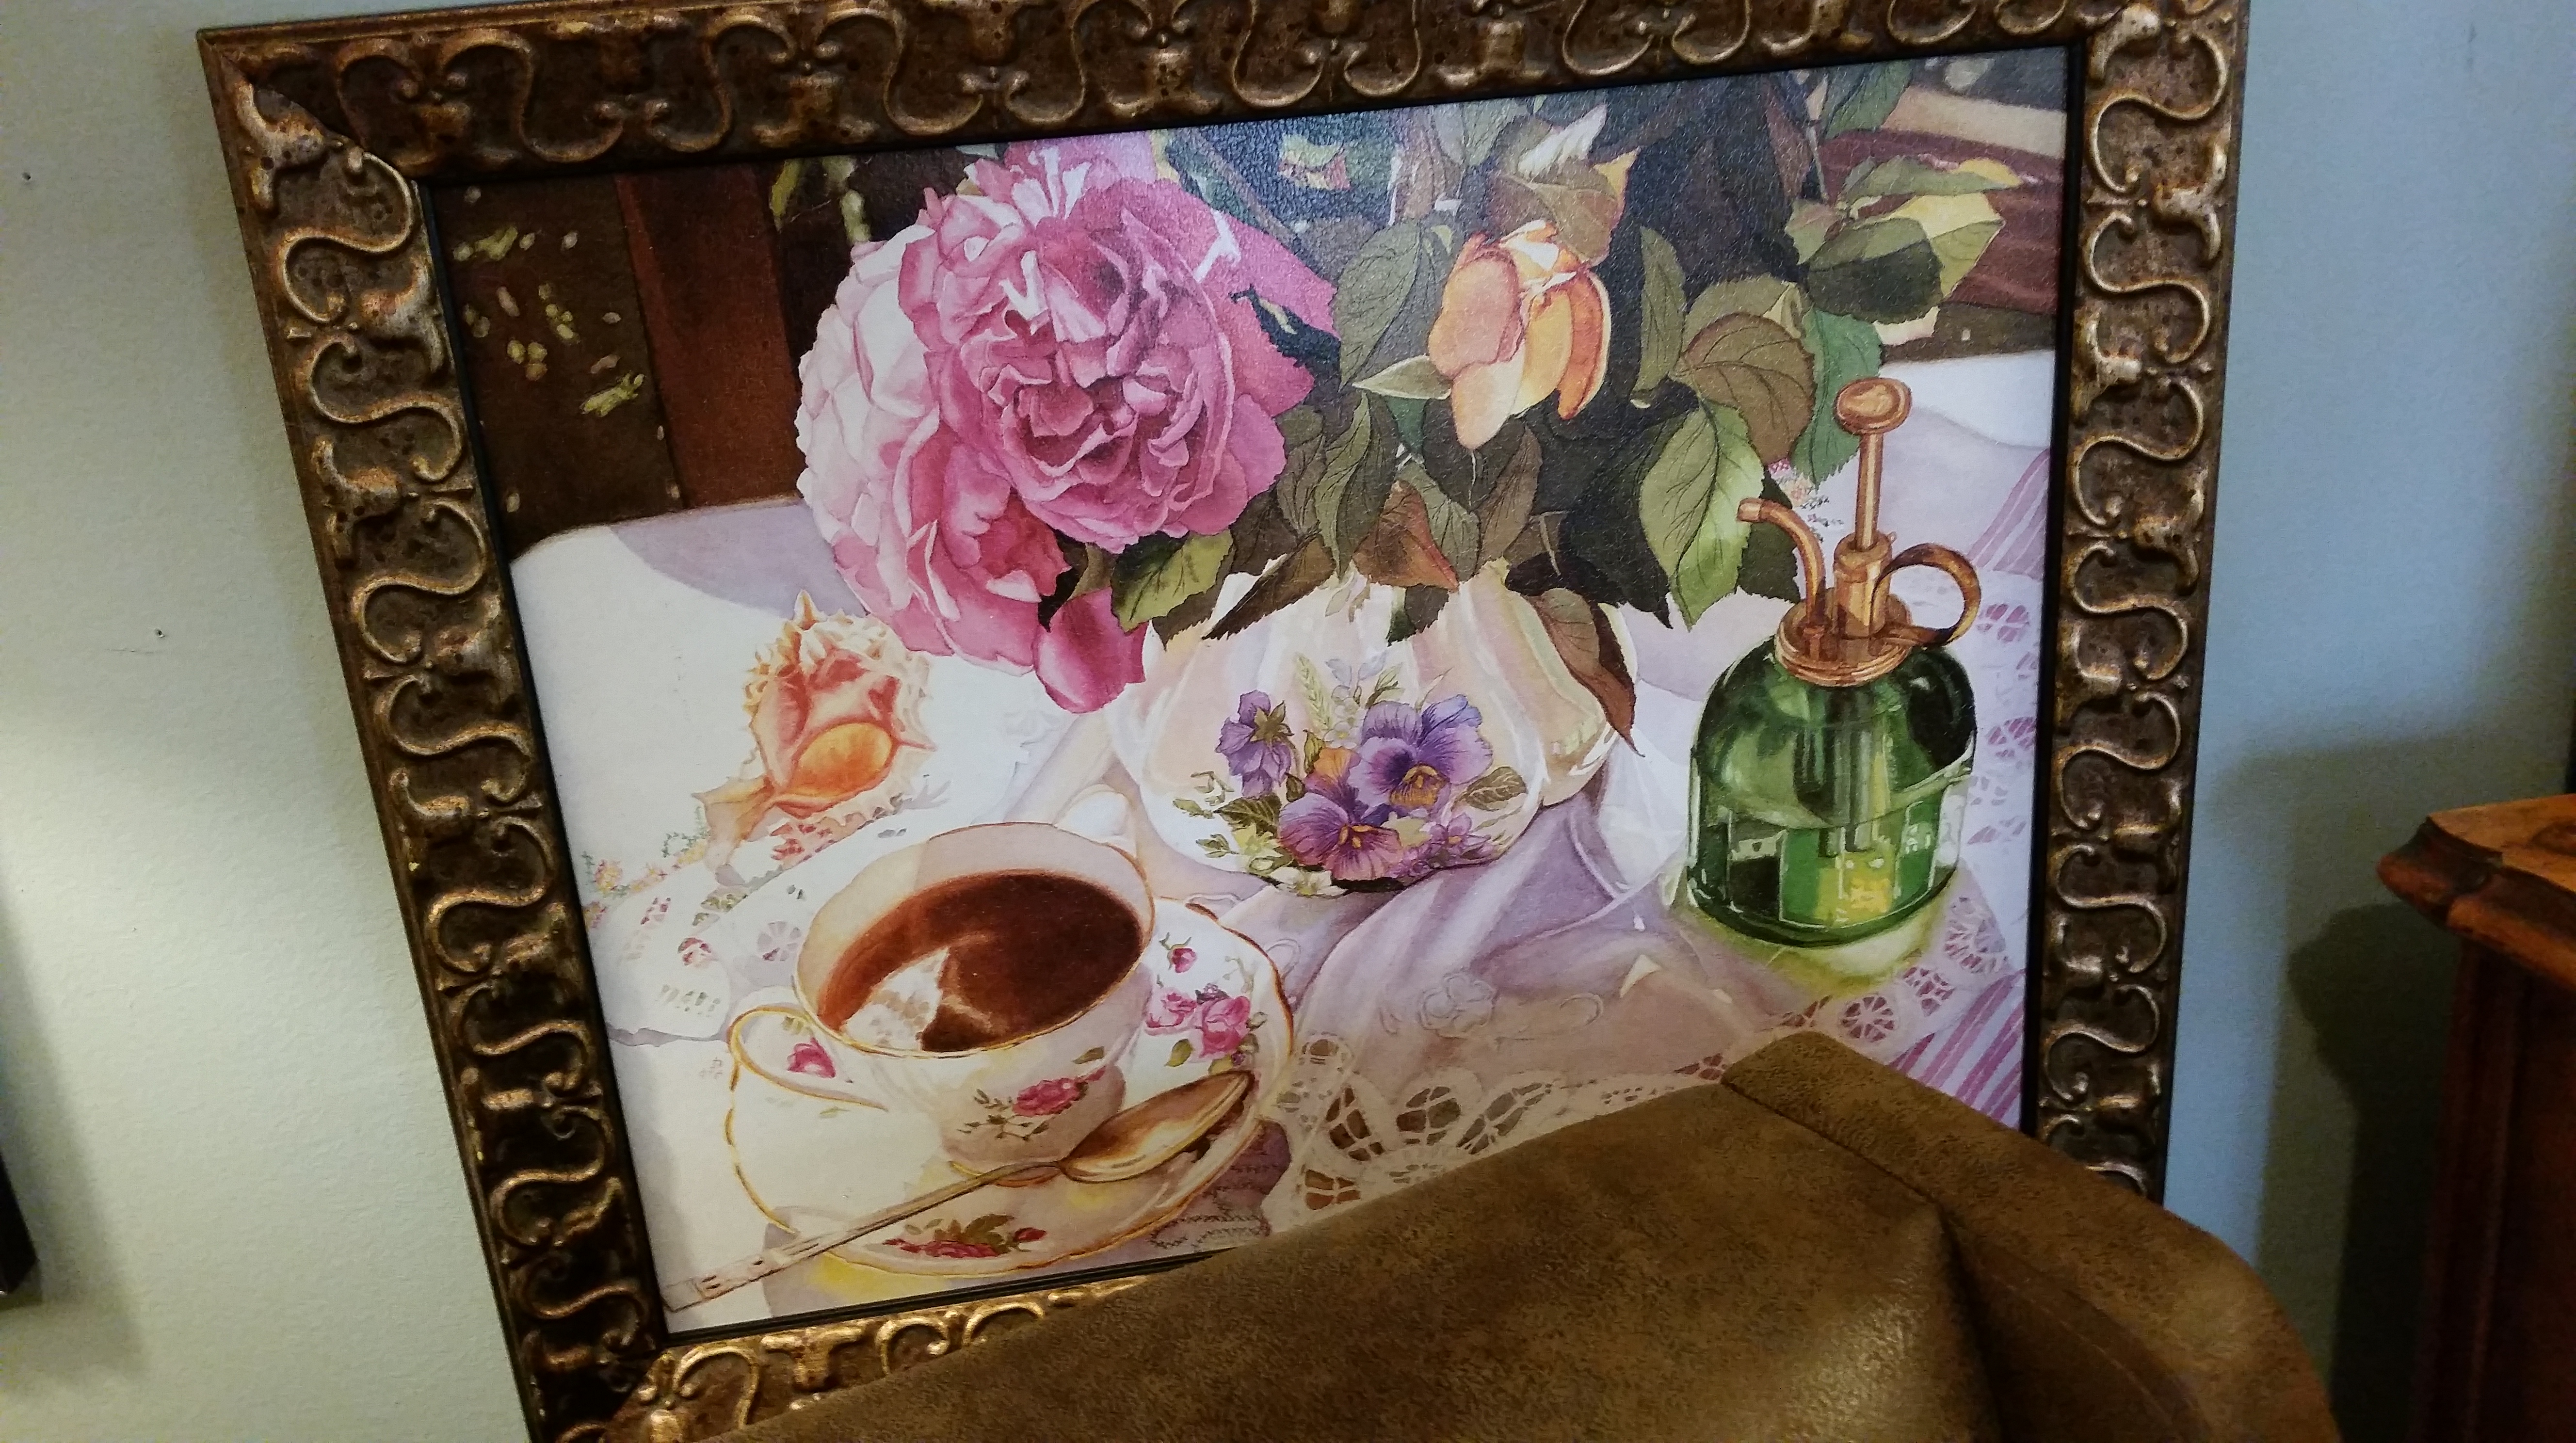
Walls are a big part of your home…and your home décor plan should include lots of beautiful artwork on the those walls.
We’re doing our part at The Whistling Elk! We have shipments of beautiful wall décor every other month! This month we brought in a double shipment so there are over 45 new pieces in the shop. Come check it out and spruce up your home décor!

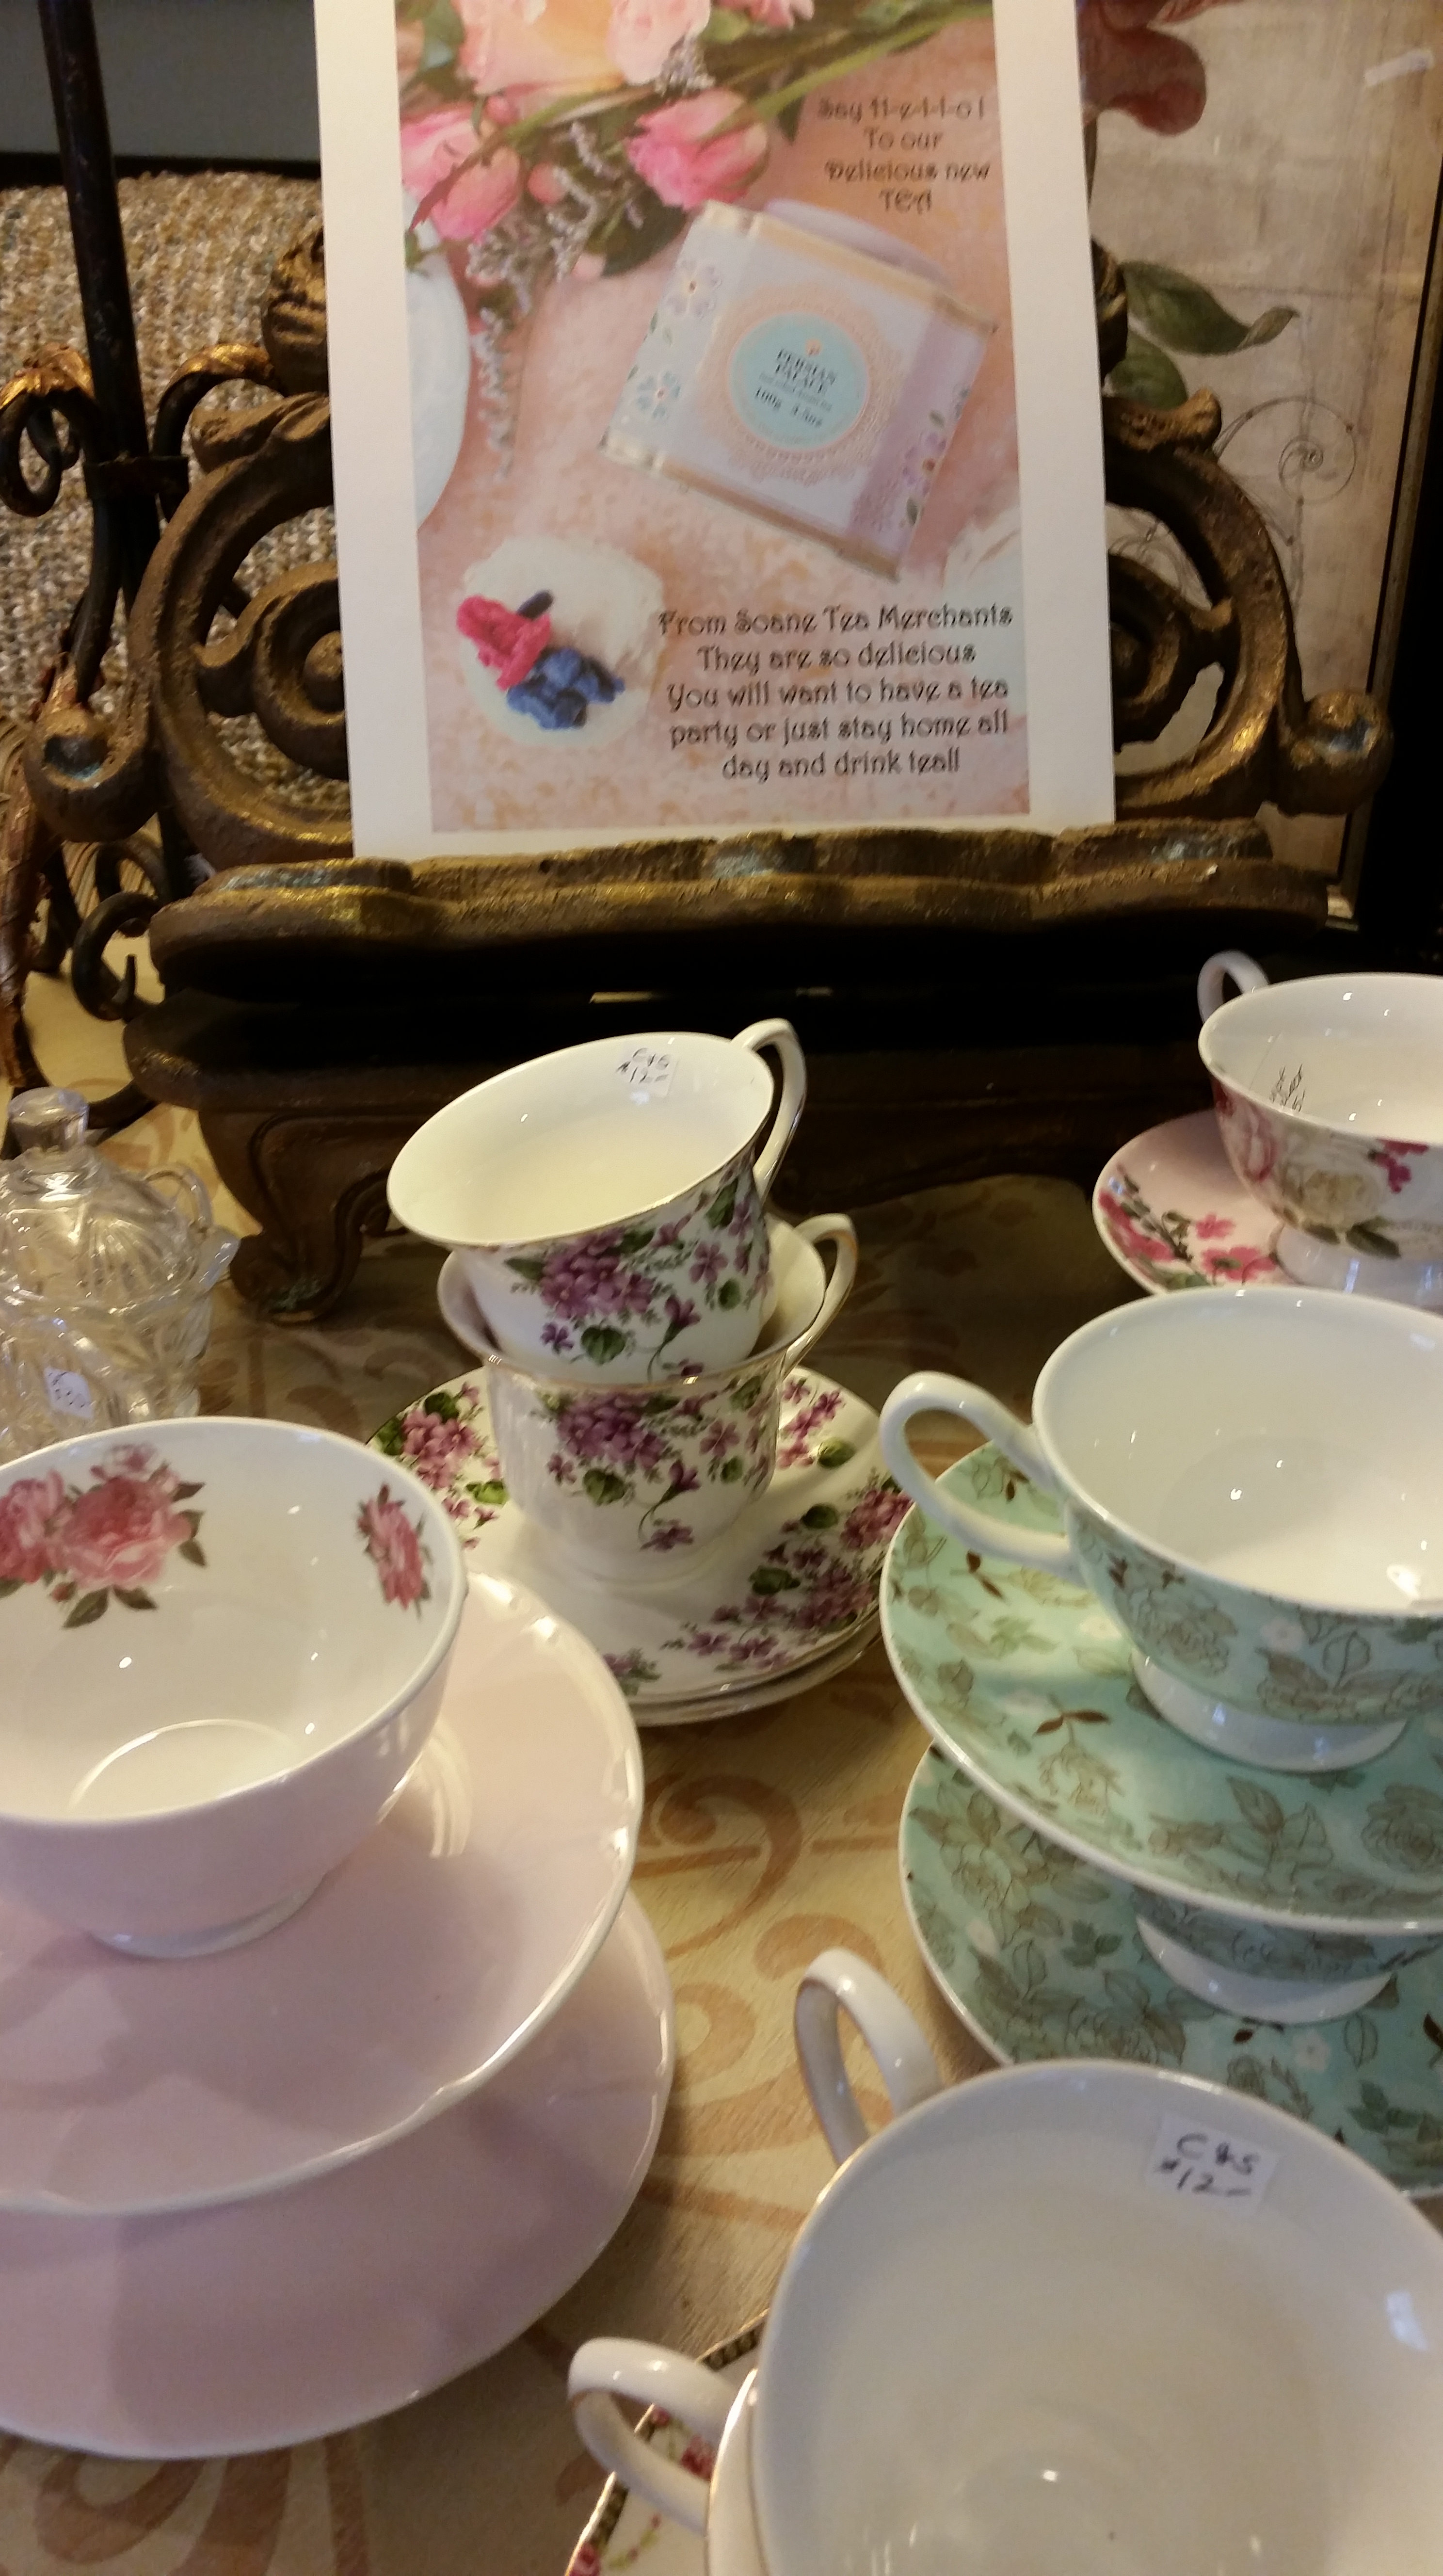
I love tea!
I love not only the taste of a delicious tea but the whole ritual!
In this crazy world there is nothing better than to brew some tea, wait while it steeps, and then pour it from a pretty teapot into a pretty cup! and of course you should do this while relaxing in your beautiful home!
I know you think you don’t have the time. Well, I say make the time – you will be the better for it. Sip it slowly and enjoy the whole ritual. I admit it took me a while to get the hang of it but now I look forward every morning and evening to my private little ritual that relaxes me and helps me to remember what life is really all about.

I did a lot of research on Tea as I was looking for a new line to sell in my shop…and what I found is outstanding! Sloane Fine Tea Merchants. It wasn’t easy as they are in Toronto and I am now actually their first customer in New Jersey. It’s a little tougher to import product…I haven’t done a lot of that in my shop – but if you give it a try you will agree – it is worth it!
Here’s what they say about their Tea :
“The tea in your cup is a result of a delicious journey. At Sloane Tea Company we traverse the world in search of only the finest teas that would delight even the most discerning of palates.
The Sloane story is about beauty. Beauty as told through the senses of taste, smell and sight. Beauty as experienced through the remarkable taste of our teas, as well as the beauty of the colour in your cup and the enticing fragrance of our perfumed teas. Sloane’s signature line of teas and tisanes (herbal teas) combine the finest loose leaf teas, exotic ingredients and artisanal techniques.
Each Sloane Tea is individually sourced. Chosen from hundreds of tea gardens, Sloane Teas are carefully processed using centuries old artisanal techniques. Our scented and blended teas are custom created by our own team of Certified Tea Sommeliers and culinary experts. As part of the development of our products, we have consulted with the Maître Nez (Head Nose) of one of France’s foremost perfumeries and trained at the Studio Des Fragrance in Grasse, France.”
The tea is absolutely delicious! My favorite right out of the gate was the Heavenly Crème – I am already addicted to it. It really is heavenly. And then I enjoyed it so much I already ran out!!!! So I decided to try the Jasmine Pink Lemonade and I have to say I love it also and for me that is saying a lot. As a general rule before sipping this tea I would have said “No Thanks…I just don’t like green teas” but I was wrong – this one is delicious! It’s blended white and green tea and one of Sloane’s “Signature” blends. It has the sweetness of fresh jasmine and an unforgettable pink grapefruit finish…and it is superb as an iced tea also! I have been drinking it both hot and cold and look forward to it almost as much as the Heavenly Cream….you simply must try these teas!

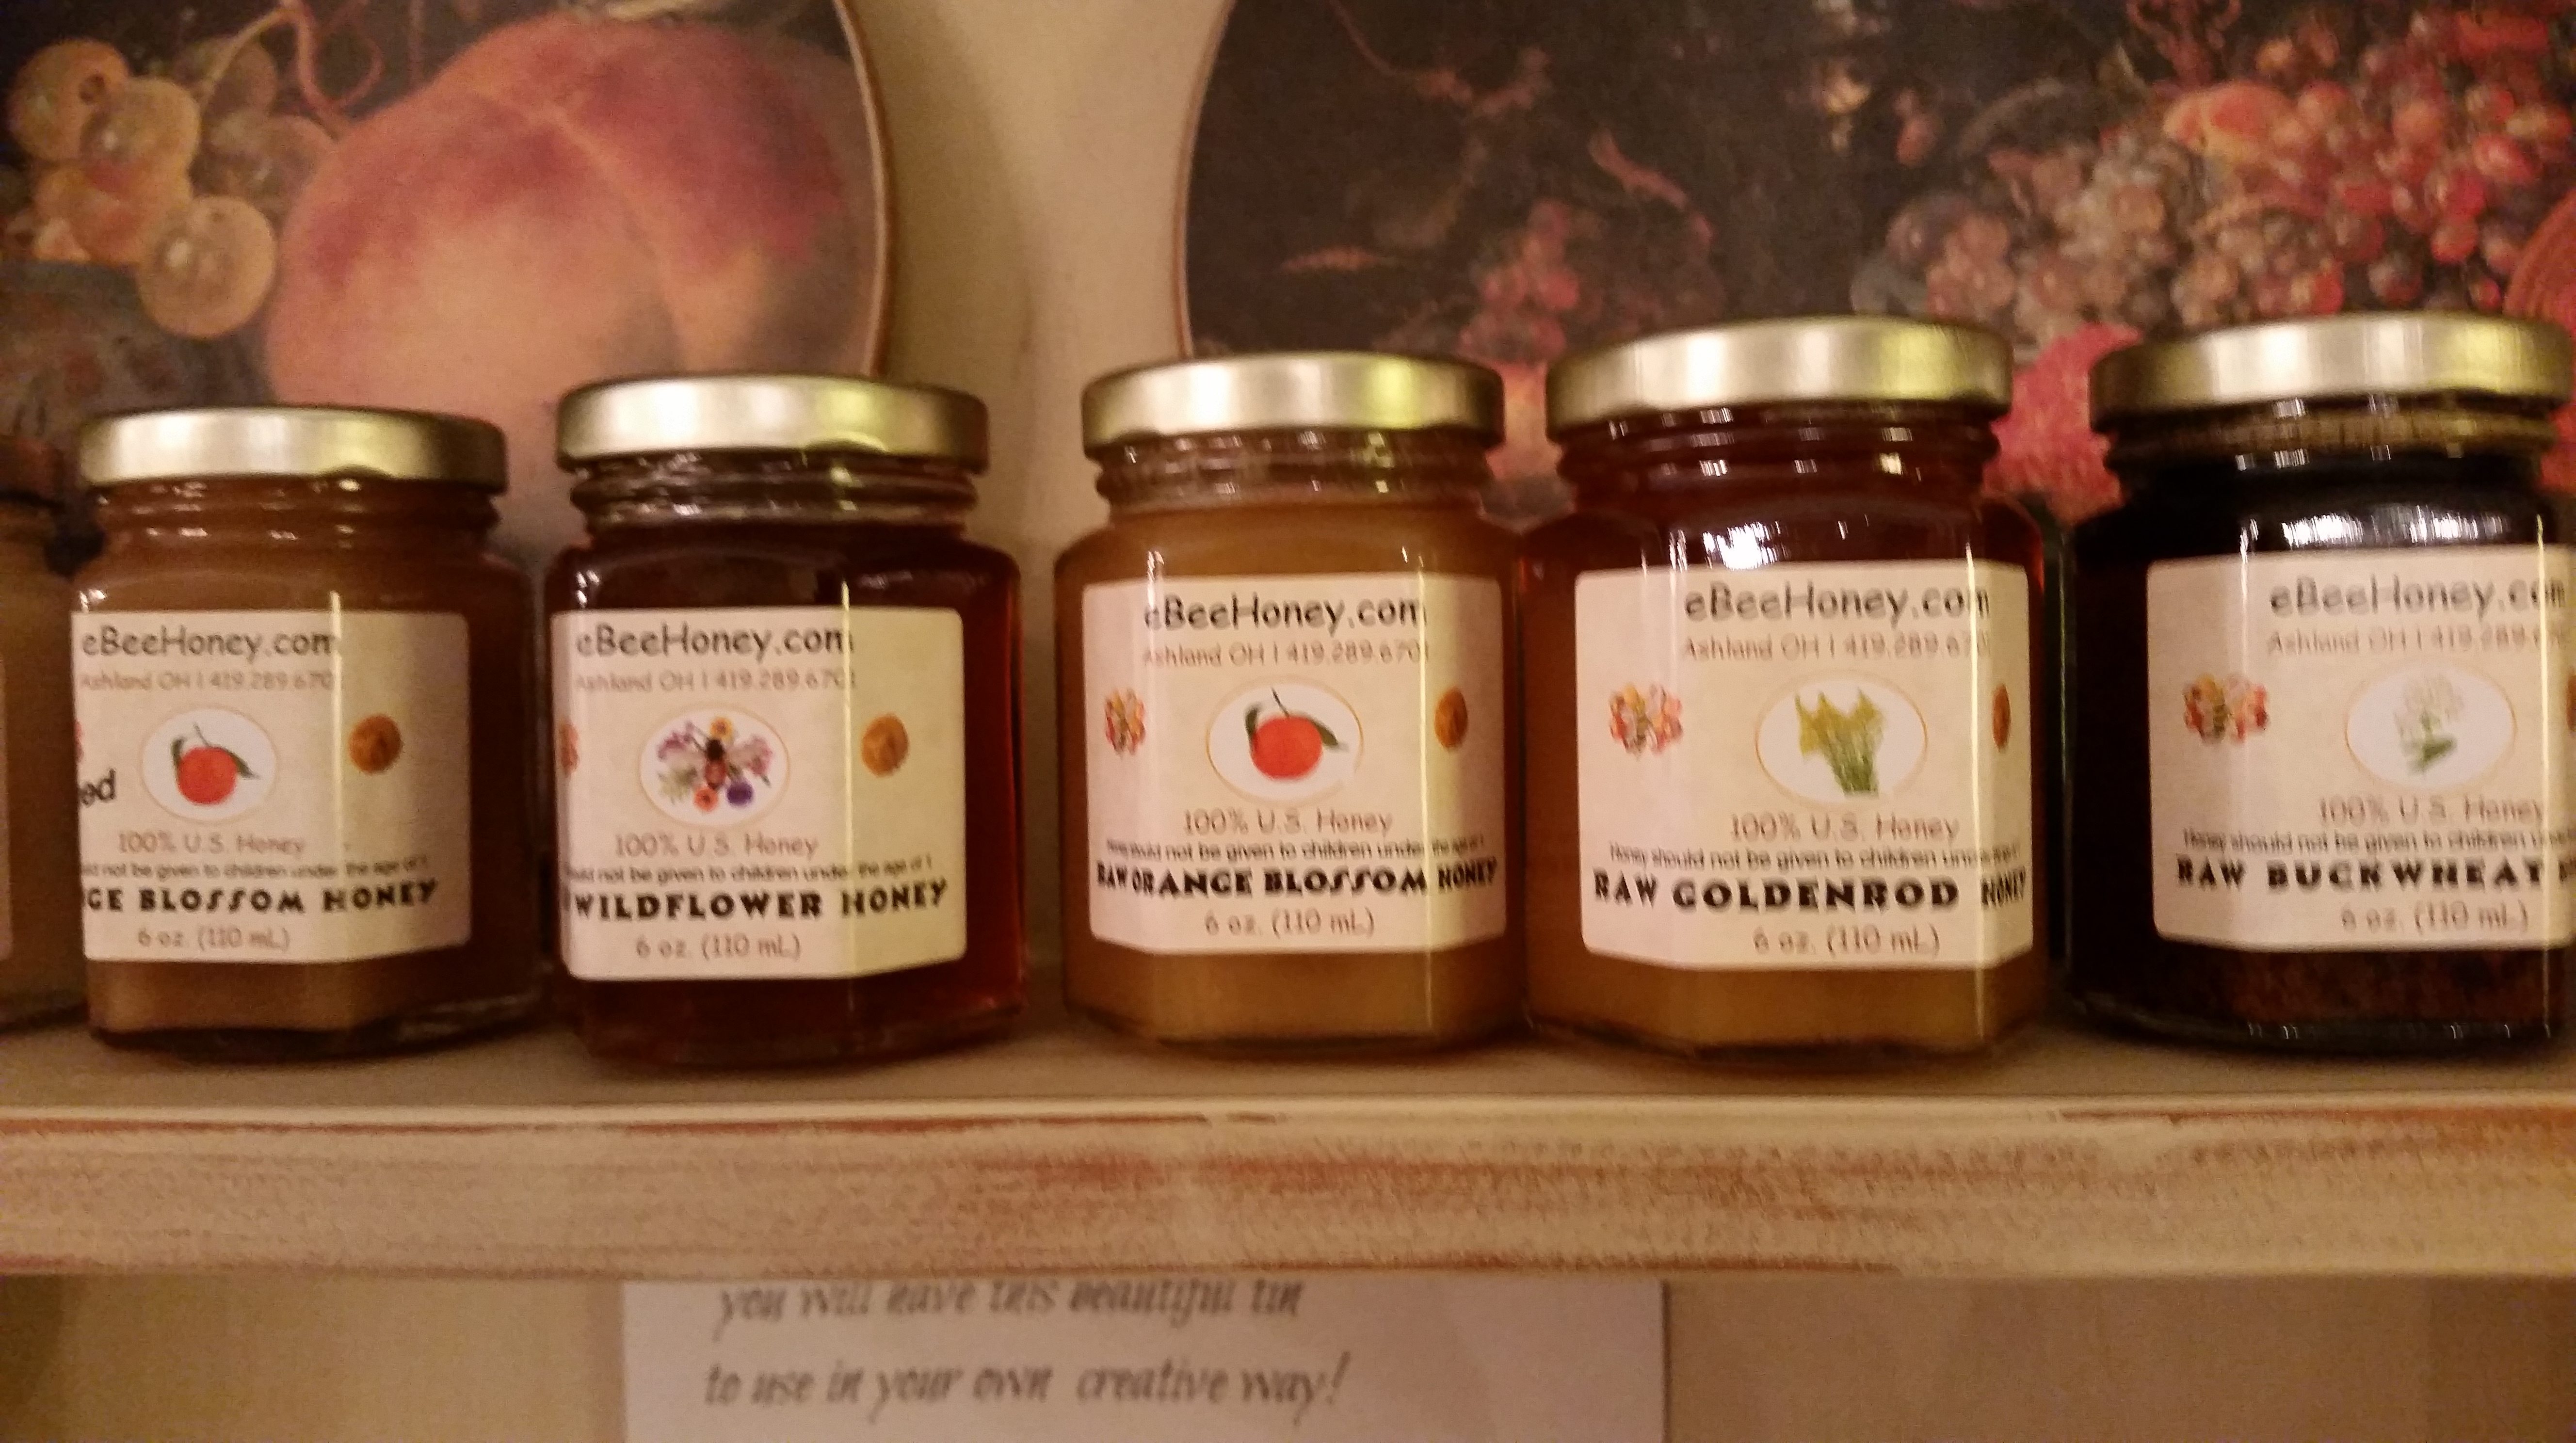
So now that I have found these delicious teas from Sloane, I am stocking them and found that I wanted to sell a delicious honey to use with them. So again I have done exhaustive research and found some sources of Raw honey which I will also be stocking. For the teas I love the Star Thistle Raw Honey the best because it has a very subtle flavor and doesn’t interfere with the flavor of the tea…but I have many varieties of raw honey available now:
Star Thistle, Orange Blossom, Wildflower, Bamboo, Buckwheat, and Clover….all Raw and delicious! And there will be more….
Ohh, and of course you must drink your tea from a beautiful cup…
At The Whistling Elk you will find not only home furnishings and accessories but also lots of other products to enhance the way you live your life! We believe your home should be your sanctuary…that is one reason why I love our Tea products! They will be in good company with our other home products like our Lampe Berger! Come in an see what is new! It’s our 25th anniversary this year! and we are celebrating!
It’s hard to believe that 25 years ago just about this time I was collecting merchandise in my garage in preparation to taking possession of my first shop location in Chester on May 1st, 1990. It has been a wonderful 25 years and I have hundreds of photos taken of the shop over the years. So take a walk with me down M.E.M.O.R.Y. L.A.N.E…
The first home of The Whistling Elk was at 9 Main Street, Chester. I hung a lace ceiling in this shop…it had a really ugly ceiling and the lace really improved it but I still had to cut holes in the lace for the air conditioning vent… It was a small shop just three rooms in 800 square feet. In those early days I remember that we sold a huge amount of silk flowers and vines.
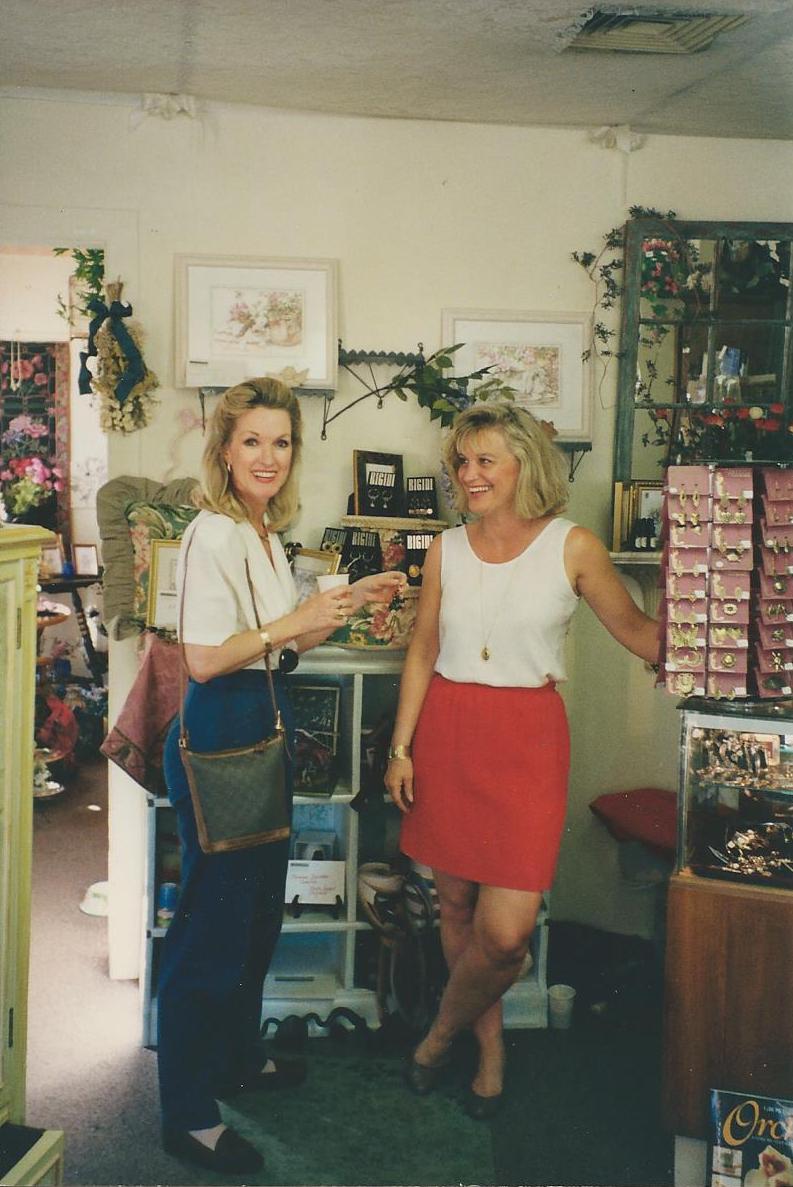
Sadly, I don’t have a lot of pictures of the 9 Main Street Shop – this was before cell phone cameras…gosh I didn’t even have a computer then!! This location had two entire walls of windows…no where to hang anything…hmmm that must have been tough for me!
Here’s a few more shots of The Whistling Elk at 9 Main Street.

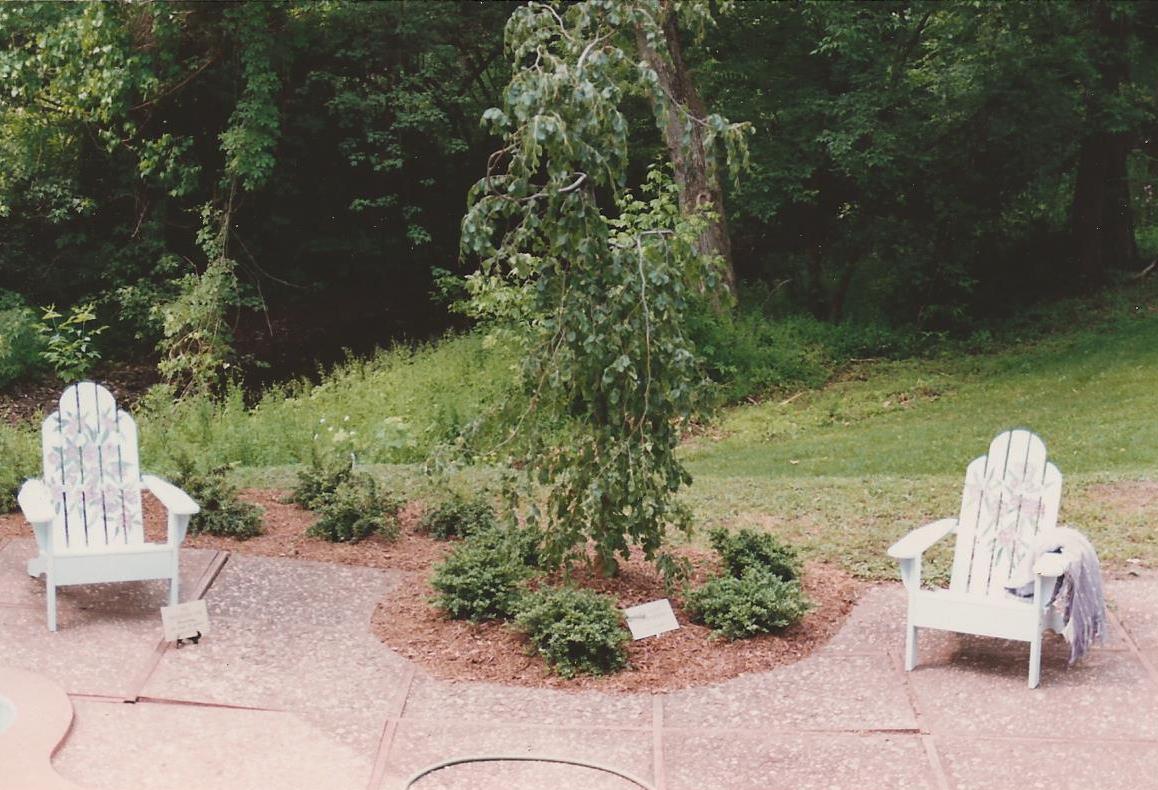
Below is a shot taken at a Showhouse that we were invited to participate in – early 90’s. We painted Adirondack chairs for the pool area which was surrounded by a beautiful garden of rhododedrons…the chairs were painted a light blue to reflect the blue of the pool and had beautiful purple rhododendrons painted across the backs. It was a pretty effect!
Two years after I opened The Whistling Elk 44 Main Street became available and I was able to secure that wonderful location. 44 Main Street was about double the size of the 9 Main Street shop. This move entailed moving about 60 feet from the end of Main Street closer to the center of town.
I remember selling an iron canopy bed because someone drove by as we were walking the headboard down the street to the new shop. We were selling a tremendous number of beautiful hand wrought iron beds at the time. The iron beds were probably among the first larger pieces of furniture sold at The Whistling Elk.
Here’s a shot of the front of the 44 Main Street shop. On this particular evening in 2009 we were hosting our Charity Evening.


I remained at 44 Main Street for 21 years – it changed sizes a couple of times over that period going from 1800 to 3000 square feet. During that time we sold oh-so-many furniture lines along with accessories, artwork and mirrors and lighting. Many lines we still sell today. Sadly, some important vendors were lost due to the recession over the last 6 years. We are always adding new lines though so things are never dull at The Whistling Elk!
We have participated in many showhouses over the years…here’s a Showhouse photo taken sometime in the 90’s at a showhouse in Chester. The room was a garden room..I think it was called “Holiday in Paradise”…as I recall the event was in December.
I used a mop and a bucket of watered down green paint to swab the walls of this room…I was going for a watered silk look. The walls had cracks all over and I didn’t want to repair them so I used a feather to enhance and make them look like cracked marble. This was my second showhouse but it was the first time I did a whole room.
I regret that I have no pictures of the beautiful showhouse that I did with Patty Fastook a few years later called Brookwood…in Montclair. It was a spectacular room but somehow I lost the disk that housed the photos…*sigh*

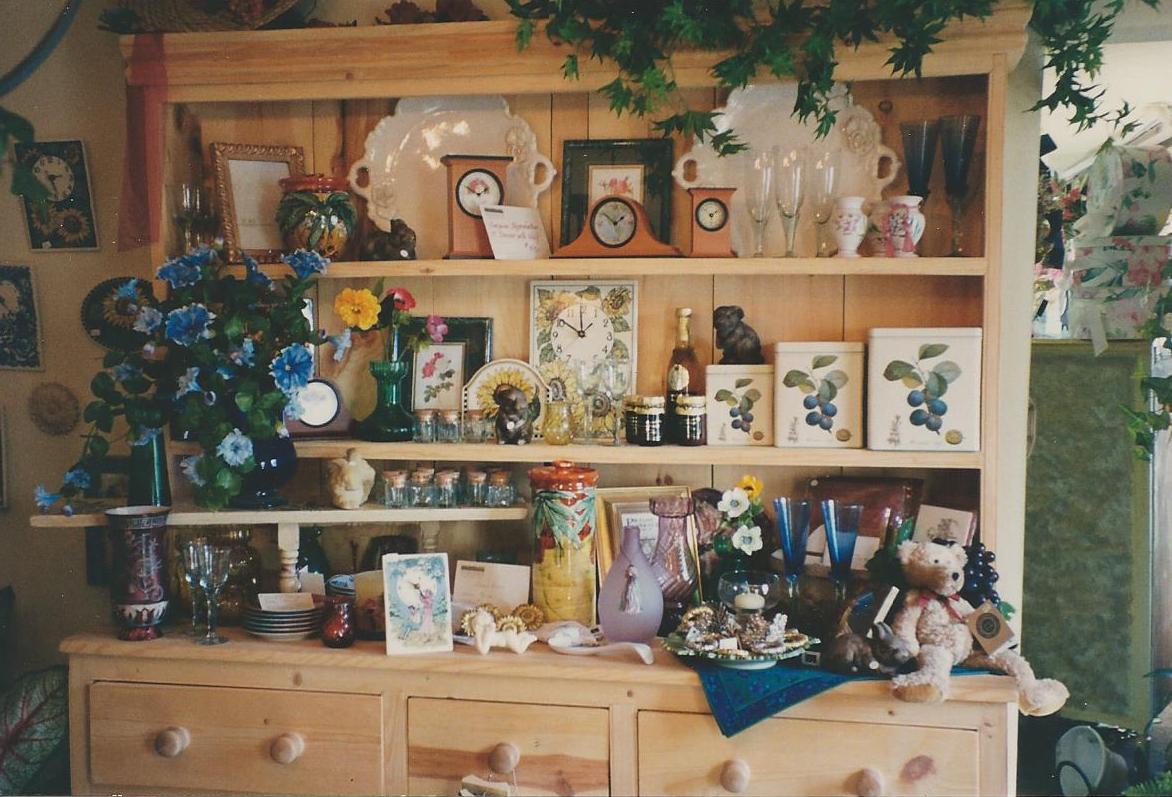
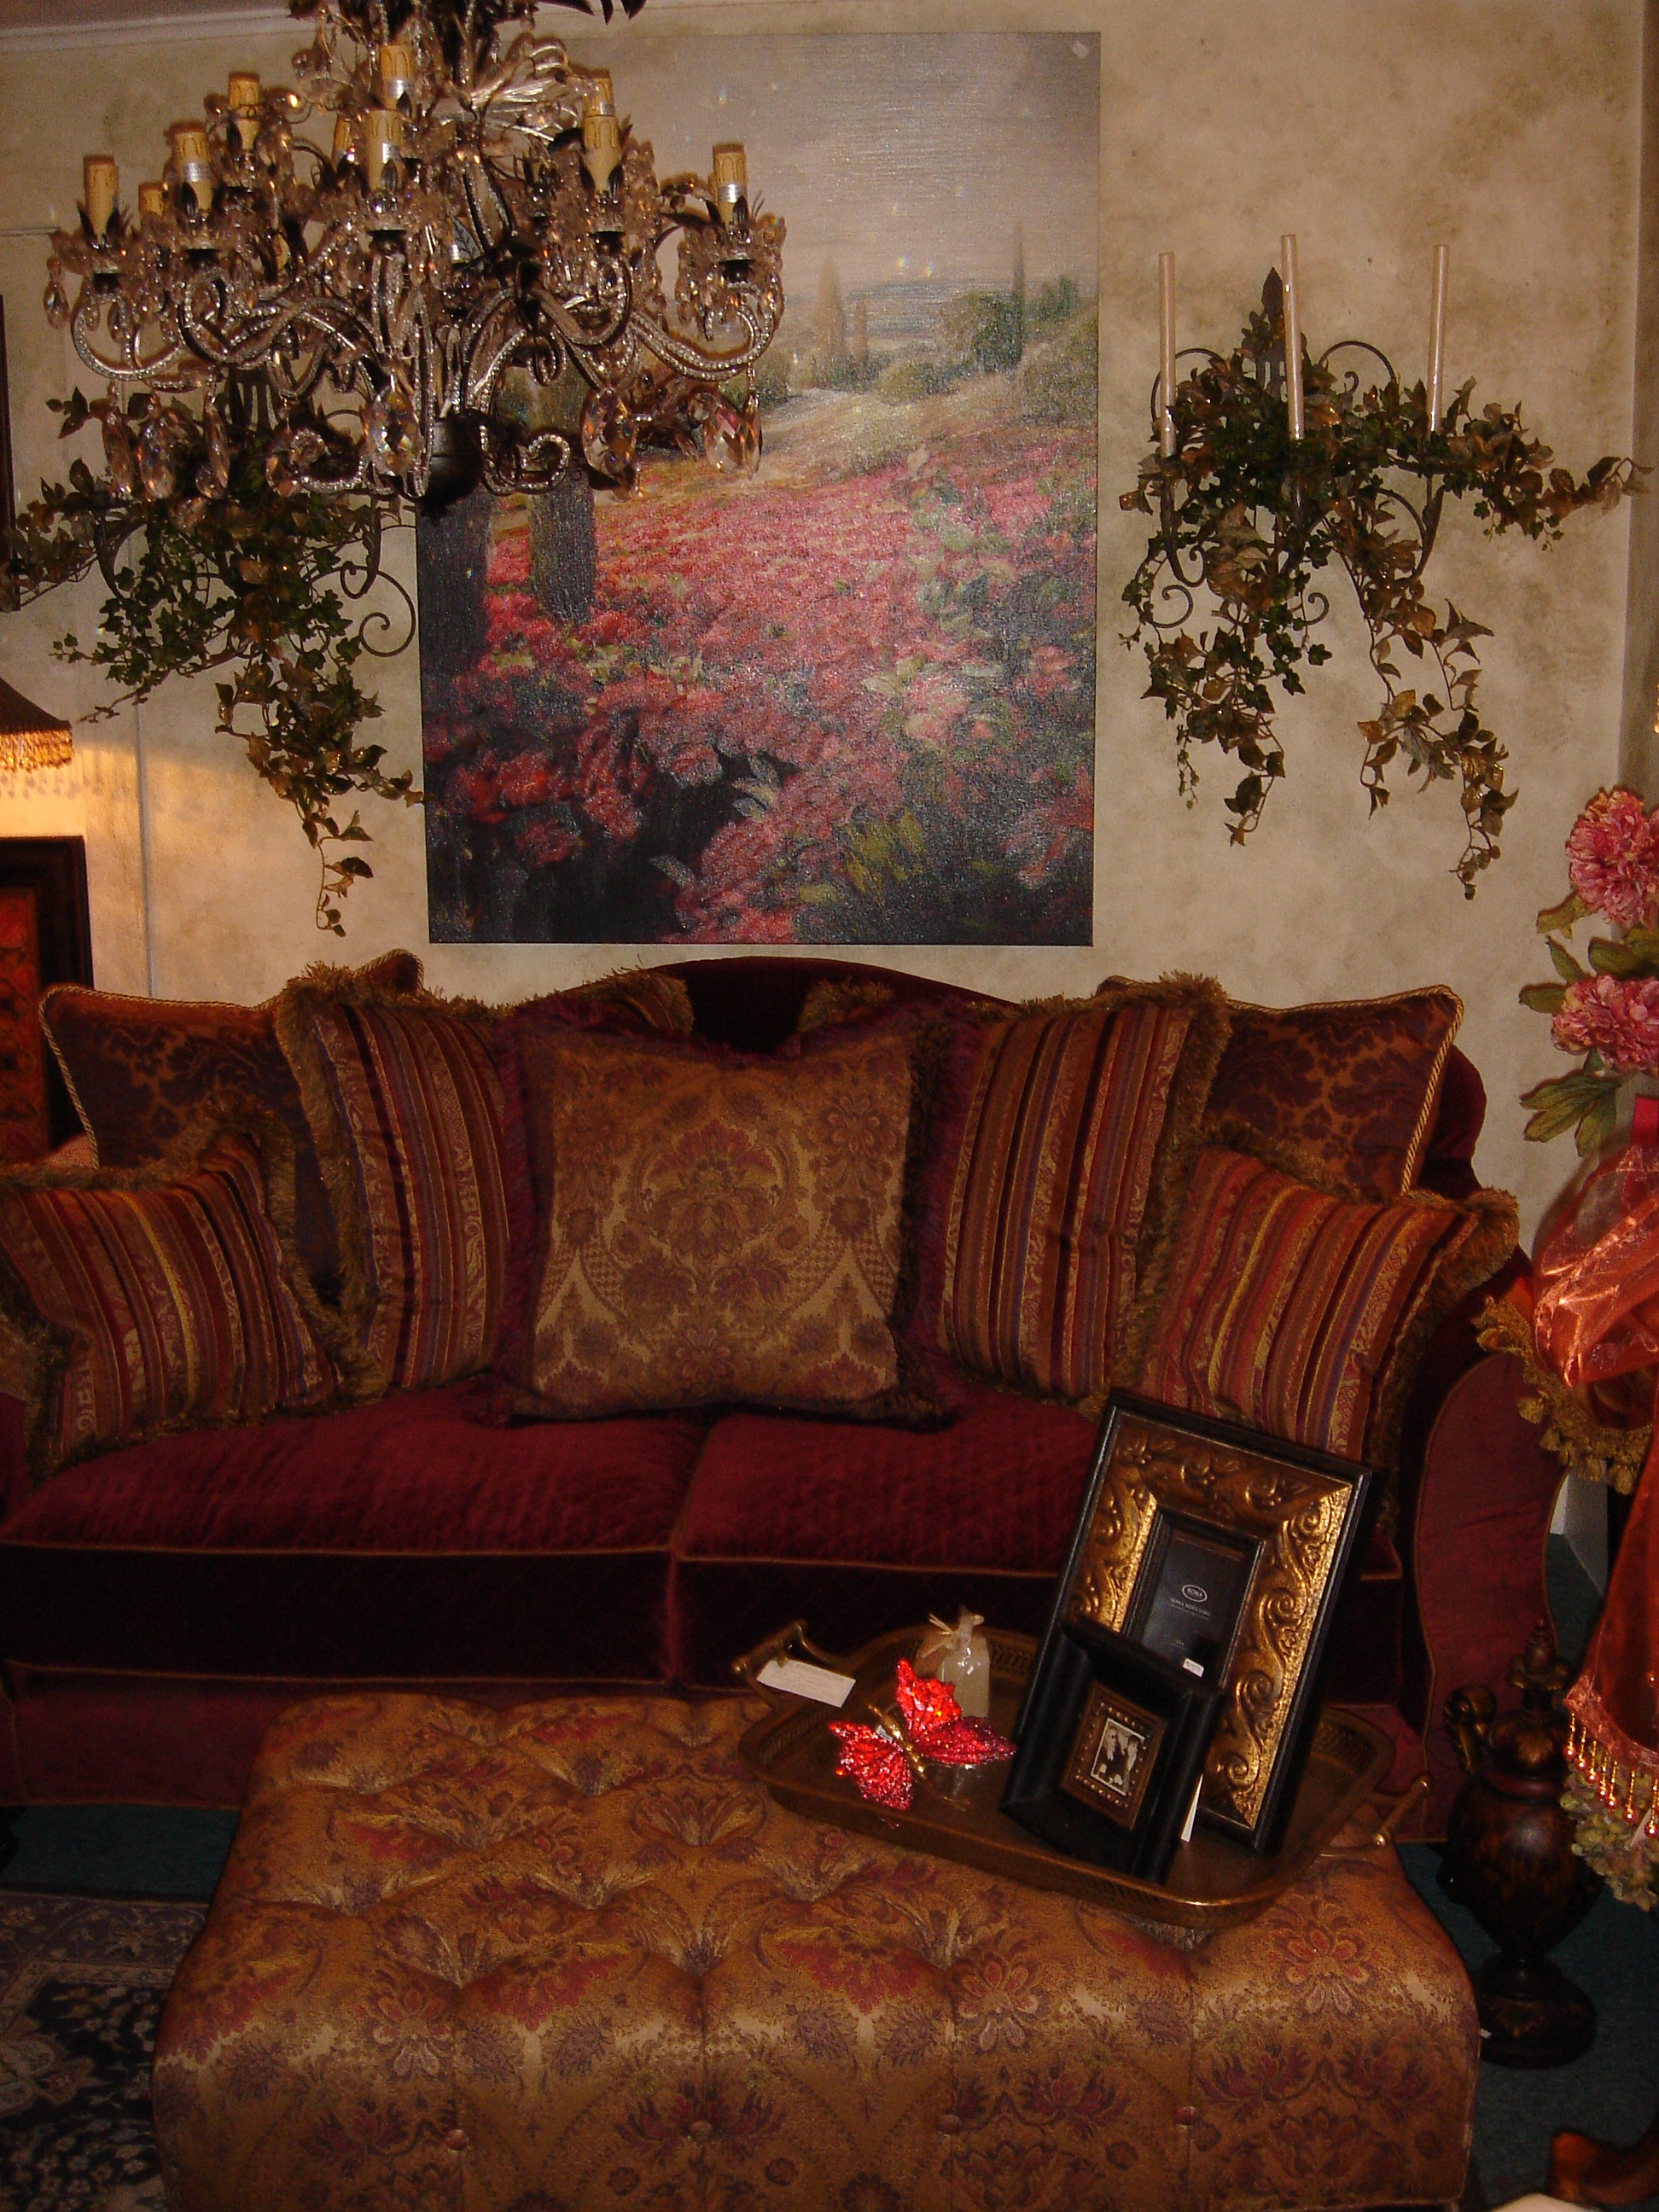
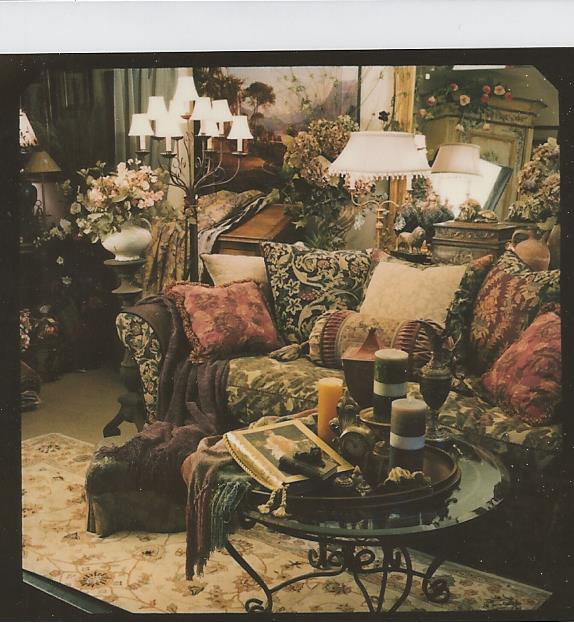
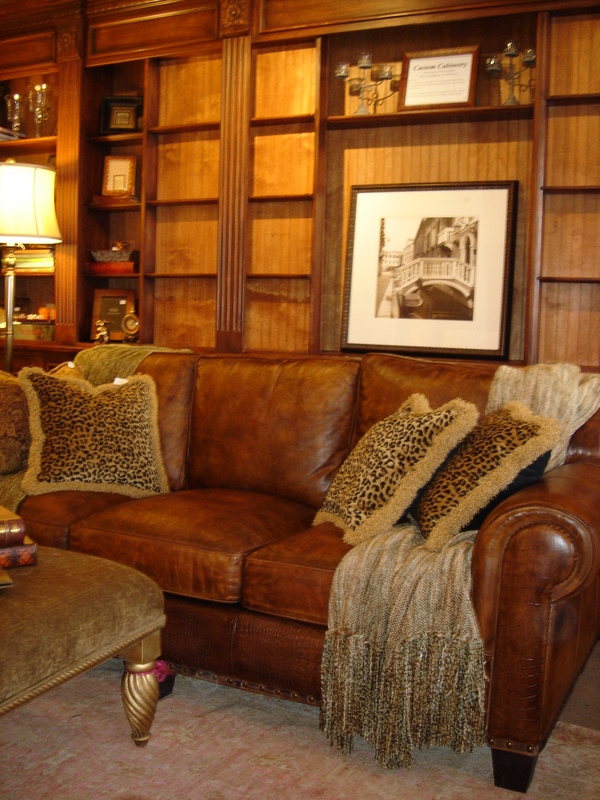
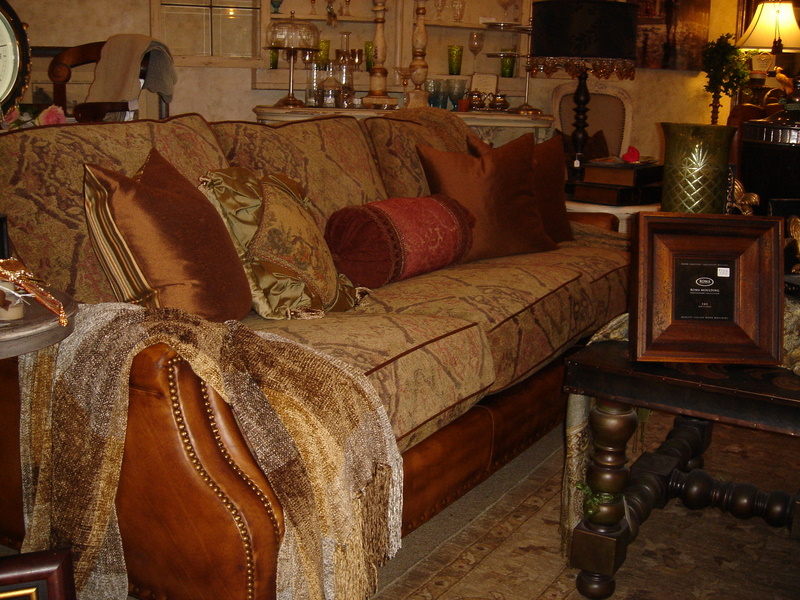
Here are some shots of some of the beautiful merchandise that flowed through the shop over the last 25 years….


and by contrast here is the bedroom at 50 Main Street Today!

Below…our custom cabinetry model….a beautiful bookcase over cabinets with slider to hide the TV…we moved this piece from 44 Main Street and had it re-built into the 50 Main Street shop.
We had a lot of room at the 44 Main Street location so we had up to 9 sofas on the shop floor all the time…this is a beautiful Hancock and Moore sofa…and it looks beautiful in front the model of our custom cabinetry. We still carry Hancock and Moore and Caracole sofas today although it is definitely harder to display them! We are still creating beautiful custom bookcases and furniture for our customers today also.
Ah! and PARIS…who could forget our fabulous shopping trip to Paris and Les Puces de St. Ouen….we brought back so many beautiful pieces for the shop!
I still dream about all the beautiful items we had to leave behind at the Paris Flea Markets because there just wasn’t a container large enough (or a wallet for that matter) to bring them all back to the shop…


Then a little more than 2 years ago we moved again! This time the move was about 20 feet into the building right next to our old location at 44 Main Street.
I feel very blessed that I still see customers today at the 50 Main Street location who started shopping The Whistling Elk at the 9 Main Street store 25 years ago!!
Wow, that amazes me and I am so appreciative for the support of the community and also the whole state…and beyond! Customers come from all over New Jersey as well as from New York, Pennsylvania and as far as California & Europe! It even seems when people move they don’t forget you – they stop by and shop when they are back visiting…even when they have left the country!
Here are some shots of the 50 Main Street Location of The Whistling Elk…and I am not moving again!
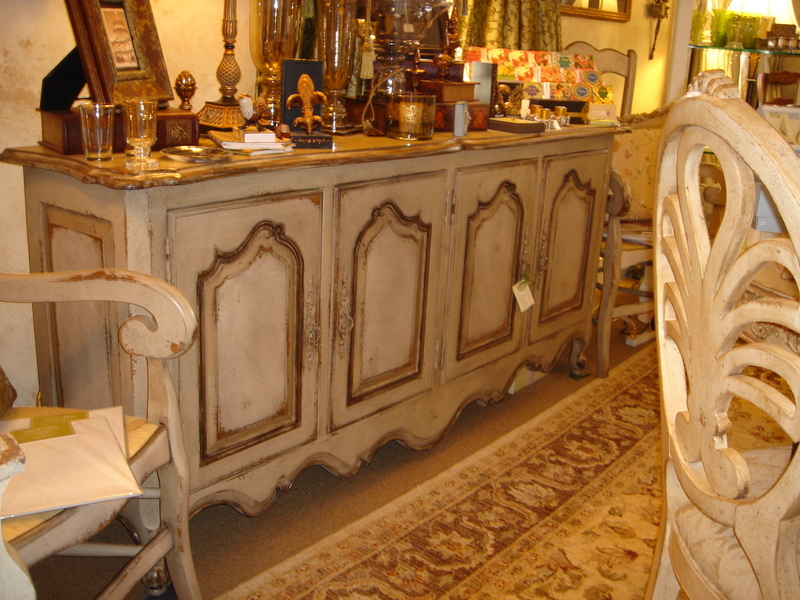
You will still find lots and lots of amazing home accessories at the 50 Main Street shop!

We still carry sofas….the Caracole line is one of our favorites with great quality and fair prices – although we don’t always have room on the shop floor for one. This was one that we did squeeze in!


Over the years many merchandise lines have come and gone. There are some some products that we have carried for a very long time. Like Kennebunk Weavers (our famous throw blankets) – 25 years! and Mark Roberts Fairies – 20 years and Lampe Berger – 17 years! We still love them today!


Our Paint Couture!™ line of furniture and cabinet paints and glazes is new for us…and have been a wonderful addition to The Whistling Elk along with our Paint Workshops. Painted furniture though is something that has always graced the shop floor at The Whistling Elk…we were painting back in the 90’s when we opened!

I am also humbled by the 2007 Award the shop received – “one of 50 Stellar Stores – Nationwide from Home Accents Today Magazine. That was an honor I never saw coming but it was sweet. Here’s the link 50 Stellar Stores Nationwide in 2007 – Here’s a little bit about that from the press release at the time…
“CHESTER SHOP NAMED ONE OF TOP 50 RETAIL STORES
Chester, New Jersey – The Whistling Elk has been named one of Home Accents Today’s “50 Retail Stars” by editors of the premier trade magazine for the home accents industry. The Retail Stars List recognizes enterprising home accents retailers who are experiencing success in their respective markets with innovative strategies and creative merchandising while maintaining a strong presence in their communities.”
Very cool for The Whistling Elk!! One of my prouder moments!!
One thing is for sure…you will always find casual elegance at The Whistling Elk – It is interesting to me that in all this time I have never really changed my focus which was to provide “…distinctively different home furnishings and accessories…with an elegant European flair.”
Expect More of the Same Going Forward
and
Find beautiful home accessories at The Whistling Elk…
It takes many bits and pieces collected over time to make your statement. Create your beautiful, cozy home…start here!

I love decorating for Christmas…its all the little details grouped together that make a pretty vignette!

Shake up your decorations this year by grouping them in a different manner…
it will all feel new to you!

Or in this case the Acorn….(heehee)

You see a customer brought me an old mirror with a top trimmed with lifesize acorns hoping that I could fix it….hmmm! She brought it all the way from Massachusetts! There were a couple of acorns missing so being commissioned to make repairs I took the challenge. Sometimes I wonder “what was I thinking”. My customer was totally thrilled that I would even try because she said she had taken it many places and no one would give it a shot!
After she left I was looking over the situation and got the idea to try to find some small wood component that I could “doctor” to fit the shape I needed. Ok the challenge was on!
First I went to Michaels and looked around and amazingly found some small pieces of wood that I could carve into the shape of an acorn. This was not easy as I am definitely not a carver and do not have “carving tools”…I used a sharp box cutter and sandpaper and hoped for the best. After I got the basic shape and size that I wanted…I used Paint Couture!™ Embossing Medium to enhance the shape and fill in where needed.

The Embossing Medium was fabulous because I found that when dry I could actually carve that too! Great! It really carves nicely!
Then I painted the acorns I made with Paint Couture!™ Pale Gold…let them dry and then sanded to smooth them as much as possible. I put another coat of paint on, dried them then used Van Dyke Brown Glaze to “dirty up” the gold.
Since my acorns weren’t perfect I moved the acorns around on the mirror so that the original ones were all in the front and put my “replacements” in the back. I think it turned out pretty good…here it is complete! My “faux” acorn is the one at the far right!
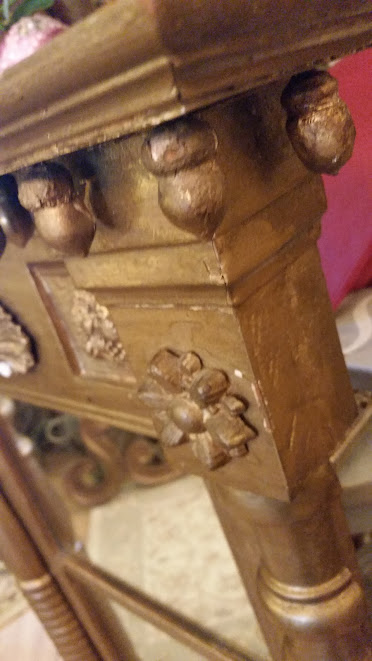
When you love something it is always better to paint it or repair it to make it “new” again! My customer loves this piece so I know she will be thrilled to see it repaired…glad for her sake that I wasn’t afraid to “bite the bullet” and give it a try!
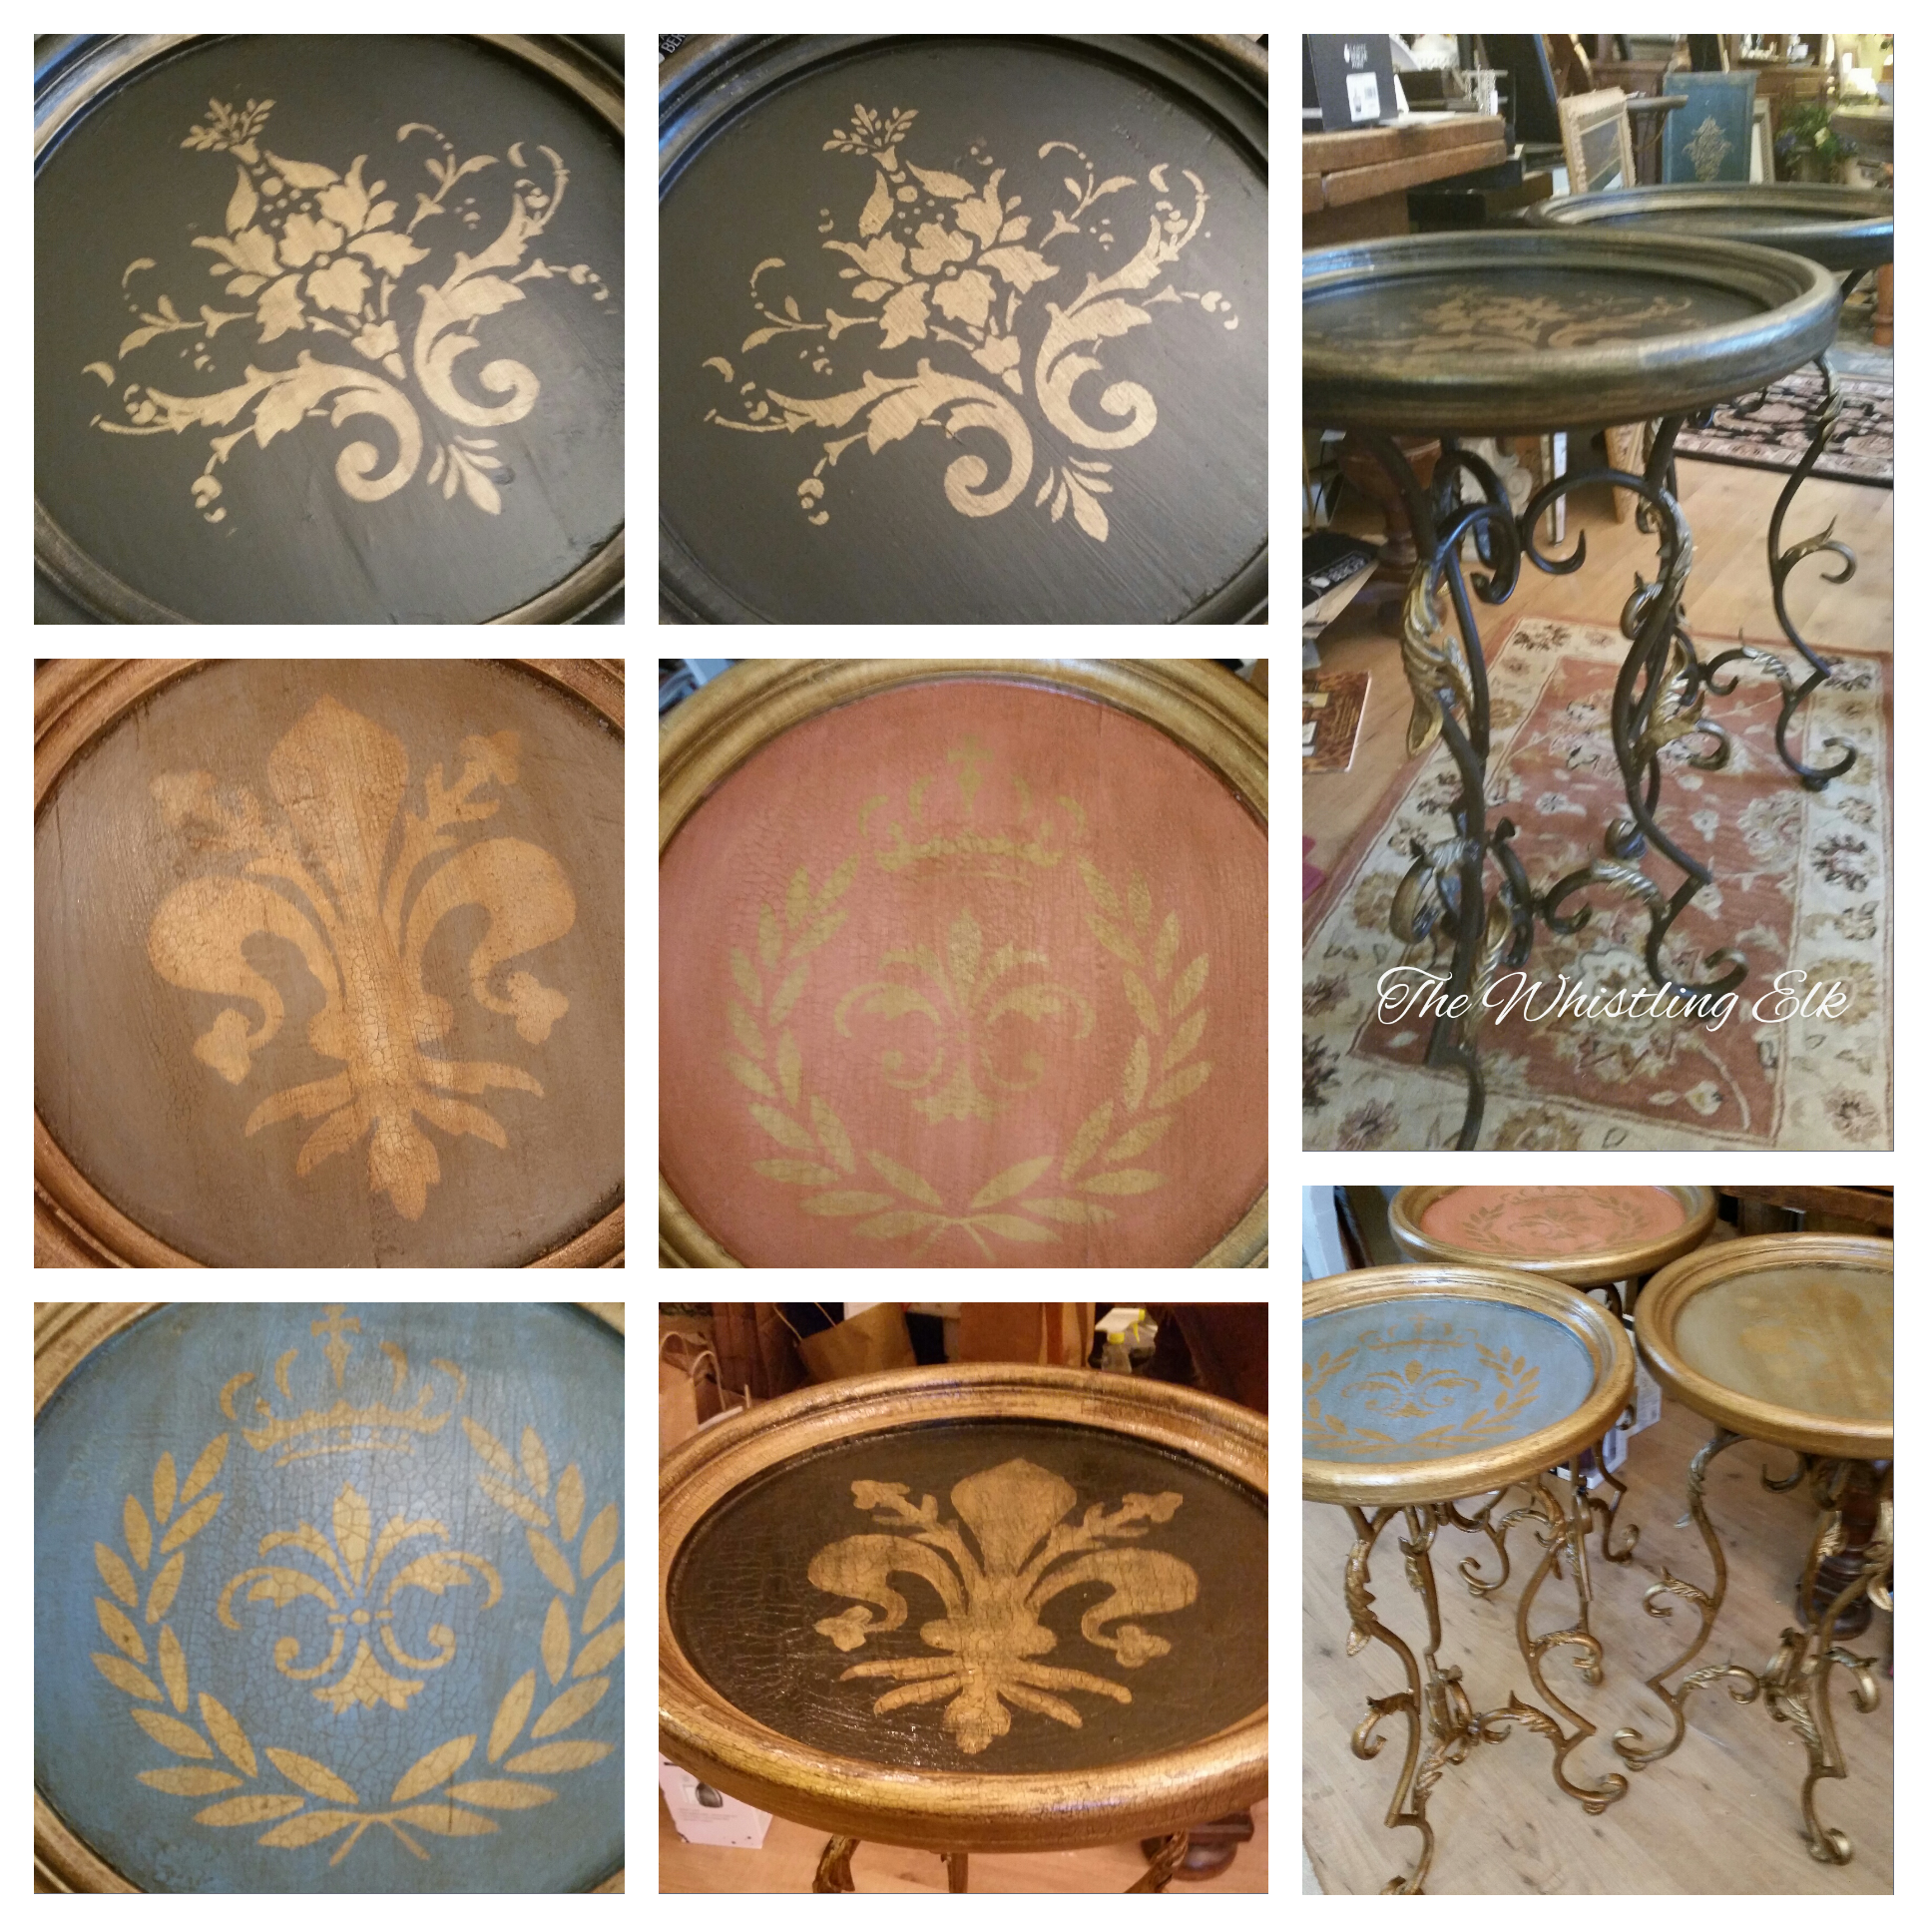
Just painted some pretty little tables…they are great accents for any room where you require a little table to put a glass or book on but don’t have a lot of space.
These two will go anywhere!
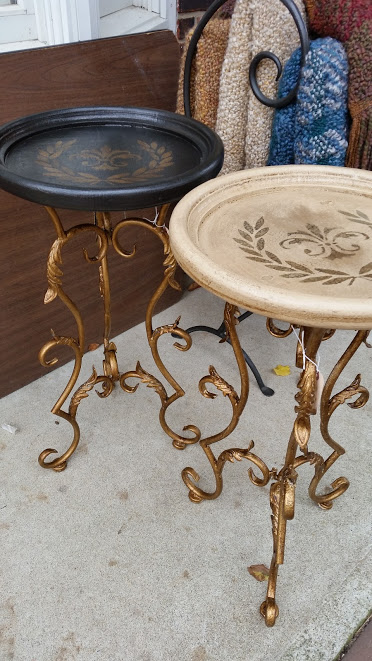
I have always loved little accent tables like this – adding them to a room design is like putting on gorgeous earrings – with your pretty dress…a finishing touch!
Design is all in the details!
You know how you always have a lot of little tiny pieces of gold leaf that are left over from a project…I can just never bear to throw them away…
Well I was painting up a finish sample that had gold accents and I thought I would try to use the gold leaf to highlight the pale gold areas. Wow I love it!
The finish sample is Paint Couture!™ French Putty all over, then accented in three areas with Pale Gold. After drying I applied a skant coat of Italian Ivory all over and then rubbed some of that off. To further increase the patina of the finish I brushed on a coat of Van Dyke Brown and rubbed that off. I love the way Van Dyke Brown looks in the cracks. It darkens the crevices like black but in a much warmer way.
I wanted the gold areas to pop so I took some of my tiny gold leaf pieces and applied them strategically to enhance the finish…then reglazed them with the Van Dyke Brown.
Voila…loving this finish! Hmmm I am looking around the shop right now to see what needs to have this finish on it…!
Join in the fun! Sign up for one of our Paint Workshops at The Whistling Elk in Chester NJ and learn how to create beautiful finishes for your furniture projects. We use Paint Couture! products and you will be amazed at the myriad of possibilities these wonderful products will make available to you!
I have decided to create “finishes” instead of “paint samples”. Hmmm, what does that mean you might ask…
Well I have a lot of paint samples that I created using paint stirrers…I have posted these at the time that I paint them. However, now when I “finish” something and I love the outcome – I paint a sample board too (for future reference).
This way when I talk to someone about painting a piece I can show them boards of more complex “finishes” rather than a sample of a color with a glaze. This may sound intimidating because the sample boards are usually combinations of more than two processes. But if you are going to paint a piece of furniture or an accessory dont’ you want that piece to be out of this world beautiful? Maybe its just me but I want something spectacular if I am going to spend the time – something truly unique – a signature piece!
so with that in mind….here is a white compote that I decided use as my first victim for this new philosophy…:

For my Signature Finish on this piece I decided to use Paint Couture!™ Pale Gold, Vintage Flair and Brilliant White paint and Amber Honey Glaze.
This was a 4 step process – Below is the compote after the first two steps. First I painted the whole compote with Pale Gold. When dry I painted portions of it with Vintage Flair. The Vintage Flair coat of paint was what I call “skant”…a very light coat of paint that did not cover the gold entirely. I chose accents to leave completely gold (arms and the decorative band on the base).

Then I put a dry brush coat of Brilliant White over everything.

When dry I glazed the compote with Amber Honey Paint Couture Glaze as shown in the picture below I glazed heavily over the gold and then only wiped some off strategically here and there to give a gold highlight effect.

On the portions of the compote that were painted with the Vintage Flair I wiped off a lot of the glaze. On the inside of the compote I used a swirling motion to apply the glaze. The inside reminds me of the Universe…! Only there are no planets…hahaha.
Here is a side view of the finished product!

Voila! A beautiful, rich complex Finish!
Attend one of our Paint Workshops at The Whistling Elk and learn techniques to help you create your own Masterpieces!
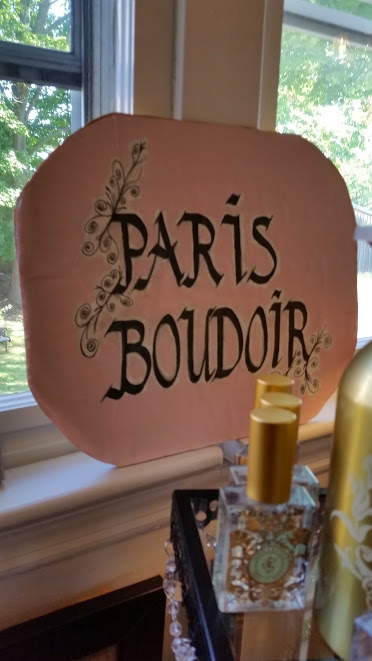
I have a door in the shop that leads to a little foyer and the back door.

The door is in my little “Paris Boudoir” so you can see that it just wasn’t making it in its “silly brown” color…
I like to show my customers what they can do with Paint Couture!™ but I keep selling the pieces that I paint so I decided to paint the door…my landlord would not like it if I sold his door so I figured it was safe to paint it with Paint Couture!™ in order to have a ready sample at all times!!! P.E.R.F.E.C.T.
So the door got a very light uneven coat of Italian Ivory with Dream in the area around the raised panels of the door and Pale Gold on the moldings around the raised panels.
Remember the movie Romancing the Stone when the smuggler says he’s going to get his “li’l mule” and smiles…well I feel that way about my li’l hand sander. So yup I got it out and beat up that door! I did get a little carried away on the “back side” of the door.

Yesterday I stenciled the front side of the door with Pale Gold…but I couldn’t decide if I was really done…that happens a lot when I paint.
Sometimes when I am not sure about how I feel about something – I go home and sleep on it – it never fails that when I wake up I have the answer…actually it came to me before I even got to sleep…A Door Has Two Sides…who said they have to be the same?
This morning when I came in I glazed the back side of the door with Light Brown Sugar on the raised panels…lightly rubbed in. Then I glazed everything but the raised panels in Champagne. Ha! I used some different stencil designs so it looks completely different than the front side.


So now I am having one of those moments where I am thinking, Yah, you can have your cake and eat it too!!!!
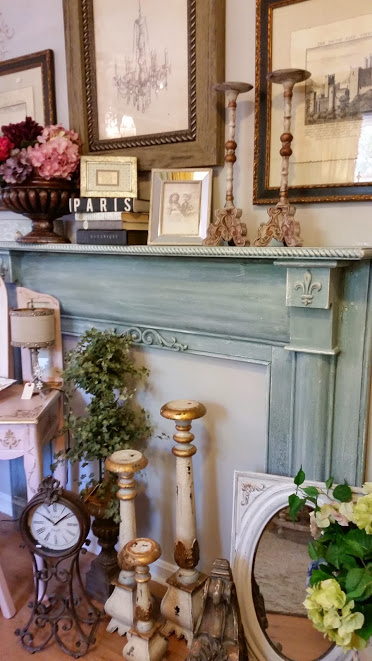
You may remember that I wrote a post on November 12, 2013 called “Mantel Madness with Paint Couture”. I had a lot of fun painting that mantel and it was beautiful…but I always knew that it would take on a new personality yet again some day…well that day has arrived! Here it is after I finished it the first time…
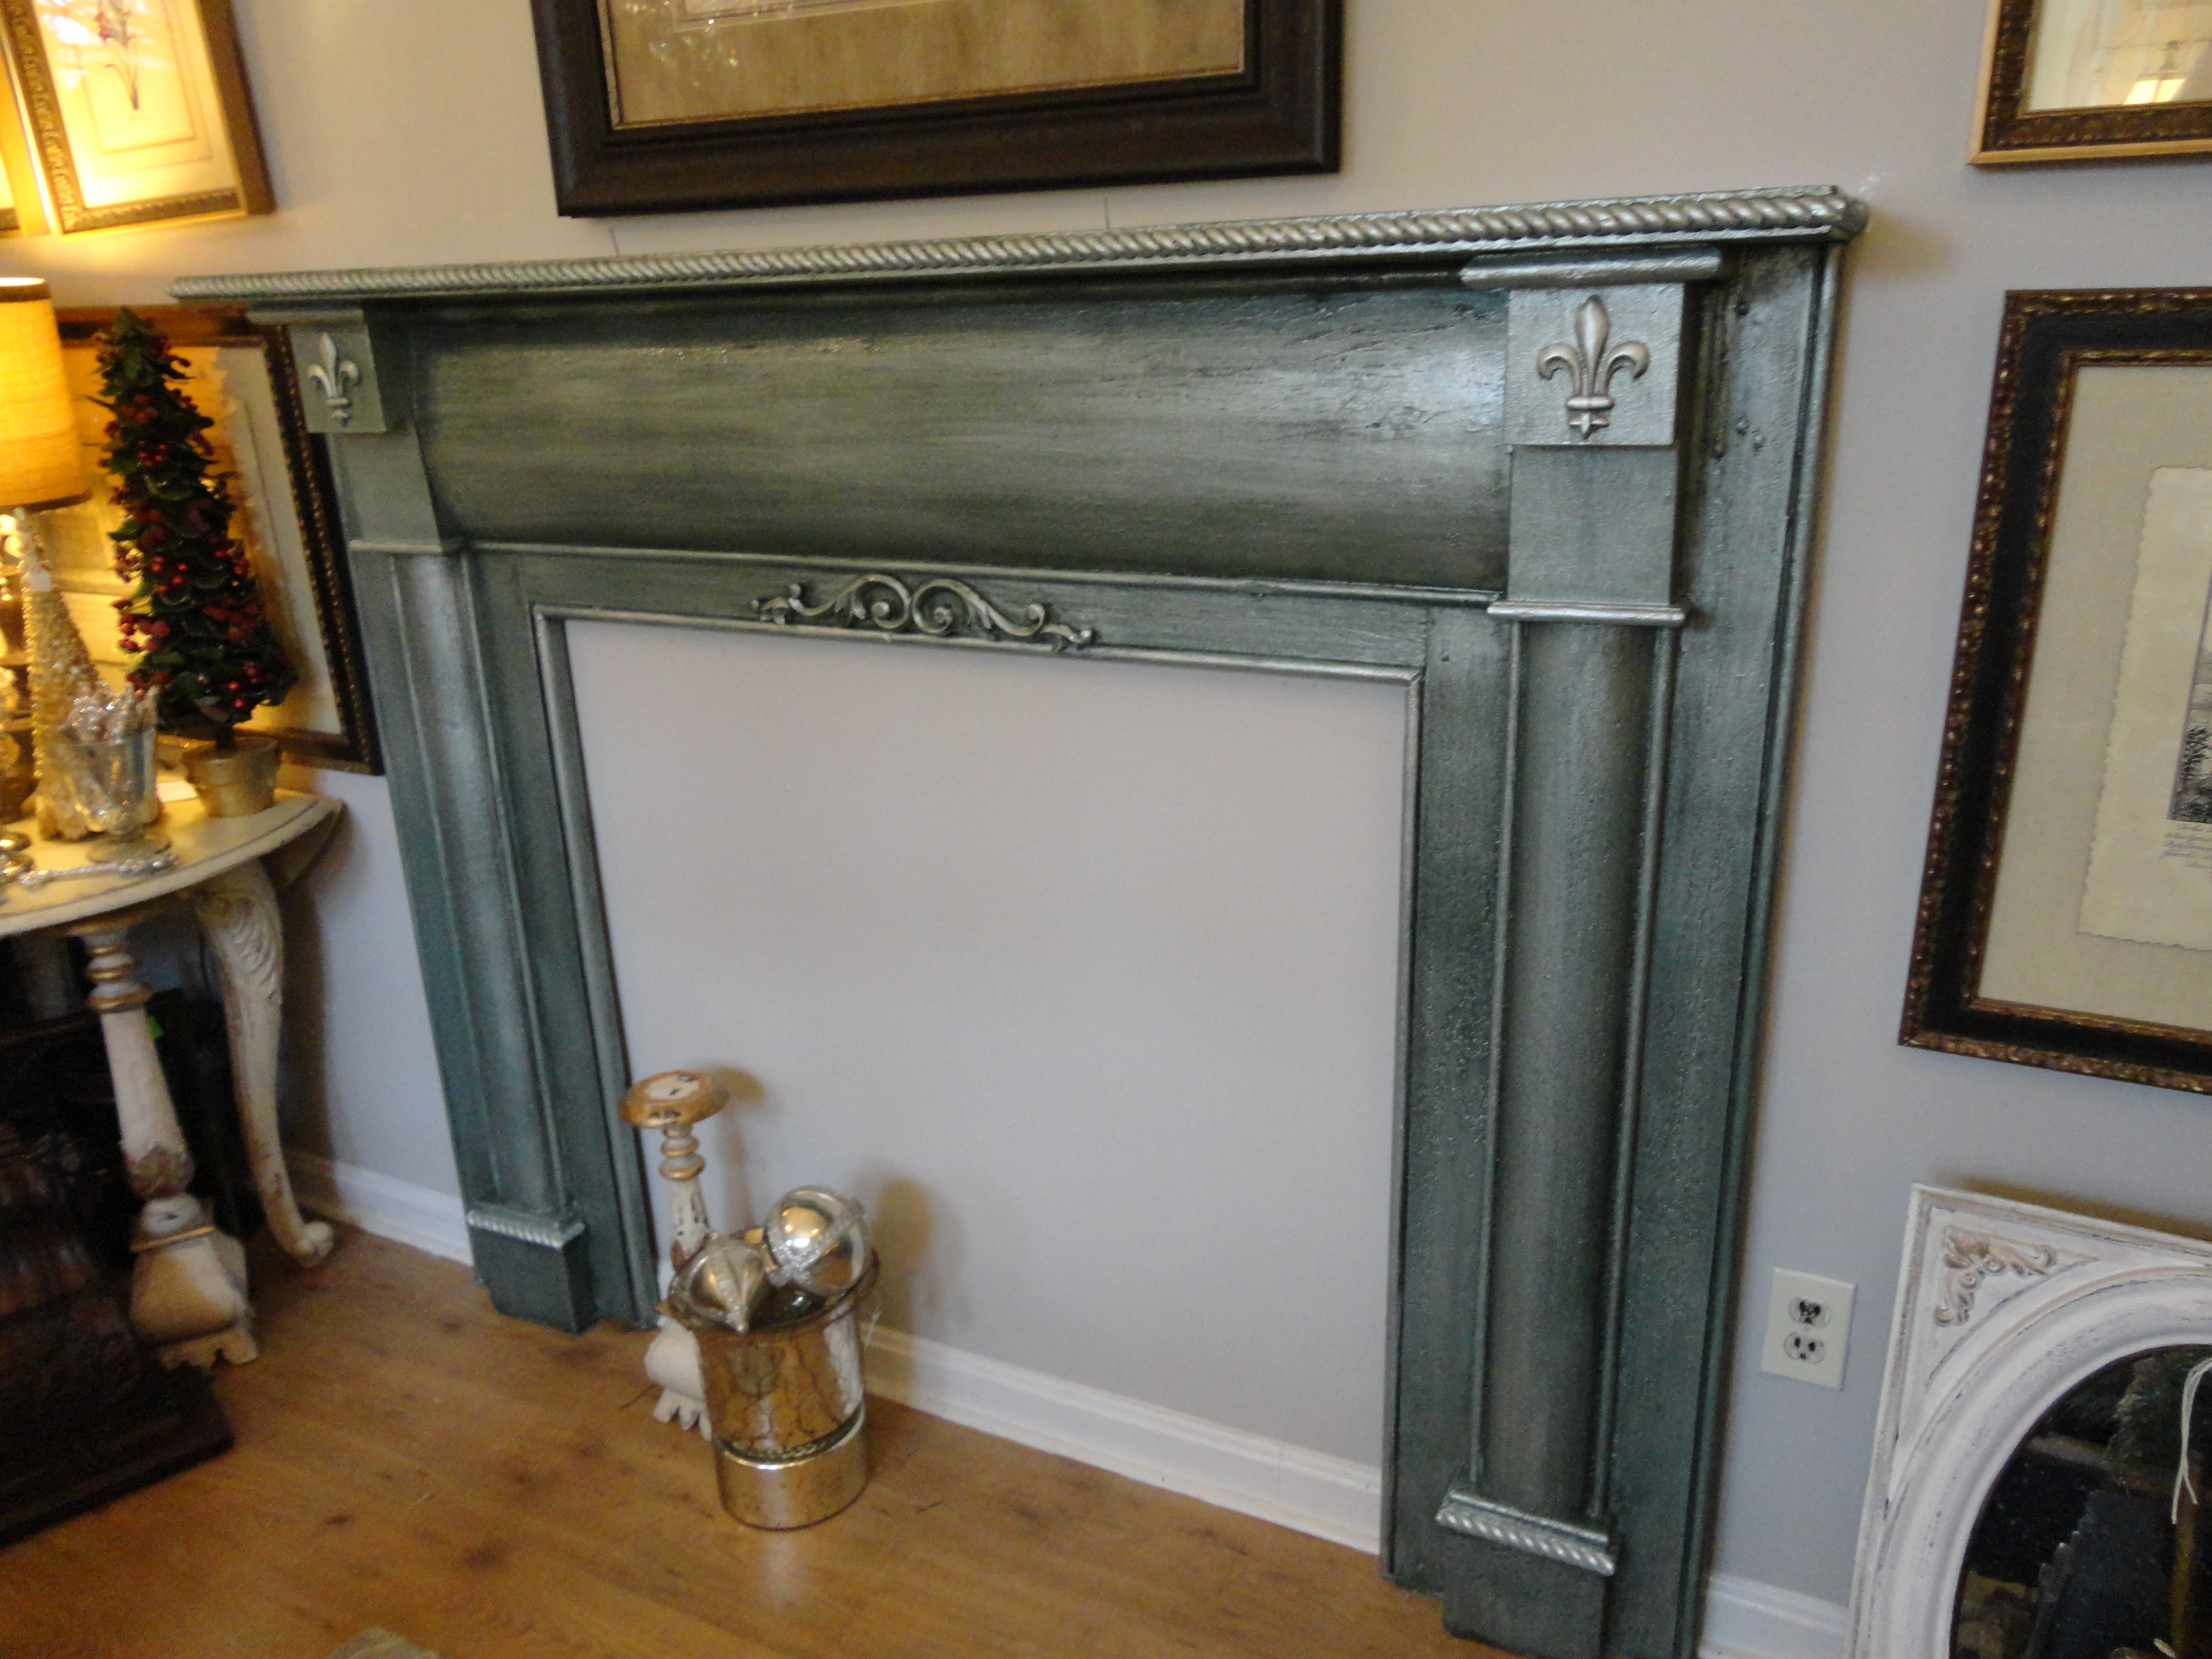
I watered down some Paint Couture!™ Italian Ivory and brushed a thin coat all over the mantel…effectively whitewashing it. After it dried I got out my hand sander and beat the whole thing up! Gotta love that little hand sander.

So now I have a “new” mantel…again! The Paris Boudoir is looking verrrrry nice!

I have been posting a lot about painting lately! I guess I am pretty fascinated with Paint Couture™ products so I am really enjoying using them and teaching about them….but don’t be deceived there are always other things going on at The Whistling Elk. It’s the usual juggling act!
Freight coming in, new merchandise being unpacked and lots of garbage….grrr not my favorite activity. Lots of beautiful art though!


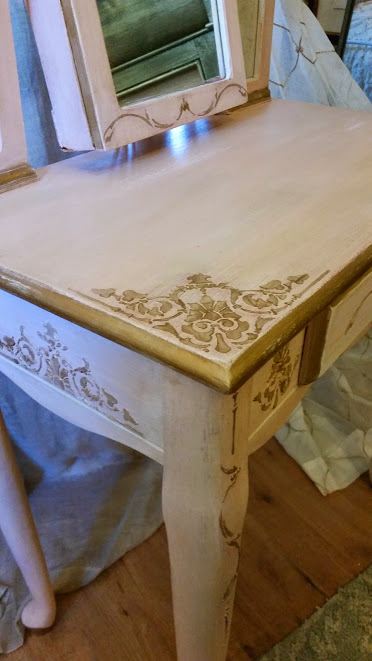
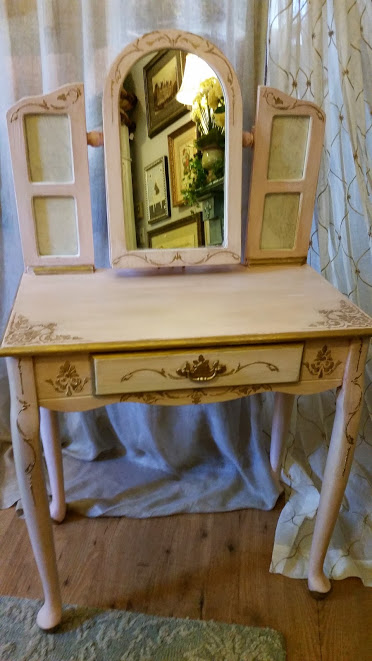
While I was painting the vanity … pictures to follow … I was also working on hanging new art that showed up…and my first hit of Christmas items…yes! Christmas…So anyway I’ve been working on this little vanity in between unpacking new goodies for the shop.

OK… Here is the little vanity…it is actually laying on its back on the floor….when I first looked at this picture I was thinking why can I see my feet….haha ! as usual I almost forgot to take the before picture and was starting work on it….

I wanted the vanity to say “pink’ and I wanted to use Paint Couture “LOVELY” but I was afraid it would be to faint….so I decided to undercoat it with French Polynesian Pink…hmmm that really did the trick.
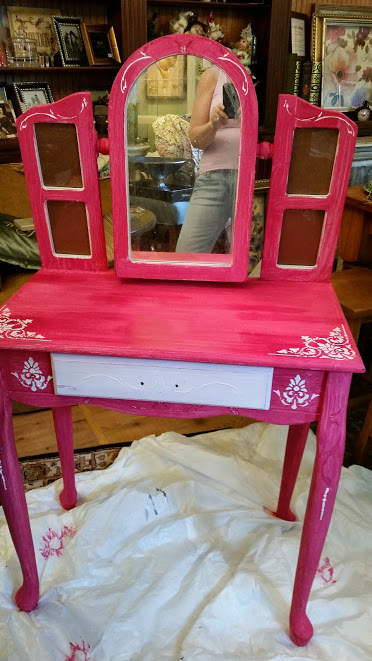
I did a lot of embossing on this piece and in addition added just some plain stenciling later to fill in some of the designs. I wanted a lot of embellishment on this piece.

I did distress this piece somewhat to show just a faint hint of the French poly pink. I also lined the piece wherever I could with Angelic Paint Couture to make the pink stand out even more.

Inspiration is a wonderful thing…Good design is always based on inspiration… Sometimes you are on a design path and you take a right or left turn…in that case I know that something along the way changed my inspiration…
Painting is like design in that you start with an inspiration and then work in that direction…adjusting as the piece you are working on speaks to you…
The trio of pictures following was my inspiration for a dresser that I am just finishing up painting with products from the PaintCouture – The Collection™.
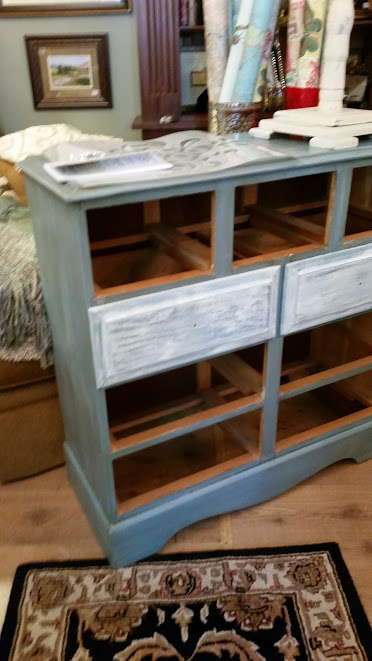
Ok, here is the dresser….BEFORE…it was a nice old dresser painted blue and the drawers were whitewashed. It was dirty from sitting around so I cleaned it with TSP really well.
Before I started painting the dresser I painted up a sample using the paints and glazes that I decided were going to achieve the look I wanted based on my inspiration…I chose the below Paint Couture™ products: Vintage Moss, Brilliant White, Lite Brown Sugar Glaze, and Pale Gold Metallic Paint and here is how they looked on the sample I painted.

So loving the way this frame turned out! I love finishes that have depth and look “vintage” – with a little of the dirt of age on them…ha! I couldn’t wait to start work on the dresser. It’s funny but this is one case where I never deviated from my inspiration…it was soooo clear where it was going!
First I painted everything with the Vintage Moss. After 24 hours I dry brushed the piece with Brilliant White. I then used the Paint Couture Embossing Medium and stenciled on some designs. This always takes some time because you have to plan your stencil layout. I used parts of two different stencils. After drying the PC Embossing Medium I laid my stencil back over it and applied PALE GOLD – Paint Couture’s beautiful metallic paint! (one of their many metallics)
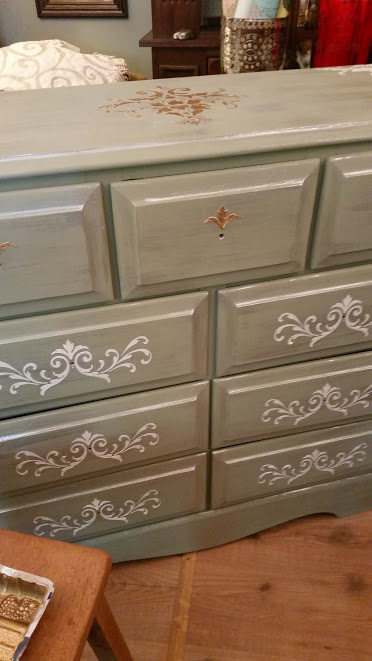

The combination of the BRILLIANT WHITE and the PALE GOLD gives this dresser a metallic gleam…it sparkles!
Next I glazed everything with Paint Couture’s Lite Brown Sugar. It’s such a pleasure to work with – very creamy. I happen to be a light glazer…I would rather put it on and take it off and then glaze it again. I feel very much in control when I work this way. You can always go darker!
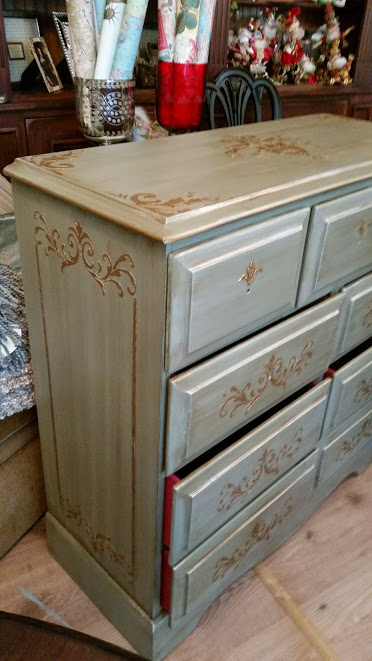
You can see the French Polynesian Pink PC peaking out on the sides of the drawers…I love the pink with the Vintage Moss…I decided not to the glaze the pink – it is less subtle and I love the contrast it creates of the Bright against the Aged!

After thoroughly letting my piece dry I applied a 2nd coat of Lite Brown Sugar Glaze. This really deepened the finish on the dresser. It’s very rich!


The Brilliant White reminds me of fairy dust and the Embossing Medium painted with Pale Gold makes this very ordinary dresser a piece of art.
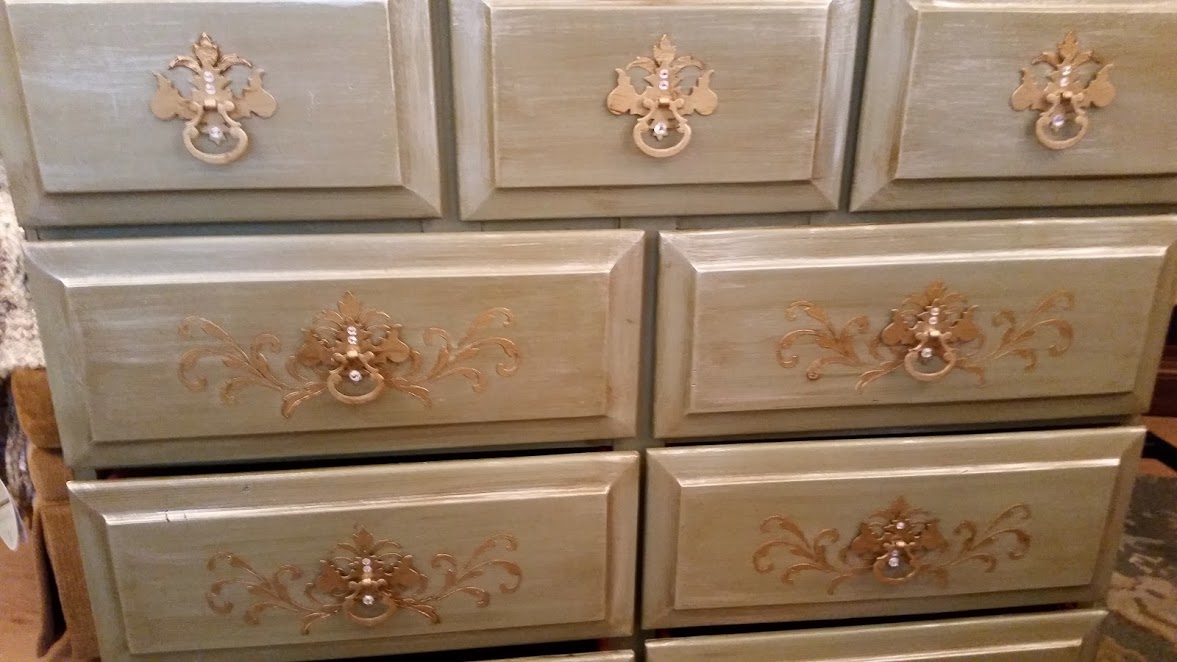

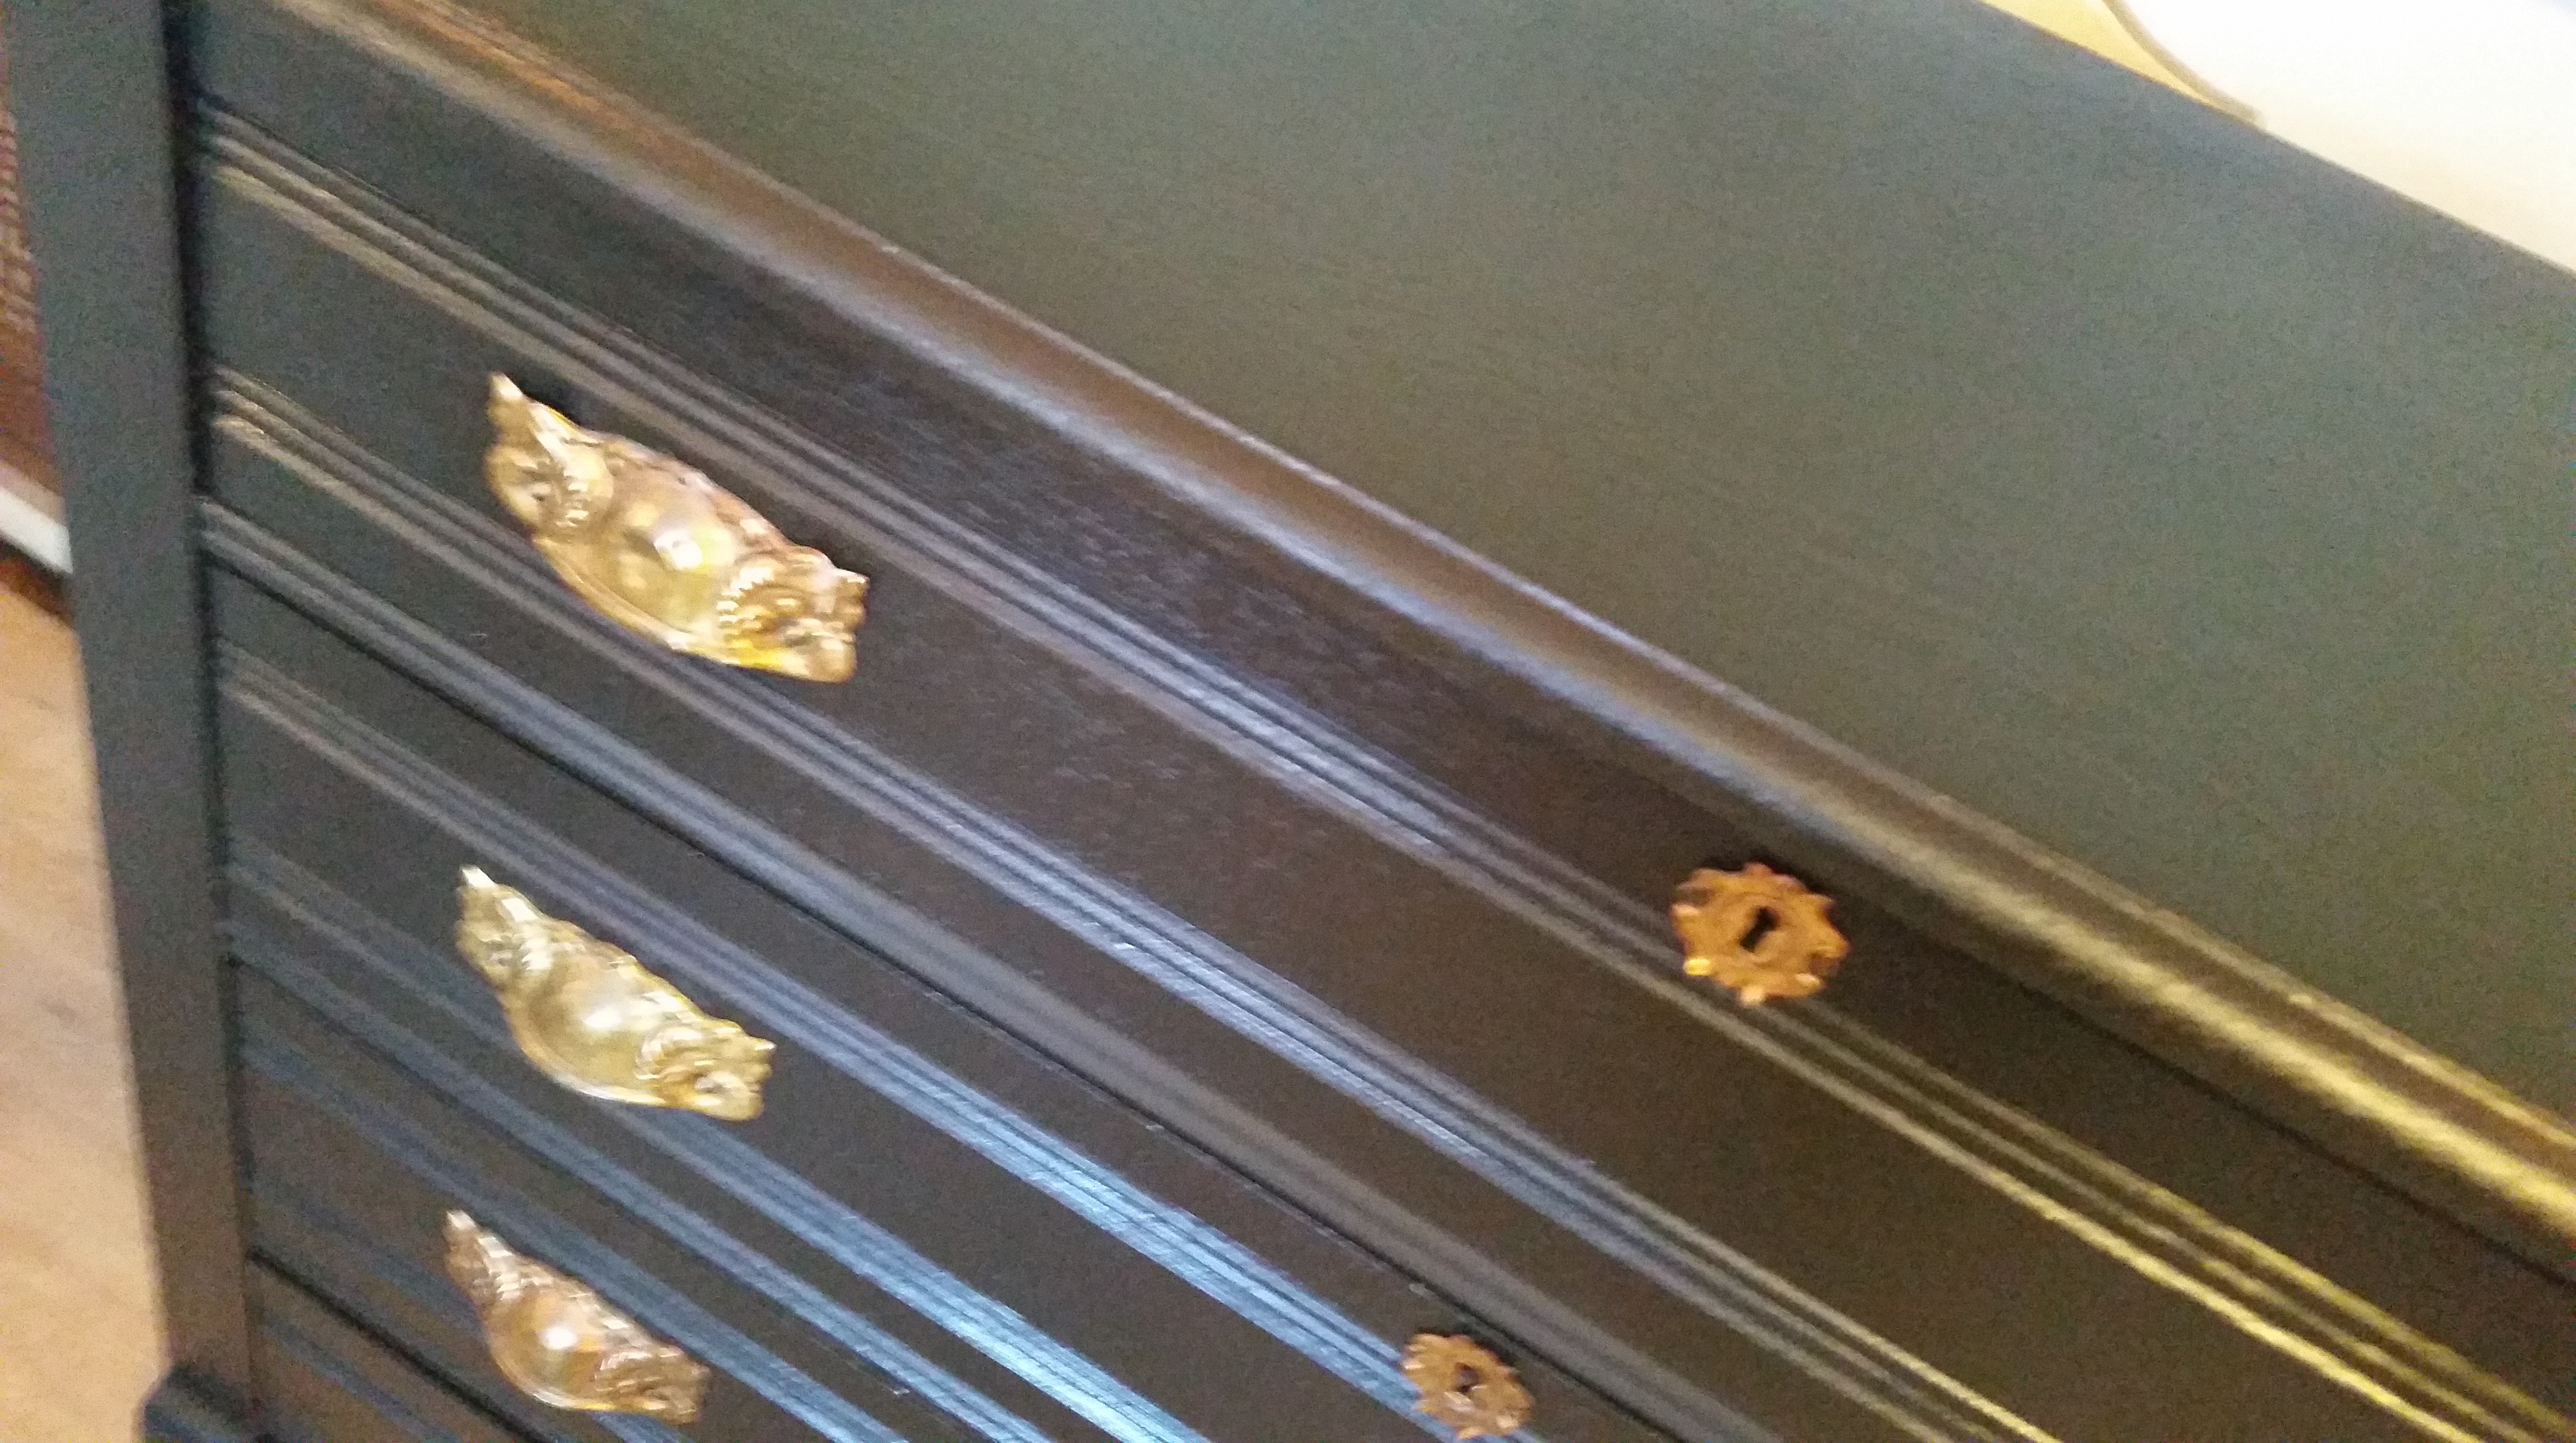
Because I am impatient…I didn’t want to wait for new hardware. I didn’t really love the hardware that was on the piece originally but I decided to play with it to see it I could get to like it. So I planned my embossed stencil to enhance the hardware. I painted the hardware with Brilliant White, then Pale Gold, then glazed it and applied little crystals. I then hung it upside down to change the look of the design. I love it! It’s so not typical!


When I have paint on my brush I often look around for something else to paint since I have a paint can open and a dirty brush. The PALE GOLD was open and I had a little pedestal. It almost became my problem child. I knew the pedestal had wax on it so I had cleaned it earlier with mineral spirits and then TSP’d it. Woe is me. It wasn’t enough!
After I painted it with the Pale Gold it just didn’t feel right – I knew it was going to peel. So I sanded it down and of course there was still wax on it…sigh…curse…
I had some Mylands Sanding Sealer so on Mike’s advice (The Father of Paint Couture) I brushed on the Mylands. WOW. It.Worked.Great. I put it on over the remnants of the Pale Gold and after it dried you could just feel that the paint was going to be o.k.
I actually liked the way the pedestal looked all chippy and messy and now that it felt right too…it almost had me making one of those left design turns…humph…should I leave it that way???? But in my heart I knew that the really messed up look would not appeal to most customers. Here it is in all its chippy glory…
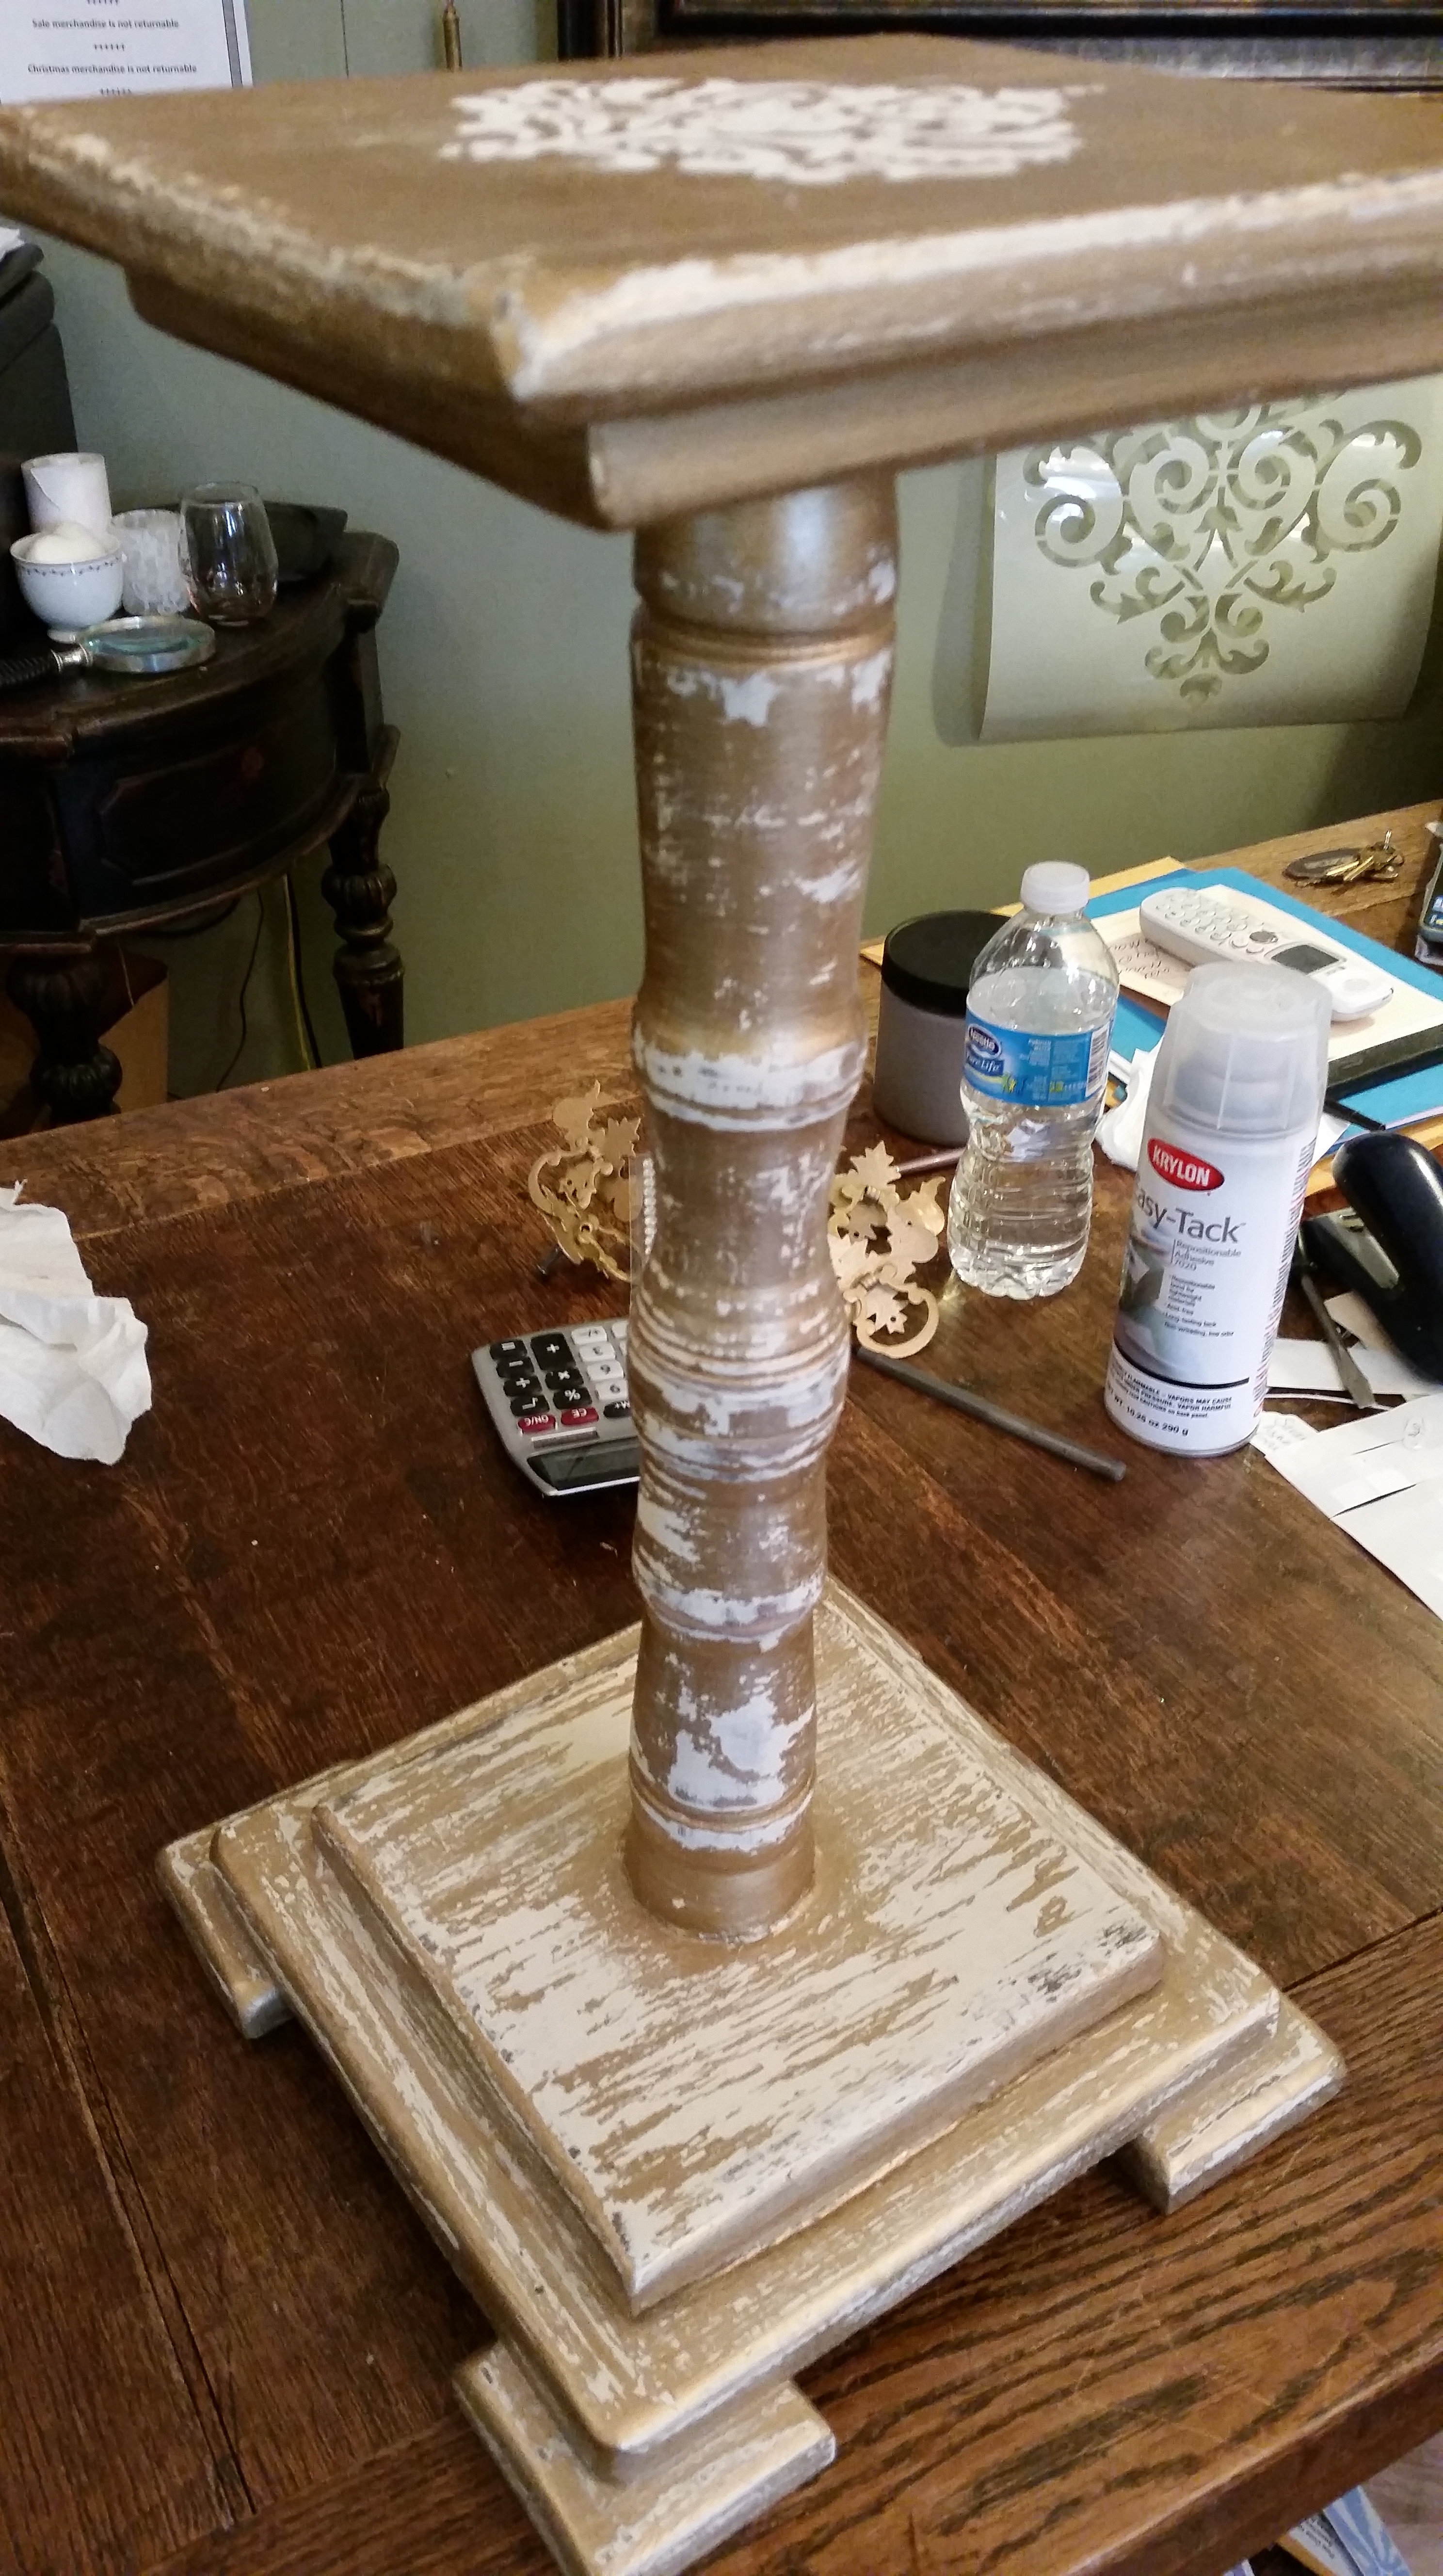
I ended up having to clean that brush and put away the paint while the Mylands dried and I considered what to do. This must be my week for not deviating from plan…I ended up brushing on more Pale Gold, Embossed a stencil on top, Brilliant White went on the stencil only….then finished with BLACK WALNUT GLAZE all over…(my favorite Paint Couture™ glaze). Pale Gold with Black Walnut gives a very beautiful, deep and rich metallic finish.
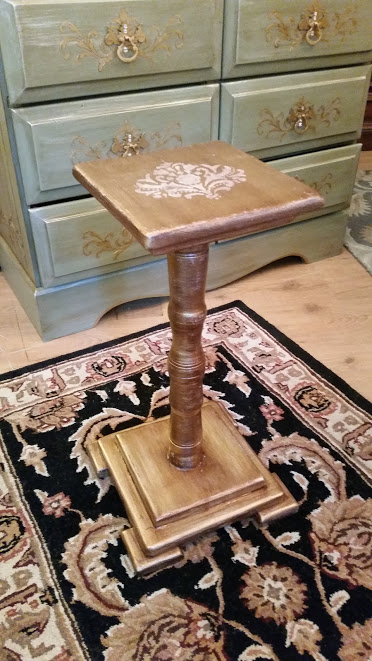
I made the right decision. Its very beautiful and elegant and all it needs is a glass of wine sitting on it next to a comfy chair.
Come learn to create your own masterpieces at one of our Paint Workshops at The Whistling Elk. You will learn all the techniques described in this post and you will have fun!
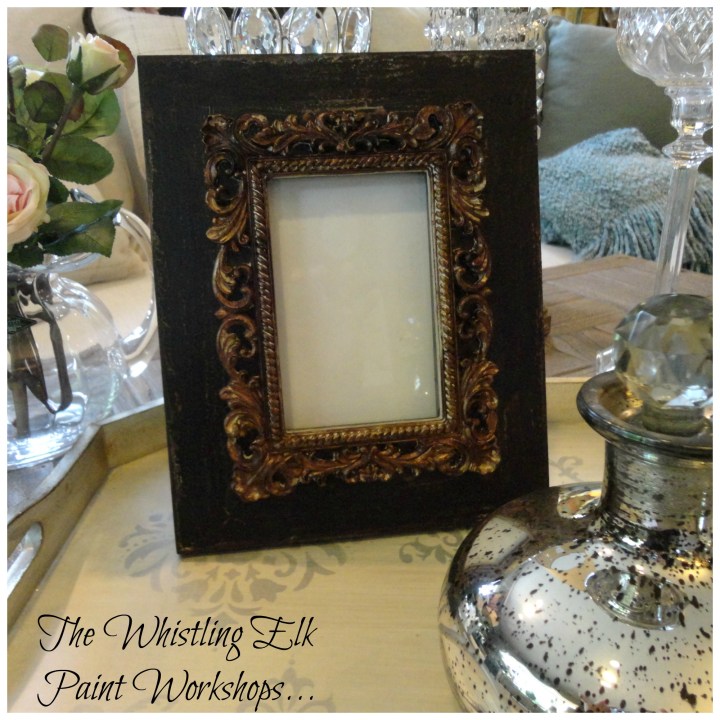
Heres a nice frame with a shabby worn finish…it’s O.K.
But that is just it – for me its just o.k.

I know I can change it and make it better than just o.k.
What has happened to my humility????

I really love this about the Paint Couture Collection. Not only can you paint something that needs to be refinished but you can also transform ordinary objects into something more lovely, something that works better in your current décor environment.
Paint Couture!™ is like having a Toolbox Stuffed with Tools to Create Lovely!
I have always advised my clients: “If you run into the right object but its the wrong color and you can paint it….buy it – you could spend 10 years looking for the right object in the right color and never find it.”
Come and participate in one of our Paint Workshops at The Whistling Elk in Chester NJ and learn how to Paint, Glaze, finish, stencil, gild and more. It’s fun and I guarantee you will put the knowledge to good use!

I always had so much fun Finger Painting when I was a kid and now I get to do it again…
with The Couture Collection – they have a great selection of Gilding Waxes which I love to use to accent a painted finish – any painted finish…even one I didn’t paint! (heehee)
This cute frame was pretty before I started but now I like it even better. It had an all over copper look and now it has touches of green moire and the gold lame that I finger-painted on which gave the original finish a lot more depth.
That is the beauty of the Paint Couture line…you can paint something one color, OR paint and glaze, OR paint, glaze and gild for a finish that has deep, layered and elegant dimension!
We will be happy to teach you all of these techniques at our Paint Workshops!
Call for the date of the next scheduled Class and make a reservation to attend. You will have so much fun! I guarantee you will leave class contemplating all the objects around the house that you will be painting or glazing or gilding or maybe all three!
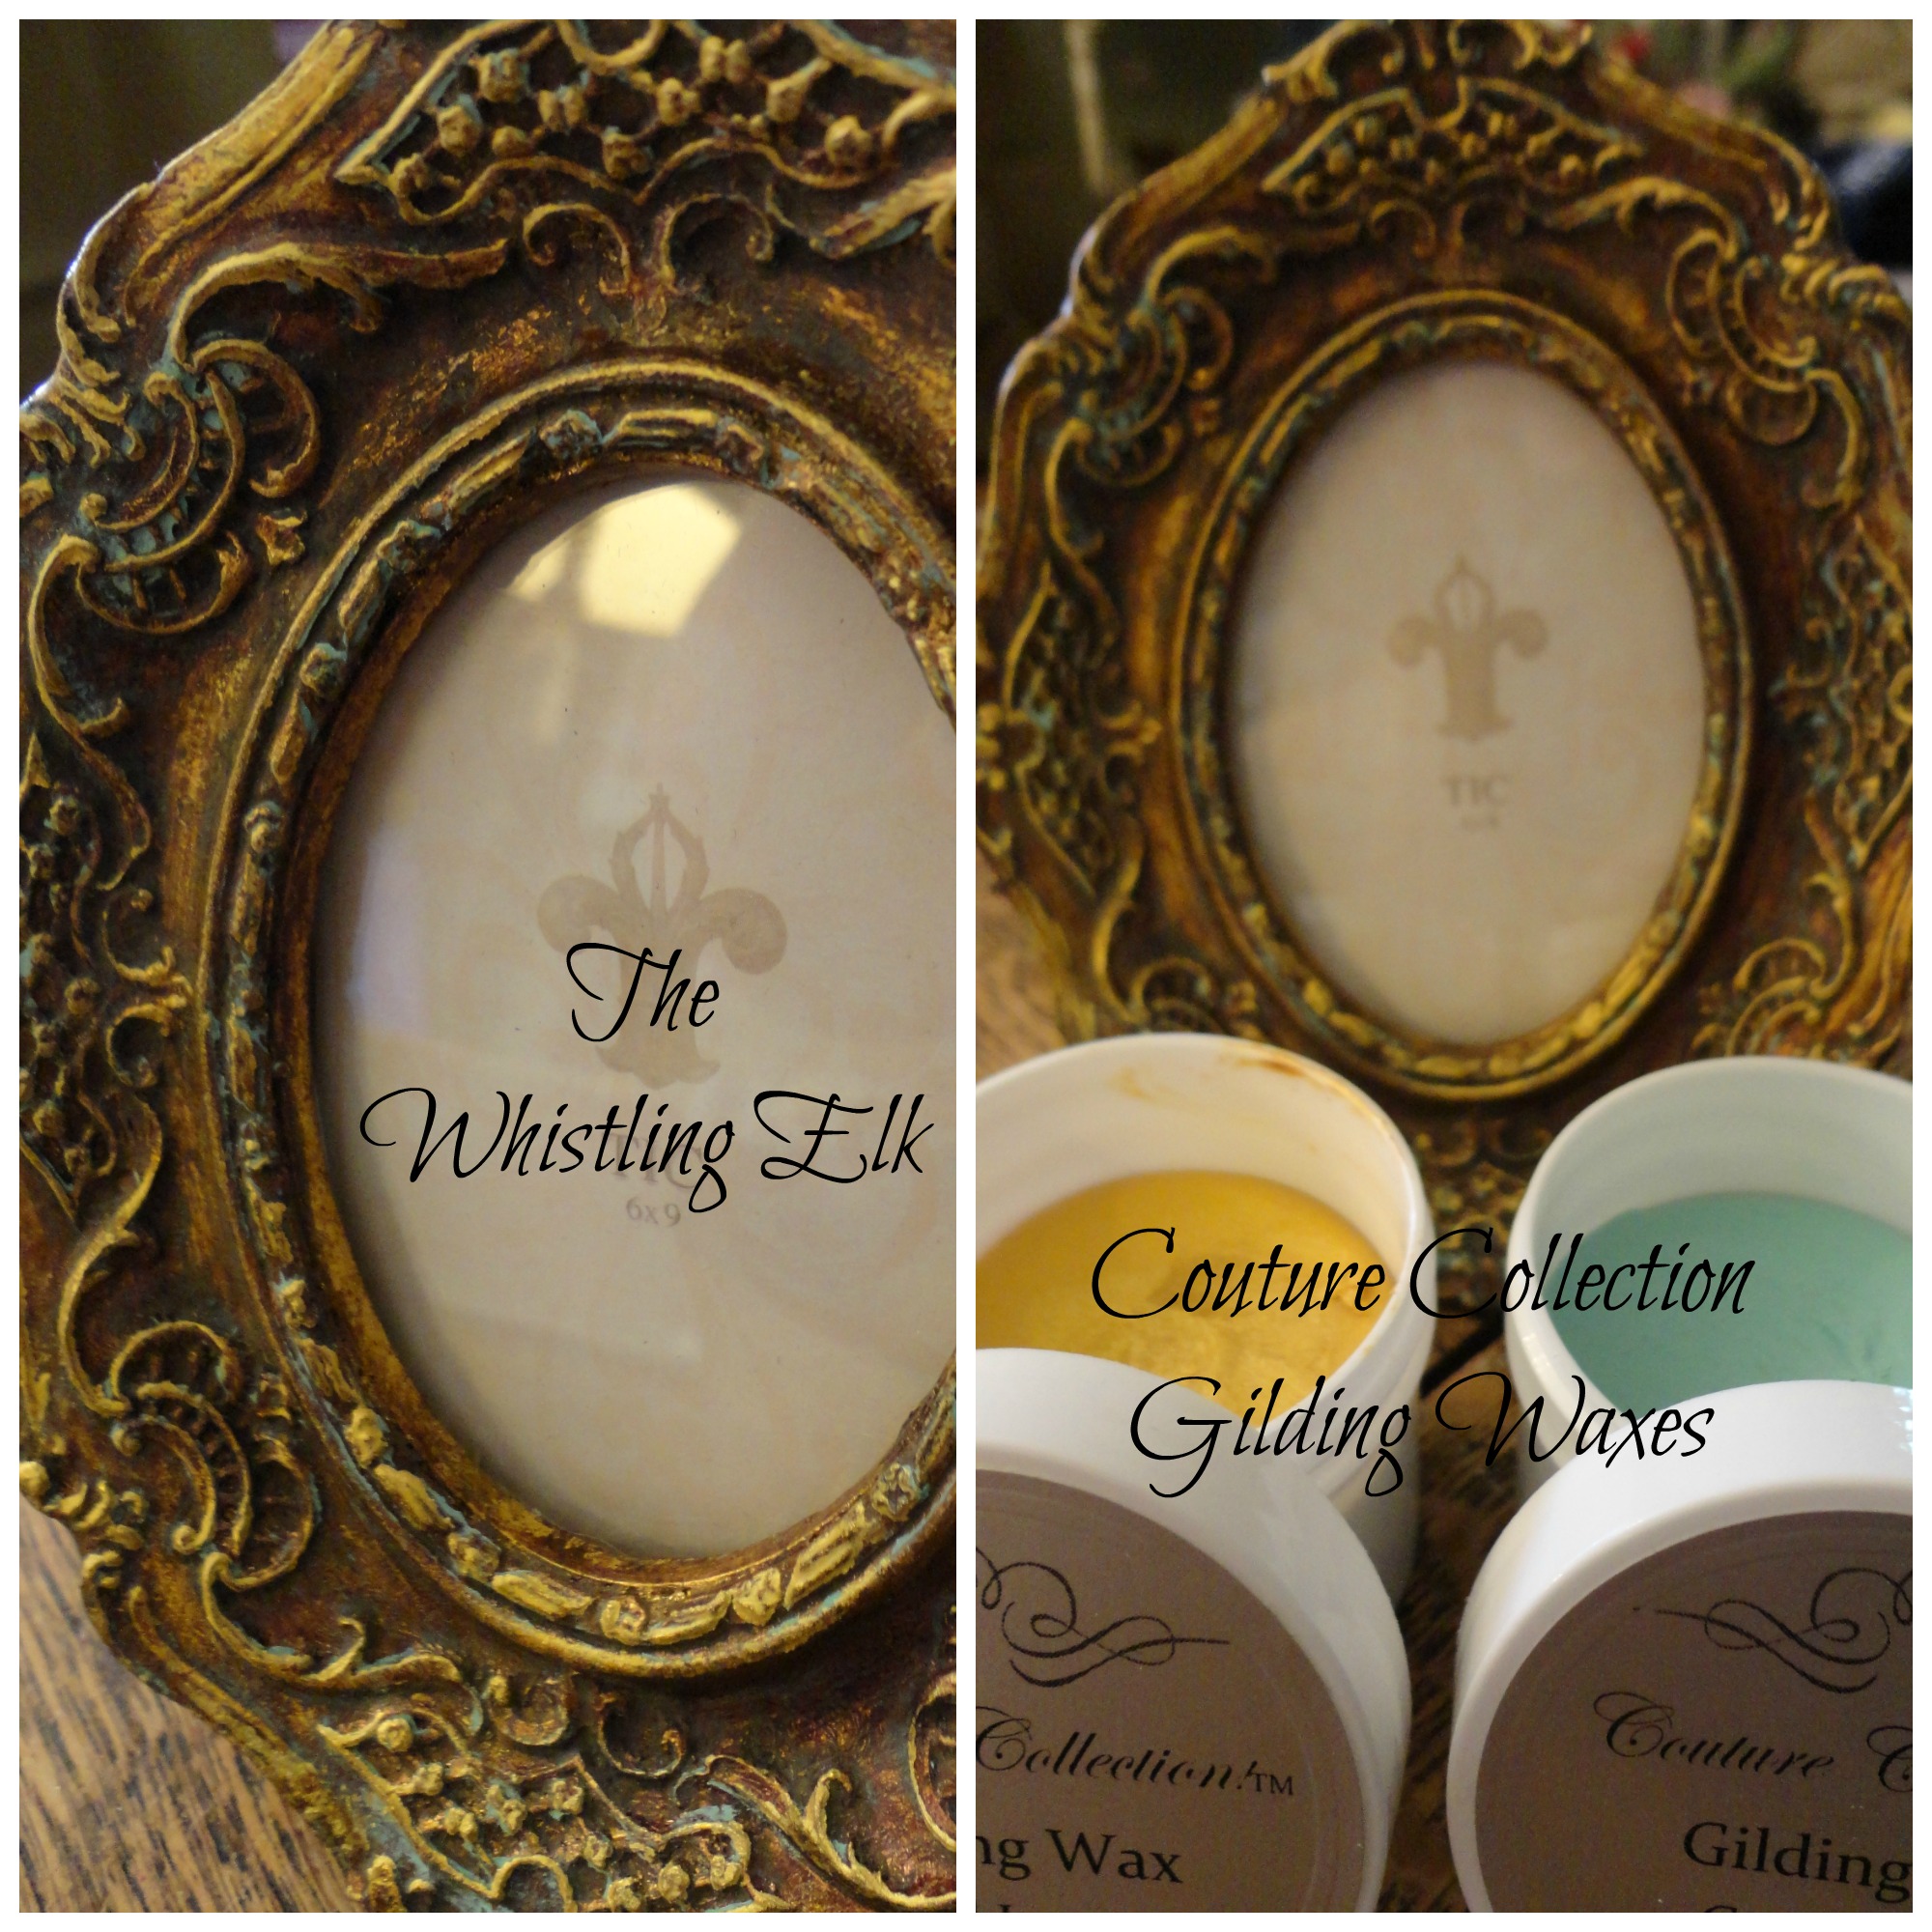
To enhance a painted finish you simply apply the gilding wax with your finger or with a small artist brush! and voila the perfect way to accent your finished paint project! If you decide to finger paint – a little coconut oil will clean up your talented fingers.

I used the Van Dyke Brown Glaze today over Imagine and I’m diggin it!
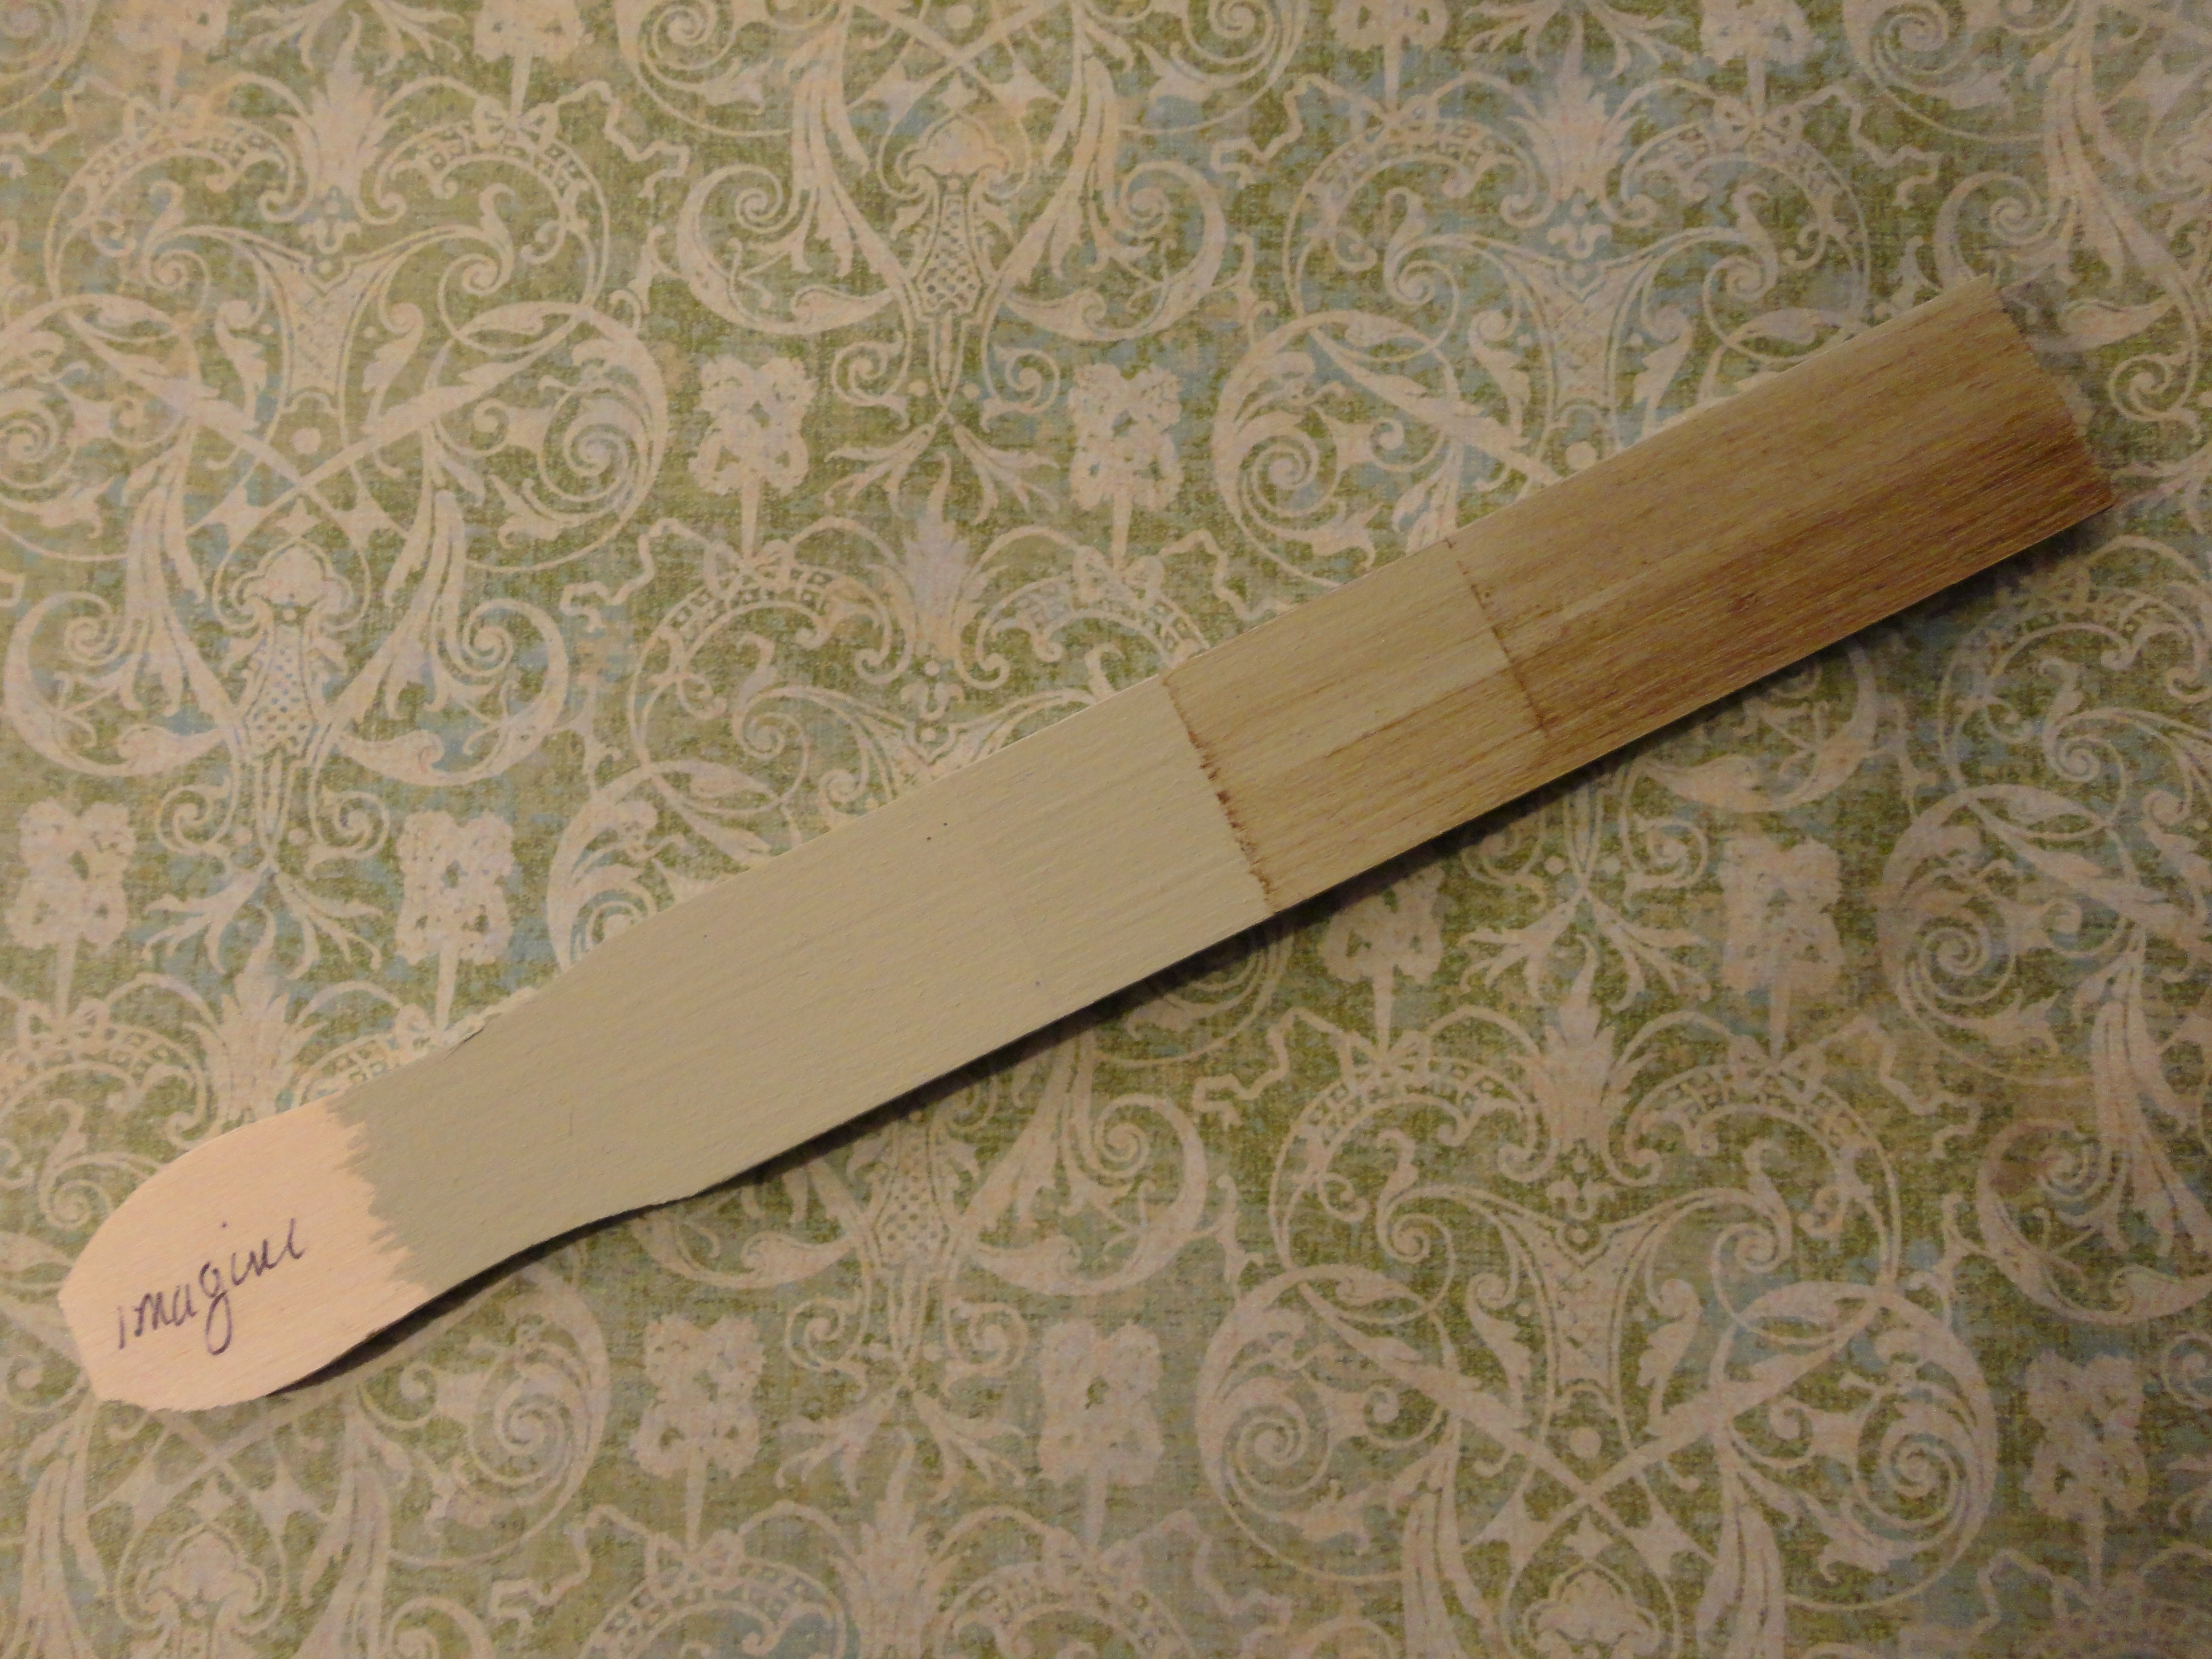
While I was painting the pedestal the other day with IMAGINE I painted up some paint sample sticks too.

Today I glazed/painted them 10 different ways – I used a new philosophy when glazing these sticks…all the other ones I have done were glazed/removed pretty evenly. This time I decided show different degrees of removing the glaze…all my paint students have different ideas of how much/little glaze they would remove…so these samples look uneven but I did it with purpose to show variety!
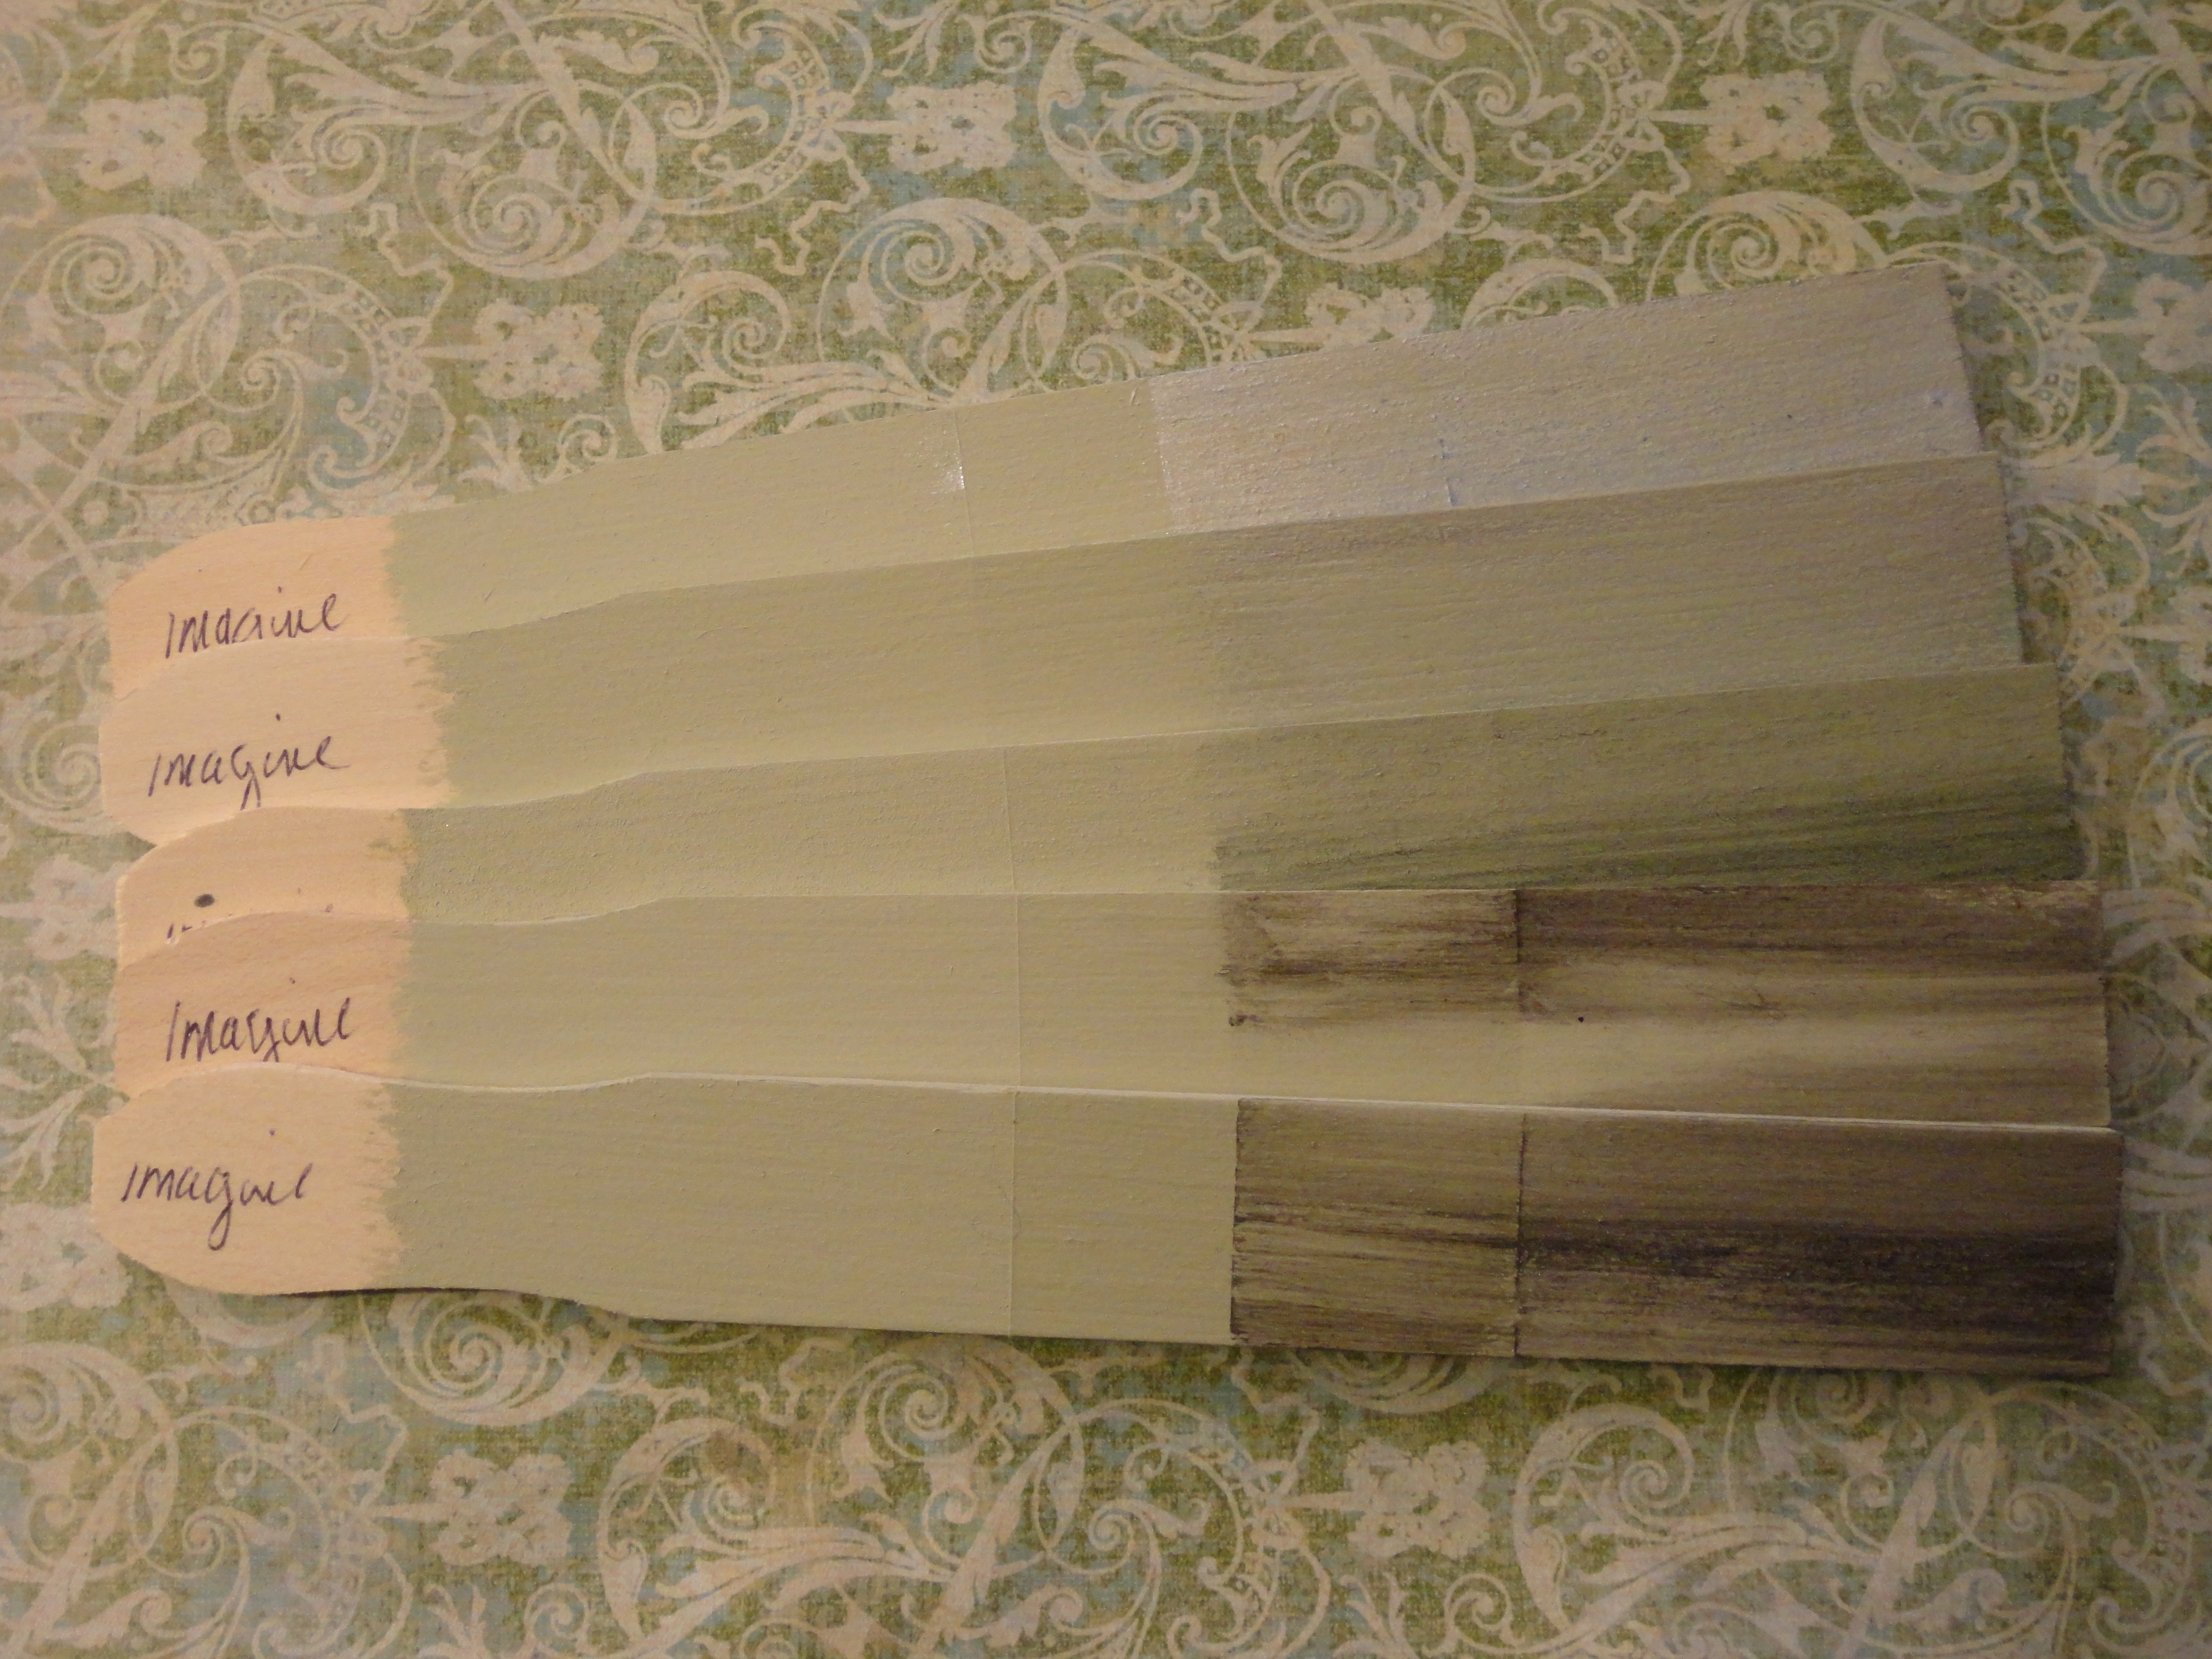
I also used 3 of the gilding waxes on some of my Paint Couture!™ samples.
So all the samples were painted with 2 coats of Imagine and part of the stick was finished with Matte Lacquer Couture!™. (The glaze does not bite in as much over the lacquer and gives you more flexibility to work with the glaze.)
So from the left here is how I finished each stick:
In the first group photo above –
1. brilliant white & rich gold metallic paint/Blue Organza Gilding Wax
2. Brilliant White Paint/Green Moire and Silver Taffeta Gilding Wax
3. Verde Glaze
4. Black Chiffon Glaze
5. Zinc Glaze
and in the 2nd group photo:
6. Black Walnut Glaze
7. Champagne Glaze
8. Amber Honey Glaze
9. Lite Brown Sugar Glaze
10. Van Dyke Brown Glaze
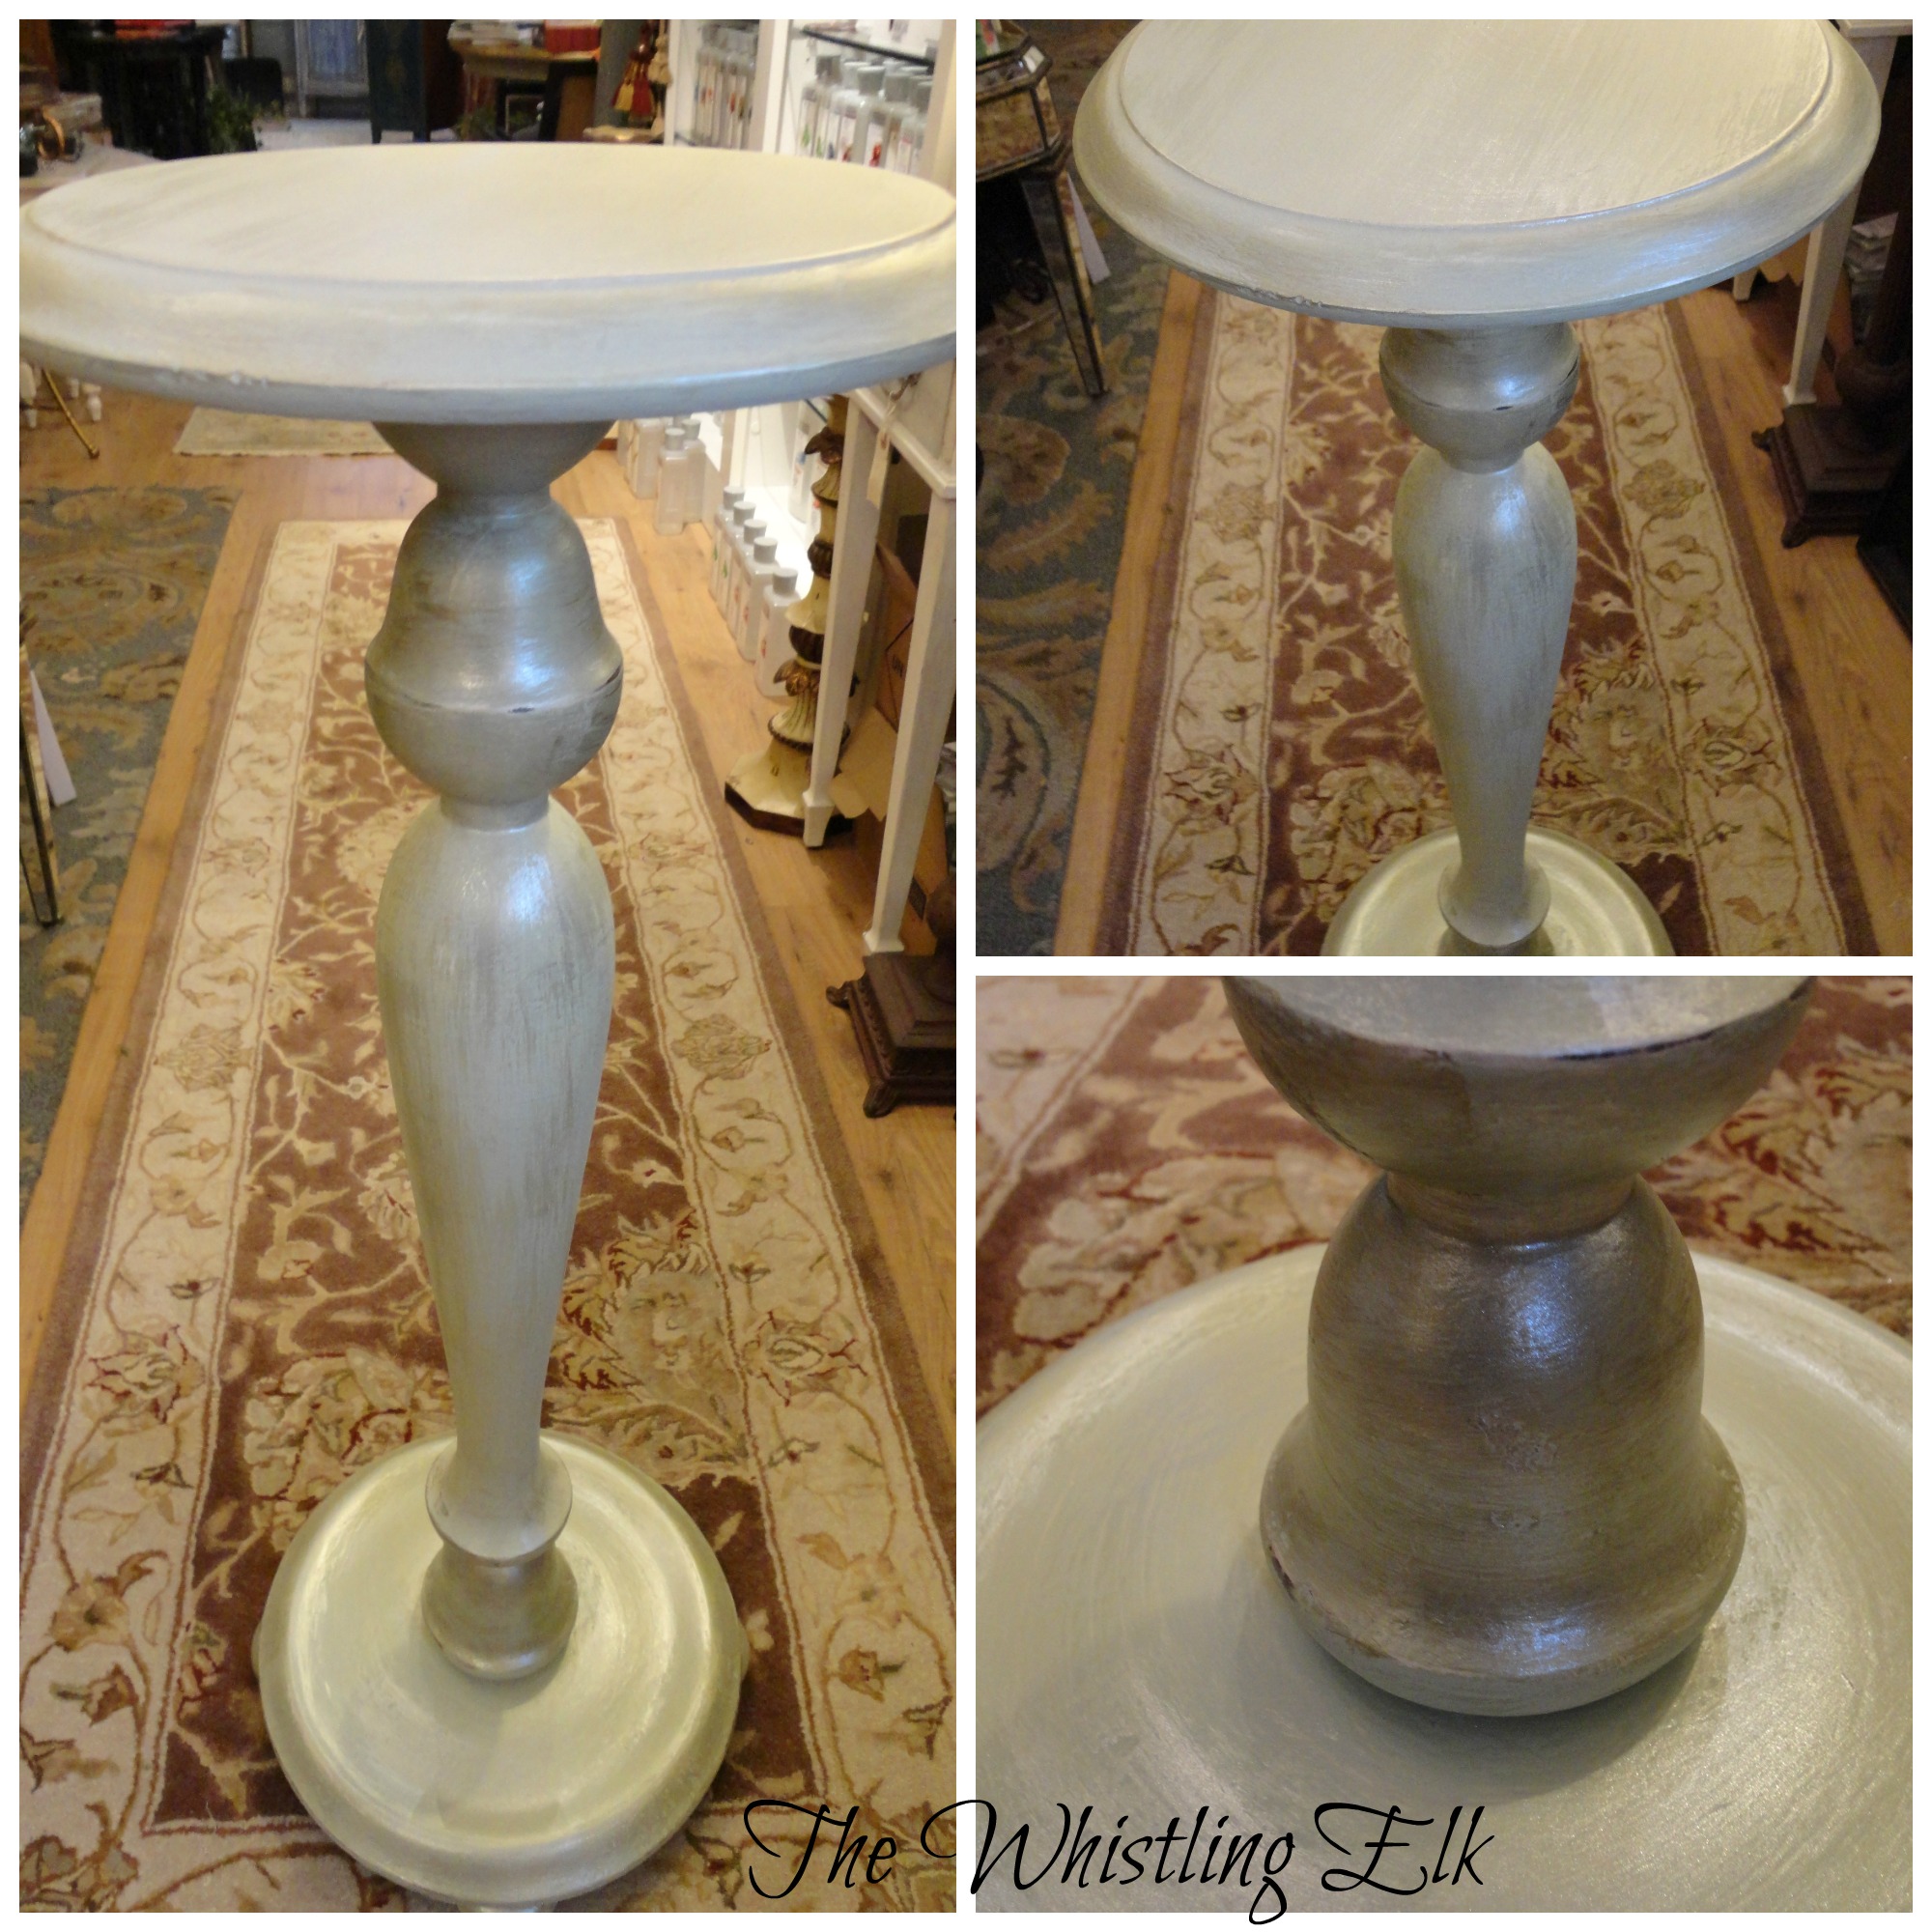
So after making all the samples I decided to glaze the pedestal with the Black Chiffon. The pedestal was an older piece and had a lot of marks and texture (which I kept because I liked the character) and I love the way the black chiffon kinda highlighted the “age” of the piece….so here is the finished pedestal with Imagine, Brilliant White, Rich Gold and Black Chiffon Glaze Couture!™. (Also in the photo collage is a before the glaze photo).

Still having fun! Call and join one of our Paint Workshops!
Now I have two beautiful pedestal tables!
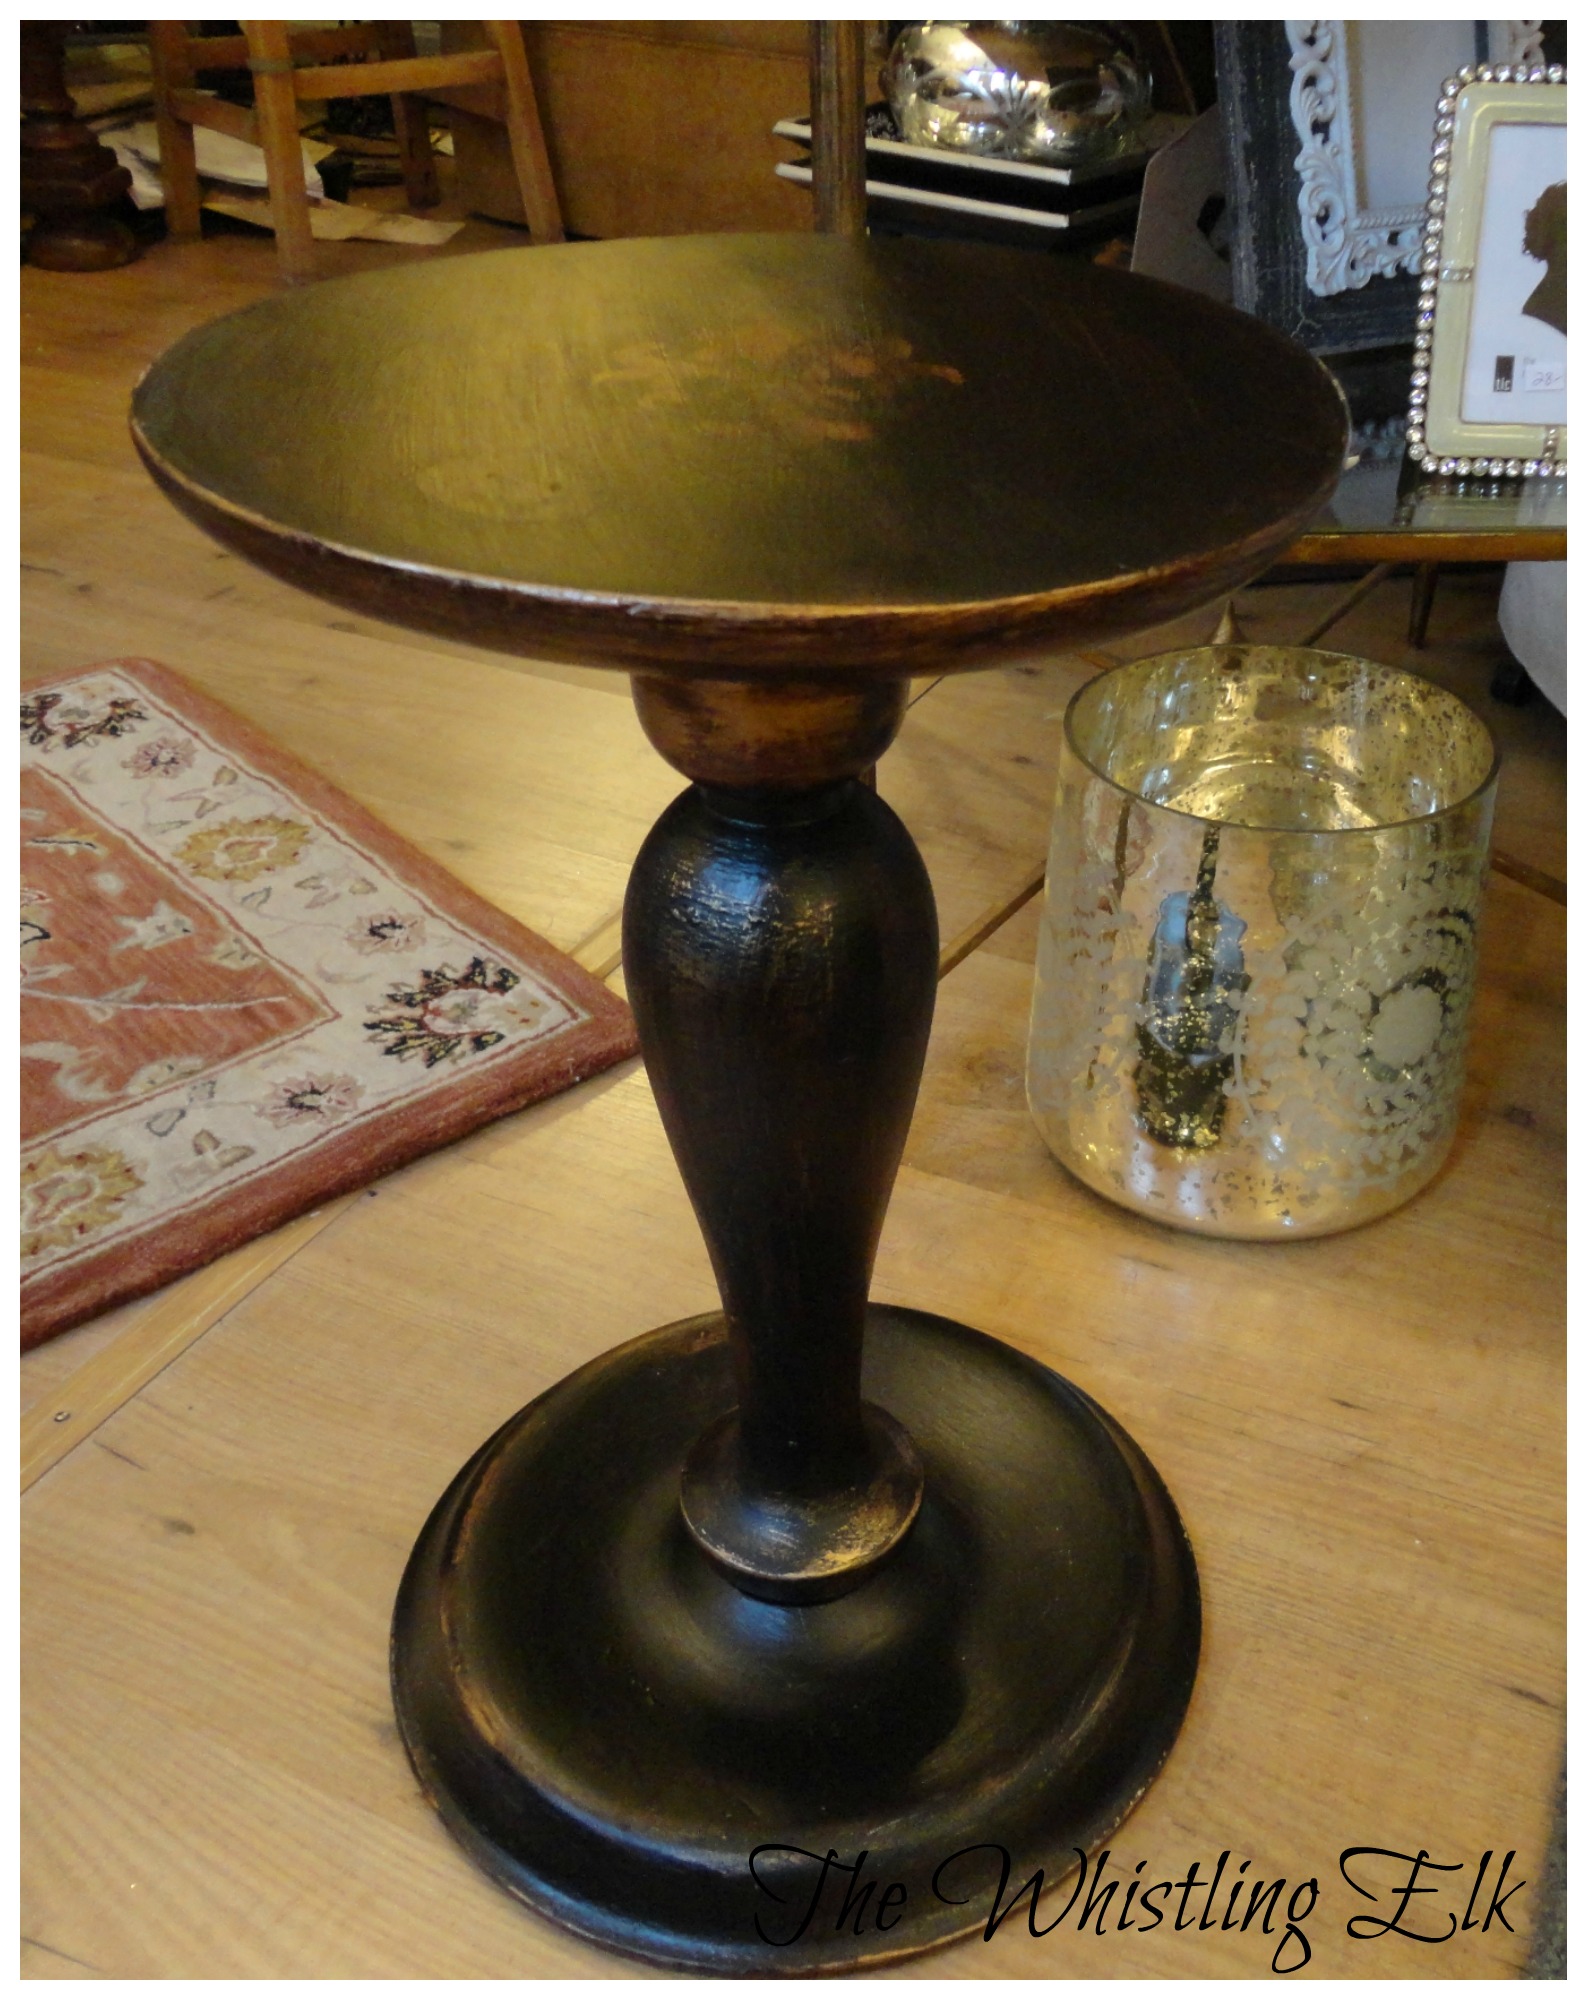
I don’t know who I love more…here’s the new one…
Call me crazy but I have never been a fan of painting with a 14k gold-type color…I always gravitate toward the deeper, more brassy golds….
I deviated…oh-oh.
I painted with Paint Couture!™ Rich Gold Metallic. Yup put it over Imagine and then hit it with some dry brush Brilliant White.
W.O.W.
I am going to glaze this pedestal…but right now I am enjoying what is going on with it as is!
I dunno though I still love this one…

Recent Comments